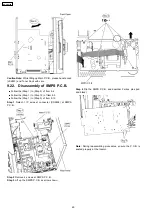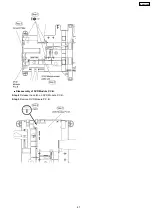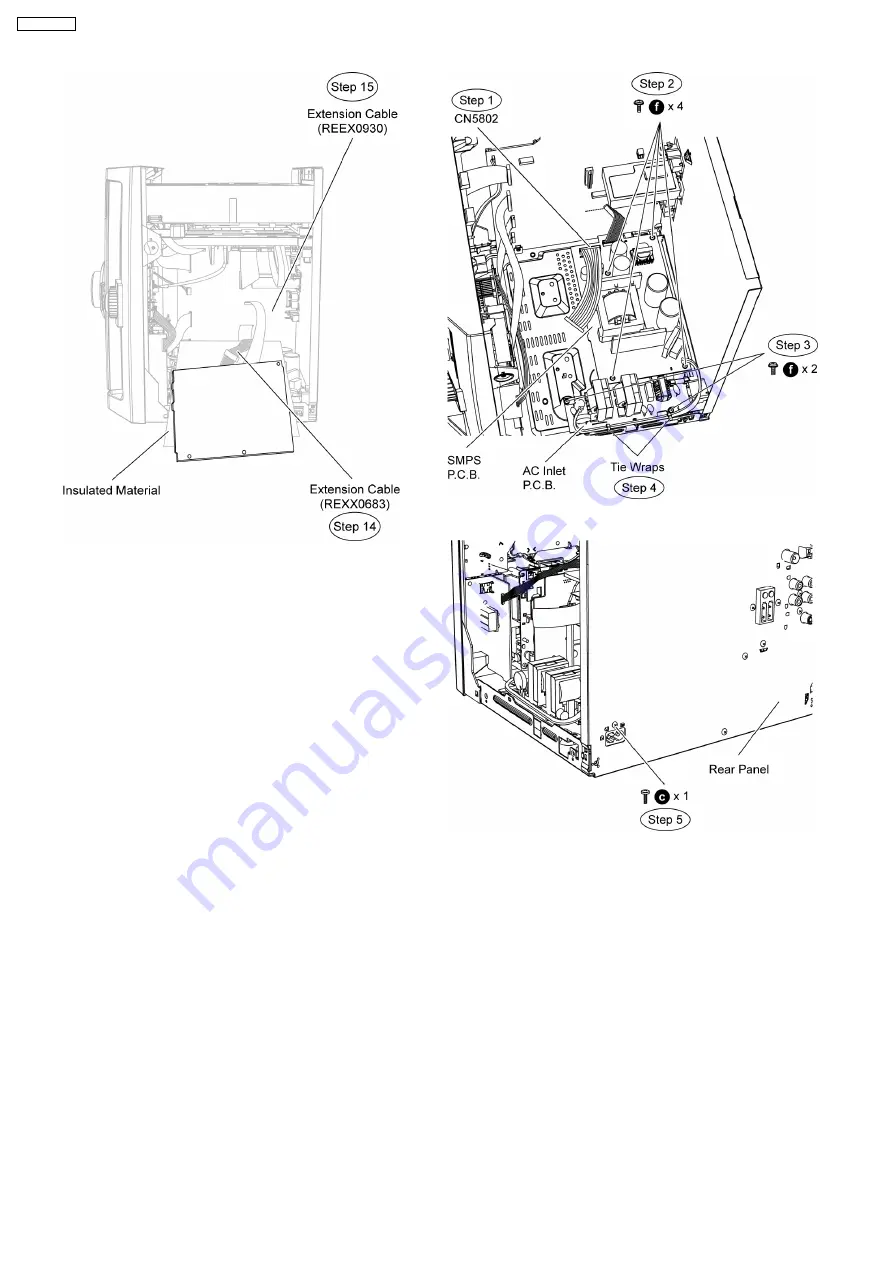
Step 16 Check and repair D-Amp P.C.B. according to the
diagram shown.
12.4. Checking and Repairing of AC
Inlet P.C.B. & SMPS P.C.B.
•
•
•
•
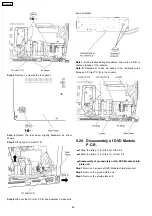
Follow (Step 1) to (Step 9) of item 12.3
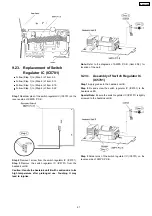
Step 1 Detach wire connector at connector CN5802 on SMPS
P.C.B..
Step 2 Remove 4 screws on SMPS P.C.B..
Step 3 Remove 2 screws on AC Inlet P.C.B..
Step 4 Cut 2 tie wraps onto wires.
Step 5 Remove 1 screw at the rear panel.
Step 6 Move the rear panel slightly backward as arrow shown.
Step 7 Lift up the AC Inlet P.C.B. together with the SMPS
P.C.B..
74
SA-VK470EE
Summary of Contents for SA-VK470EE
Page 3: ...3 SA VK470EE ...
Page 12: ...12 SA VK470EE ...
Page 40: ...40 SA VK470EE ...
Page 42: ...9 3 Main Components and P C B Location 42 SA VK470EE ...
Page 54: ...9 15 2 Replacement of Motor Capstan Belt A Capstan Belt B and Winding Belt 54 SA VK470EE ...
Page 88: ...SA VK470EE 88 ...
Page 98: ...98 SA VK470EE ...
Page 116: ...SA VK470EE 116 ...
Page 124: ...SA VK470EE 124 ...
Page 136: ...136 SA VK470EE ...
Page 137: ...24 Exploded Views 24 1 Cabinet Parts Location SA VK470EE 137 ...
Page 138: ...SA VK470EE 138 ...
Page 139: ...24 2 Deck Mechanism Parts Location RAA4111 S SA VK470EE 139 ...
Page 140: ...24 3 Packaging SA VK470EE 140 ...

