Camera Mode
-21-
AUTO:
AGC is activated, and the recording level is adjusted
automatically.
MNL (AGC):
The desired recording level can be set. AGC will also be
activated to reduce the amount of distortion in the music.
MNL (NO-AGC):
AGC is not activated and so natural recording can be
performed. Adjust in such a way that the sound will not be
distorted at the maximum volume level.
3
Turn the [PUSH] Dial
(26)
to increase or decrease the
bars of the [GAIN] Indication.
≥
Adjust the [GAIN] value so that the last three Bars of the
[LEVEL (MIC)] will not light red. (Otherwise, the Sound is
distorted.)
ª
Picture Adjustment
This enables the sharpness and colour levels of the pictures
to be adjusted during recording.
1
Set the [AUTO/MANUAL/AE LOCK] Switch
(8)
to
[MANUAL].
2
Set [CAMERA FUNCTIONS] >>
[ADVANCED FUNCTIONS] >> [PICTURE ADJ.] >>
[YES].
≥
The setting procedure is the same as for [LCD/EVF SET]
on the [DISPLAY SETUP] Sub-Menu. (
-10-
)
ª
Colour Bar
This displays 7 colour bars which are useful for adjusting the
picture quality of the TV or external monitor.
1
Set [CAMERA FUNCTIONS] >>
[ADVANCED FUNCTIONS] >> [COLOUR BAR] >> [ON].
≥
The colour bars are not recorded onto the card.
≥
For other notes concerning this item, see
-43-
.
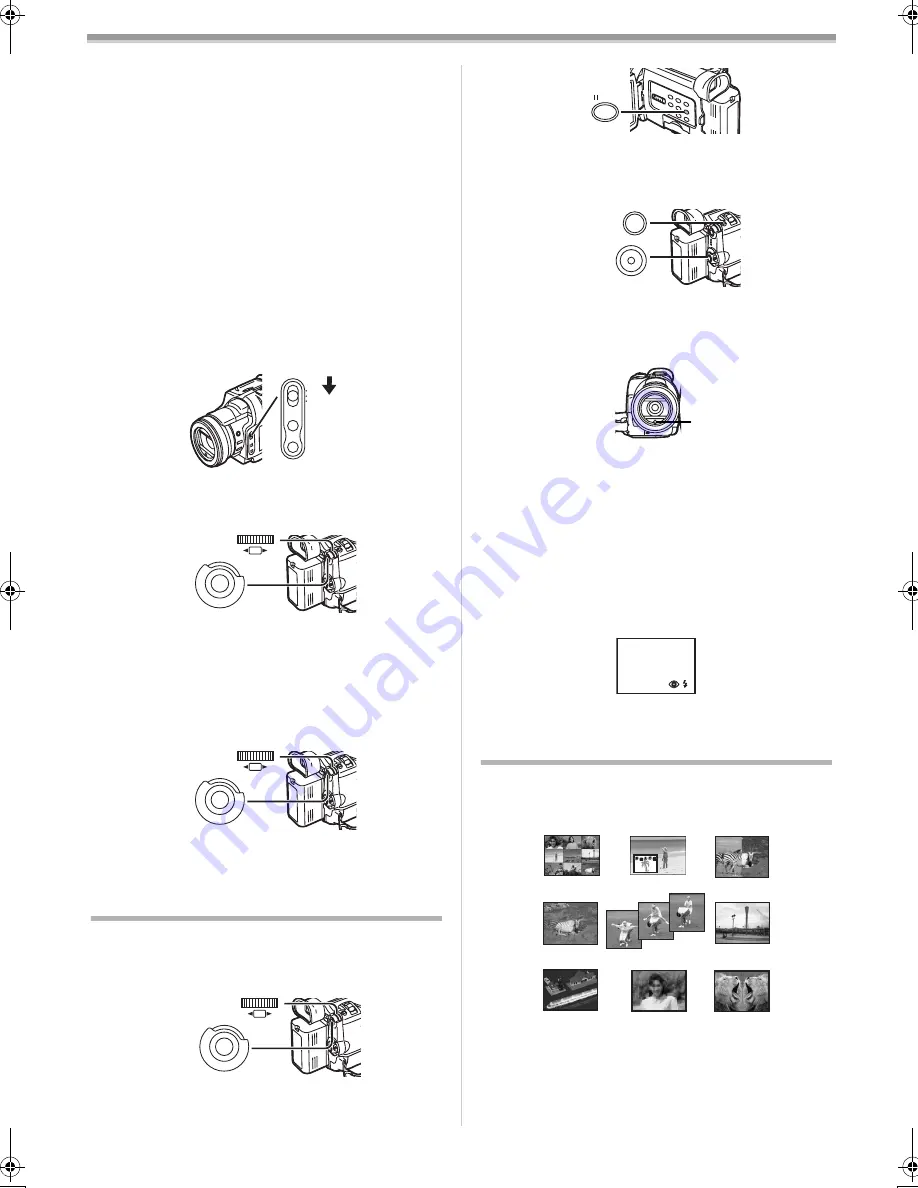
Using the Auto Pop-up Flash
The Built-in Video Flash enables you to record still pictures in
a dark place.
1
Set [CAMERA FUNCTIONS] >> [RECORDING SETUP]
>> [FLASH] >> [ON] or [AUTO].
≥
If [AUTO] is selected, the [
ß
A
] Indication is displayed in a
dark place and the Video Flash can be lighted.
AUTO
MANUAL
AE LOCK
FOCUS
W.B
(8)
M E N U
PUSH
SHUTTER/IRIS/
VOL/JOG
(26)
(51)
M E N U
PUSH
SHUTTER/IRIS/
VOL/JOG
(26)
(51)
(26)
(51)
M E N U
PUSH
SHUTTER/IRIS/
VOL/JOG
2
Press the [STILL] Button
(23)
.
≥
Video Flash pops up and is lighted automatically, and the
image becomes still.
3
Press the [PHOTO SHOT] Button
(25)
or Recording
Start/Stop Button
(32)
.
≥
Video Flash is not lighted when recording.
≥
After recording, close the Video Flash by pressing on it.
≥
Do not cover the Flash Sensor
(47)
with your hand during
recording.
Adjusting Brightness of the Video Flash
Set [CAMERA FUNCTIONS] >> [RECORDING SETUP] >>
[FLASH LEVEL] >> a desired Flash Level.
≥
Normally, set it to [NORMAL]. (The [
ß
] Indication appears).
≥
If the brightness is not enough in [NORMAL] setting, set it
to [
i
] (the [
ß
i
] Indication appears), if it is too much, set it
to [
j
] (the [
ß
j
] Indication appears).
To make the “Red Eye” phenomenon reduce
Set [CAMERA FUNCTIONS] >> [RECORDING SETUP] >>
[RED EYE REDUCTION] >> [ON].
≥
The [
£
] Indication appears.
≥
For other notes concerning this item, see
-44-
.
Digital Effect Functions
This Movie Camera is equipped with Digital Effect Functions
that add special effects to the scene.
Digital Effects 1 [EFFECT1]
1) Multi Mode [MULTI]
2) Picture-In-Picture Mode [P-IN-P]
3) Wipe Mode [WIPE]
4) Mix Mode [MIX]
5) Strobe Mode [STROBE]
≥
It records images with a stroboscopic effect.
6) Gain-up Mode [GAINUP]
≥
It brightens images electronically.
≥
Adjust focus manually when using this mode. (
-20-
)
(23)
STILL
PHOTO
SHOT
(25)
(32)
(47)
3) WIPE
4) MIX
5) STROBE
6) GAINUP
7) TRACER
8) MOSAIC
9) MIRROR
1) MULTI
2) P-IN-P
B5-B.book 21 ページ 2002年8月30日 金曜日 午前10時40分
Summary of Contents for NV-MX500B
Page 55: ... 55 ...


