


Preparation
12
About the Battery
∫
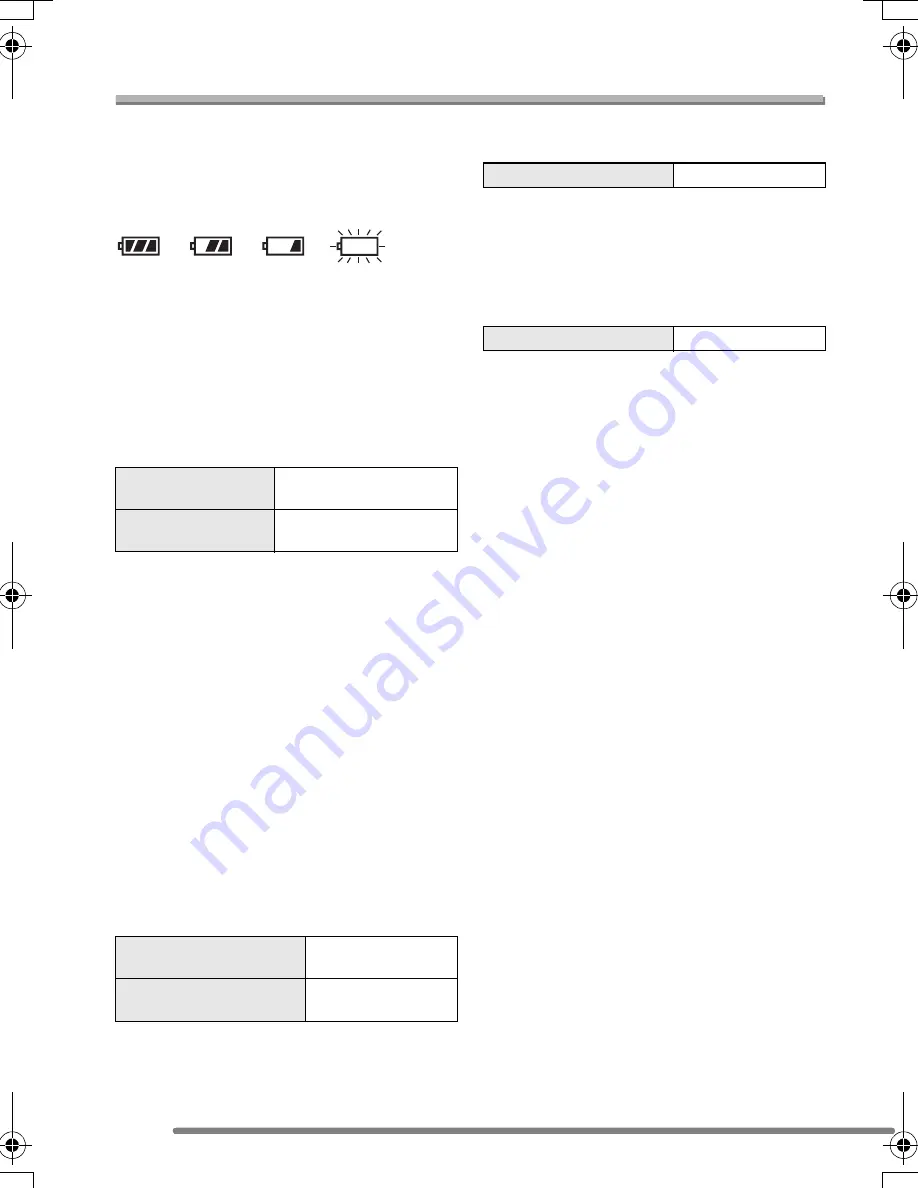
Battery indication
The remaining battery power appears on
the screen. [It does not appear when you
use the camera along with the AC adaptor
(DMW-CAC1; optional).]
>
>
>
The indication turns red and blinks:
Recharge or replace the battery.
∫
The lifetime of the battery
The number of recordable pictures by
CIPA standards
• CIPA is an abbreviation of
[Camera & Imaging Products
Association].
(Recording conditions by CIPA standards)
• Temperature: 23°C/Humidity: 50% when
LCD monitor is on.
• Using the supplied battery.
• Recording starts 30 seconds after the
camera is turned on.
• Record once every 30 seconds, with full
flash every other recording.
• Rotating the zoom lever towards Tele to
Wide and vice versa in every recording.
• Turn the camera off every 10 recordings.
The number of recordable pictures
when using the Viewfinder
(Viewfinder is used for recording. Other
recording conditions comply with CIPA
standards.)
Playback time when using the LCD
monitor
The number of recordable pictures and
playback time will vary depending on the
operating conditions and storing condition
of the battery.
∫
Charging
Charging time and the number of
recordable pictures with the optional
battery pack (CGA-S002E) are the same
as above.
• When charging starts, the [CHARGE]
indicator lights.
∫
Charging error
• If a charging error occurs, the [CHARGE]
indicator blinks in 1 second cycles.
In this case, disconnect the AC cable from
the electrical outlet, remove the battery
and make sure that both room and battery
temperature are not too low or high and
then charge it again. If the [CHARGE]
indicator still blinks even if you charge the
battery for a while, consult the dealer or
your nearest servicentre.
• When the operating time of the camera
becomes extremely short even if the
battery is properly charged, the life of the
battery may have expired. Buy a new
battery.
∫
Charging conditions
• Charge the battery under temperature of
10
o
C – 35
o
C. (Battery temperature should
be the same.)
• The performance of the battery may be
temporarily deteriorated and the operating
time may become shorter in low
temperature conditions (e.g. skiing/
snowboarding).
Number of
recordable pictures
Approx. 240 pictures
(CIPA)
Used media
16 MB SD Memory Card
(supplied)
Number of recordable
pictures
Approx.
270 pictures
Used media
16 MB SD Memory
Card (supplied)
Playback time
Approx. 240 min.
Charging time
Approx. 120 min.
FZ20-GN.book 12 ページ 2004年8月9日 月曜日 午後5時51分
Summary of Contents for LUMIX DMC-FZ20GC
Page 115: ...115 MEMO ...


