– 54 –
Chapter 5 Basic Operations — Wipe
3
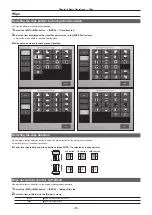
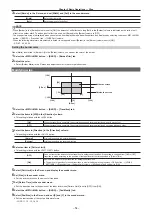
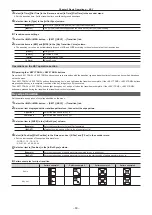
Select [Border] in the R menu, and set [Width] and [Soft] in the encoder menu.
[Width]
Sets the border width.
[Soft]
Sets the amount of soft effect.
@
@
NOTE
t
When [Border] in the [Border] column is set to [ON], the amount of soft effect set using [Soft] in the [Border] column is indicated as the ratio of soft
effect to the border width. To add only soft effect to a wipe, set [Border] in the [Border] column to [OFF].
t
The wipe pattern screen is displayed when you select an item displayed with a transition pattern icon displayed by selecting top menu <ME1>/<ME2>
button
→
[BKGD]
→
[Transition] tab
→
[WIPE Patt] column.
t
When the following waveforms are selected, a border is not applied even if [Border] in the [Border] column is set to [ON].
- SQ: 47, 48, 49, 50
Setting the border color
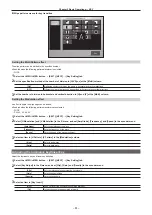
When [Matte] is selected in [Border Fill] in the [Border] column, you can set the color of the border.
1
Select the <ME1>/<ME2> button
→
[BKGD]
→
[Border/Trim] tab.
2
Adjust the color.
f
Select [Border Matte] in the R menu and adjust the color in the color palette screen.
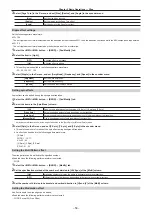
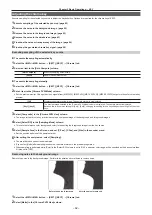
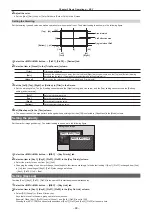
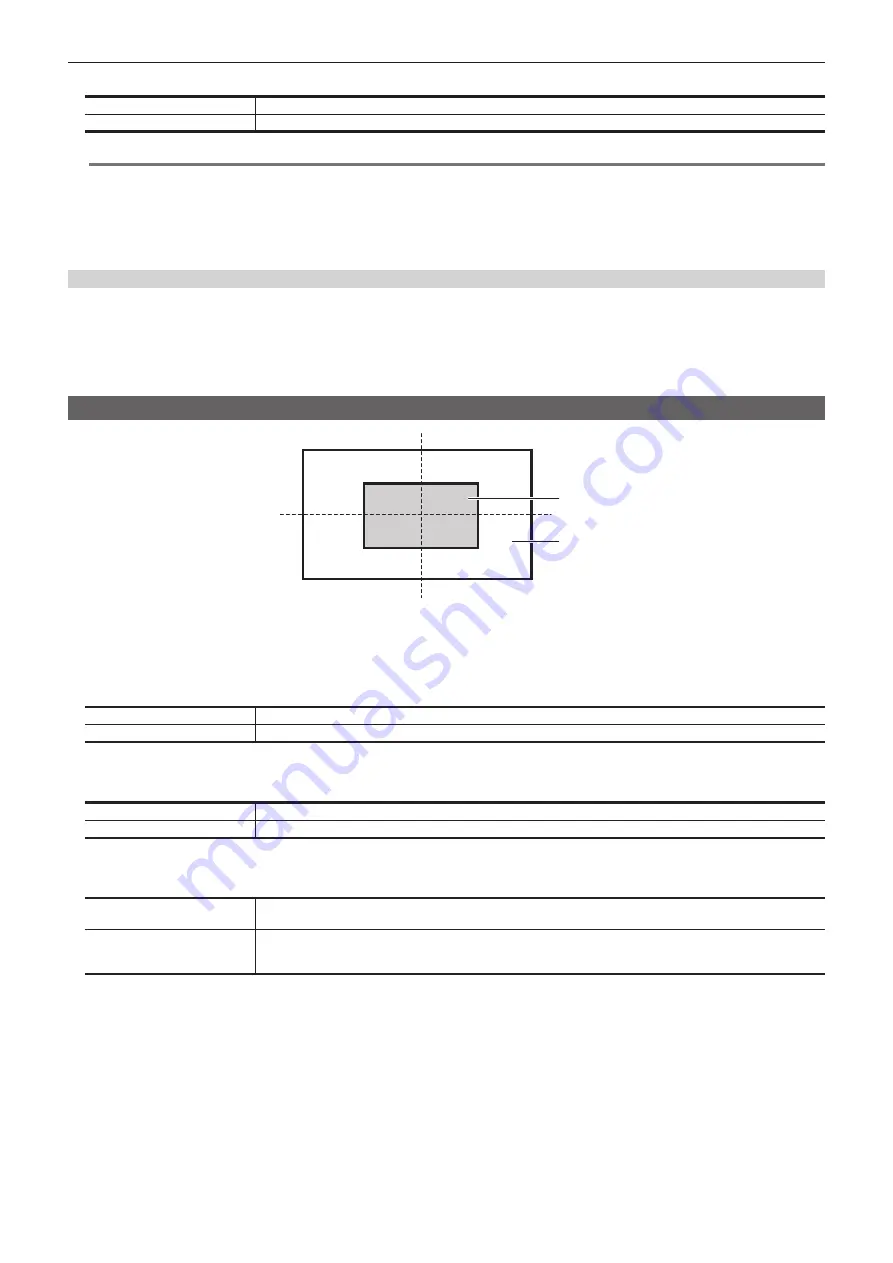
Modifying wipe
Inside the screen
[Y-Pos]
[X-Pos]
Outside the screen
[100]
[50]
[0]
[
−
50]
[
−
50]
[50]
[
−
100]
[
−
100]
[0]
[100]
1
Select the <ME1>/<ME2> button
→
[BKGD]
→
[Transition] tab.
2
Select the items in [N/R] in the [Direction] column.
f
This setting is linked with the <N/R> button.
[ON]
When the transition is complete, the normal direction and reverse direction swap with each other.
[OFF]
When the transition is complete, the normal direction and reverse direction do not swap with each other.
3
Select the items in [Direction] in the [Direction] column.
f
This setting is linked with the <N>/<R> button.
[Normal]
Wiping proceeds in the normal direction.
[Reverse]
Wiping proceeds in the reverse direction.
4
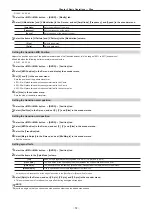
Select an item in [Pattern Limit].
f
This setting is linked with the <PATT LIMIT> button.
[OFF]
Does not restrict the amount of wipe transition for background transition. If the setting is changed from [ON] to [OFF],
transition is made according to the position of the fader lever at the time specified in [Return Time].
[ON]
Restricts the amount of wipe transition for background transition.
f
The amount of transition for mixed transitions is also limited by selecting top menu <OPR> button
→
[OTHER
SETTINGS]
→
[Transition] tab
→
[Pattern Limit] column
→
[Mix Enable], and setting it to [ON].
5
Select [Patt Limit] in the R menu, and display the encoder menu.
6
Set [Size] in the encoder menu.
f
Set the size restriction on the amount of transition.
7
Set [Return Time] in the encoder menu.
f
Set the transition time to the position of the fader lever when [Pattern Limit] is set to [OFF] from [ON].
8
Select the <ME1>/<ME2> button
→
[BKGD]
→
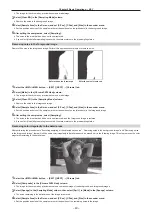
[Pos/Modify] tab.
9
Select [Pos/Size] in the R menu, and set [X] and [Y] in the encoder menu.
f
Set the start position of the next pattern waveforms.
- WIPE: 11, 12, 13, 14, 15
Summary of Contents for Live Production Suite Series
Page 5: ...Please read this chapter and check the accessories before use Chapter 1 Overview ...
Page 11: ...This chapter describes installation and connection Chapter 2 Installation and Connection ...
Page 50: ...This chapter describes menu operations Chapter 5 Basic Operations ...
Page 113: ...This chapter describes the configuration of operations Chapter 7 Configuring Operations ...
Page 122: ...This chapter describes how to operate system menus Chapter 8 System Menu ...
Page 136: ...This chapter describes plug in functions Chapter 9 External Interfaces ...
Page 140: ... 140 Chapter 10 Specifications Dimensions Dimensions of the XPT Unit AV LSX10 Unit mm inch ...
Page 141: ... 141 Chapter 10 Specifications Dimensions Dimensions of the ME Unit AV LSM10 Unit mm inch ...
Page 153: ...This chapter describes the setting menu table and terms Chapter 11 Appendix ...
Page 176: ...Web Site https www panasonic com Panasonic Corporation 2020 ...

