


2.
Configure the advanced settings of the magnifier by pressing the
[G]
button on the remote
control.
Note
•
The magnifier settings can be registered as a preset (Page 95).
(To change which position to magnify):
If you want to change which content to magnify, adjust the magnification position by pressing
[
][
][
][
]
to move the frame that indicates the area to magnify.
(To change the zoom level of the magnified image):
If you want to change the size of the magnified image displayed in the subscreen, press
[ZOOM (+)]
to zoom in, and press
[ZOOM (-)]
to zoom out.
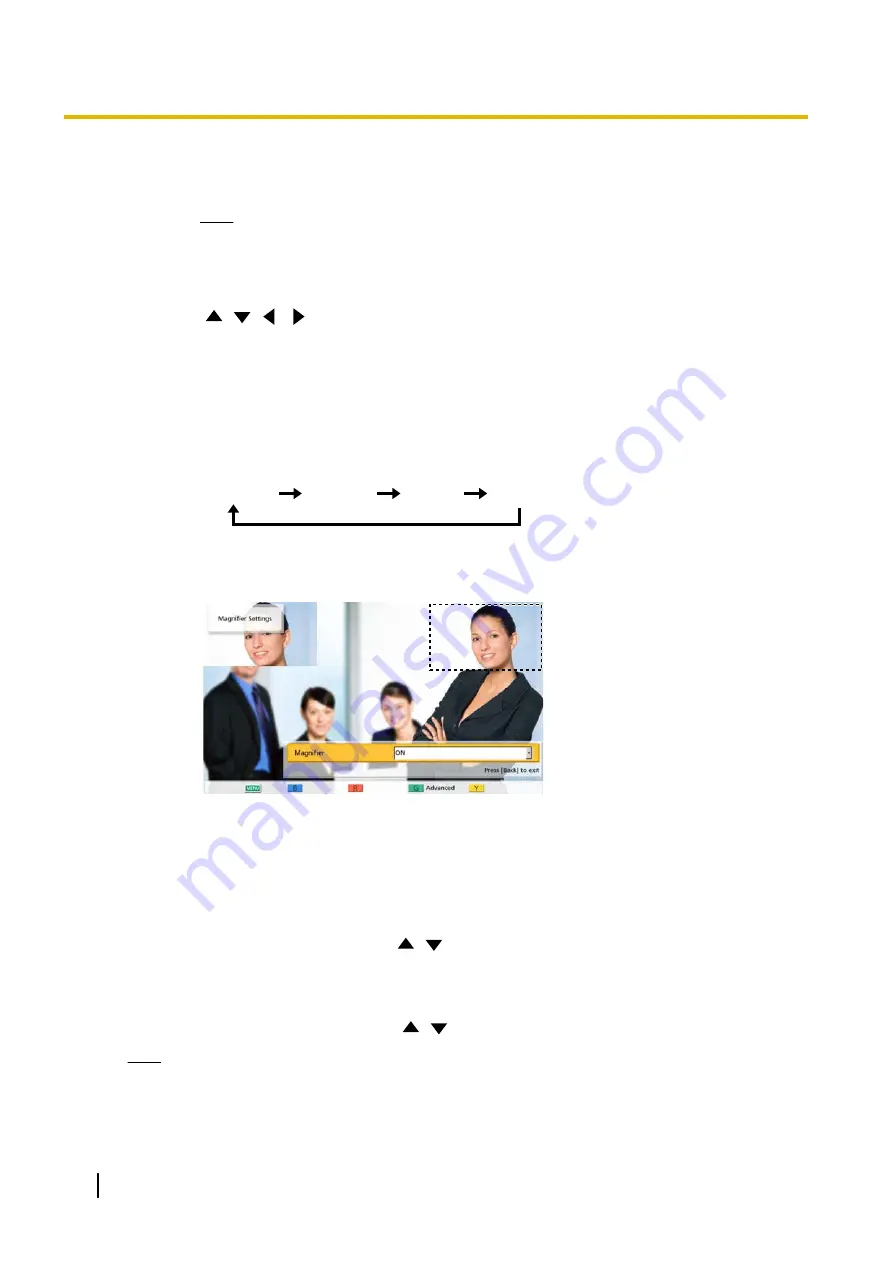
(To change the screen layout):
If you want to change the position of the magnified image on the screen, press
[Y]
. Each
time you press
[Y]
, the position of the magnified image will change in the following order:
upper right
lower right
lower left
upper left
Example: When the dotted-line part is magnified and
displayed in the upper left subscreen.
3.
To return to the magnifier settings screen, press
[BACK]
.
To return to the camera menu screen, press
[MENU]
.
"Sharpness"
screen
This function adjusts the sharpness of the contours of images.
"Sharpness"
: Press
[ENTER]
and use
[
][
]
to select
"High"
,
"Medium"
,
"Low"
, or
"Off"
.
"Noise Filter"
screen
This function filters the image noise when there is low illumination, etc. If a high setting is used, residual
images may be increased.
"Noise Filter"
: Press
[ENTER]
and use
[
][
]
to select
"High"
,
"Medium"
,
"Low"
, or
"Off"
.
Note
•
After completing settings on each settings screen, press
[ENTER]
. After that, pressing
[MENU]
or
[BACK]
will display the camera menu screen.
102
User Manual
Document Version 2018-01
Controlling a Video Camera


