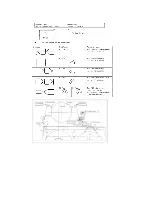
10.5. Front Panel
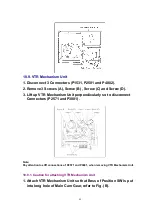
1. Remove one screw (A).
2. Unlock tab (A) and tab (B) simultaneously.
3. Unlock tab (C) and tab (D) simultaneously.
4. Unlock 2 tabs (E) respectively, and pull out Front Panel with
connector slightly.
Note:
When attaching Front Panel, in order to hook Cassette Door Opener Lever to Cassette Door,
push up cassette door in the direction of arrow and insert a front panel.
45
Summary of Contents for DMR-ES45VP
Page 7: ...3 Service Navigation 3 1 Service Information 4 Specifications 7 ...
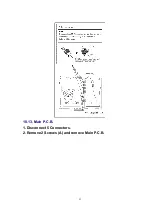
Page 68: ...10 13 Main P C B 1 Disconnect 5 Connectors 2 Remove 2 Screws A and remove Main P C B 52 ...
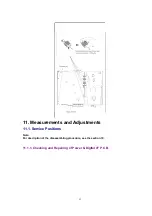
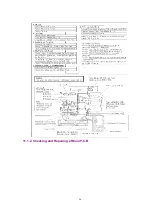
Page 70: ...11 1 2 Checking and Repairing of Main P C B 54 ...
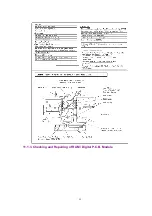
Page 71: ...11 1 3 Checking and Repairing of RAM Digital P C B Module 55 ...
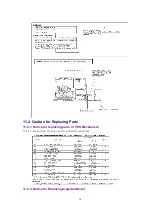
Page 73: ...11 2 3 Items that should be done after replacing parts 57 ...
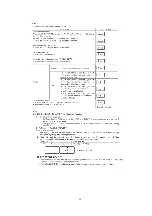
Page 74: ...58 ...
Page 75: ......
Page 87: ...17 1 2 Casing Parts Mechanism Section 2 70 ...
Page 88: ...17 1 3 VHS Mechanism Section 71 ...
Page 89: ...17 1 4 Packing Accessories Section 72 ...
Page 111: ...C11701 F2A1A2220055 10V 2200U 1 94 ...
Page 123: ......
Page 124: ......
Page 132: ...1 4 2 4 3 4 4 4 DMR ES45VP ES46VP Main P C B VEPV0054BT 4 4 Section Location Map REAR FRONT ...

