55
With a PC
Operating environment
(For Windows)
OS:
IBM PC/AT compatible personal computer with
pre-installed;
Microsoft Windows XP Home Edition/Professional
Microsoft Windows 2000 Professional
Microsoft Windows Me (Millennium Edition)
Microsoft Windows 98 Second Edition
CPU:
Pentium ll-based PC or equivalent (
1
)
Pentium-based PC or equivalent (
2
)
(Pentium II 300 MHz or higher recommended)
Graphic display:
High Colour (16 bit or more)
Desktop resolution of 800 x 600 pixels or more
RAM:
64 MB or more (128 MB or more recommended)
Free hard disk space:
At least 625 MB
Other requirements:
Mouse
Using the ArcSoft Software (PV-GS15:
Supplied)
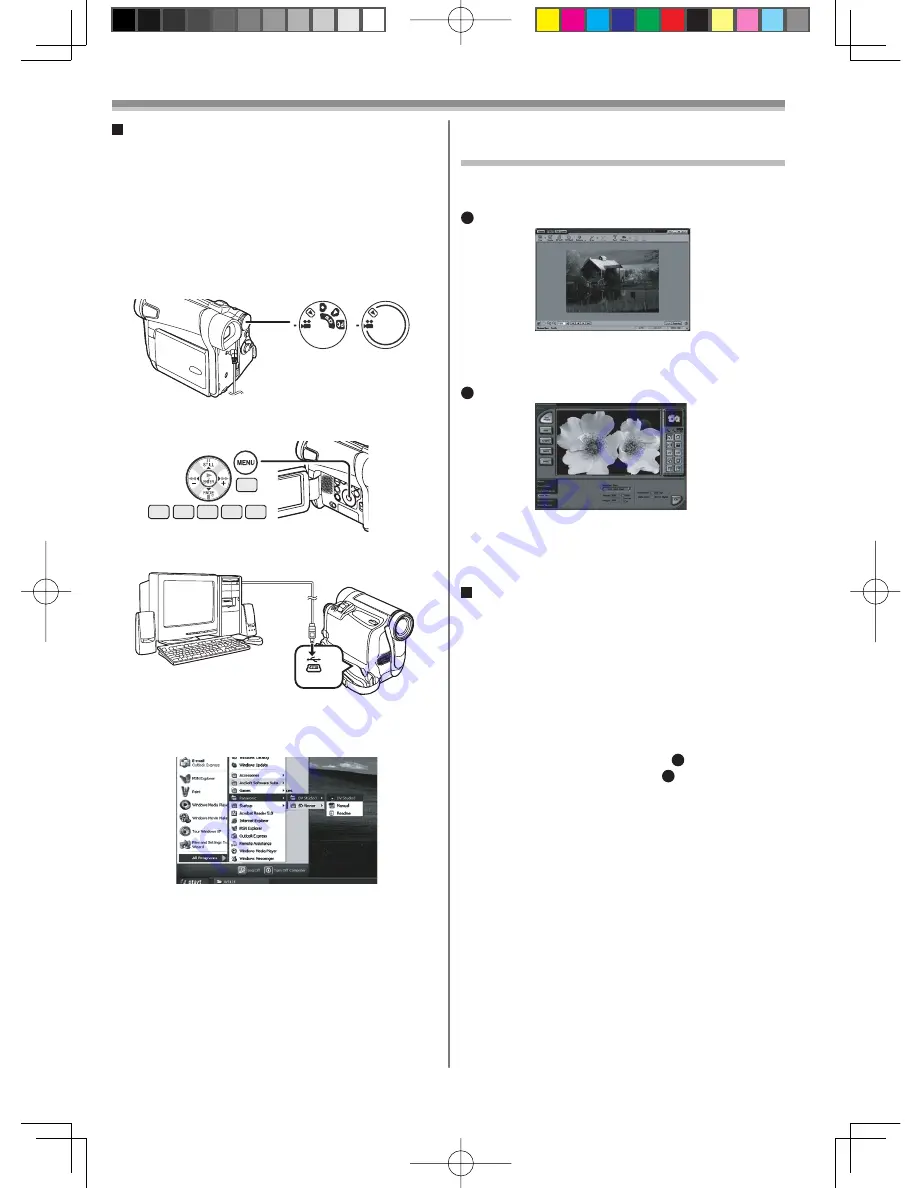
There are 2 types of image editing software in the
ArcSoft Software package.
• Easy-to-use photo editing program to edit, enhance,
retouch or add special effects to any image. Also
offers creative solutions for making greeting cards
and calendars.
1
PhotoBase 4 (Windows), PhotoBase 2 (Mac)
• Create albums of image, video, audio, and other
electronic
fi
les for easy viewing, retrieval, and
management.
2
PhotoImpression 4 (Windows, Mac)
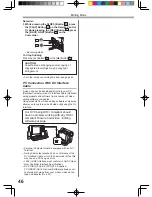
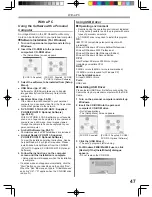
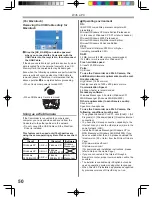
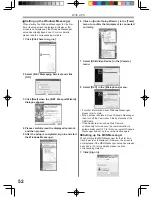
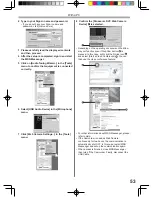
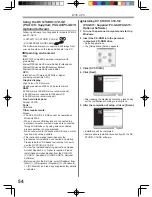
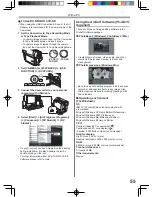
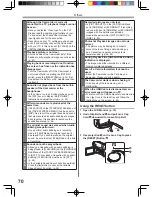
1 Set the Camcorder to Tape Recording Mode
or Tape Playback Mode.
• To capture images from a tape, set the Camcorder
to Tape Playback Mode and insert a tape.
• To capture images viewed through the camera
lens, set the Camcorder to Tape Recording Mode.
To Use DV STUDIO 3.1E-SE
• When using the USB Connection Kit, use of the AC
Adaptor is recommended for the power supply of the
Camcorder.
• If a short-cut icon has been created on the desktop
during installation, it is also possible to start by
double-clicking on the icon.
• For other information about DV STUDIO 3.1E-SE
Software, please refer to Help.
19
14 15
13
16 17
(PV-GS13/
PV-GS15)
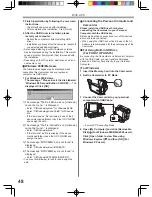
2 Set [CAMERA] or [PLAYBACK] >> [USB
FUNCTION] >> [DV STUDIO].
3 Connect the Camcorder to your personal
computer with USB Cable.
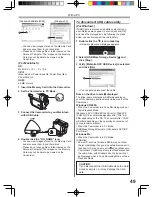
4 Select [Start] >> [All Programs (Programs)]
>> [Panasonic] >> [DV Studio3] >> [DV
Studio3].
(PV-GS9)

