RQT8009
16
Re
cord
in
g
Recording television programs
Refer to the control reference on page 15.
■
To pause recording
Press [
h
].
Press again to restart recording.
You can also press [
*
REC] to restart.
(Title is not split into separate titles.)
■
To stop recording
Press [
g
].
From the start to the end of the recording is called one title.
It takes about 30 seconds for the unit to complete recording
management information after recording finishes.
During recording
Press [
*
REC] to select the recording time.
Each time you press the button:
•
This does not work during scheduled recordings (
➔
page 18) or
while using Flexible Recording (
➔
page 17).
The unit switches to standby after about 6 hours in the stop mode.
You can turn this feature off or change the time to 2 hours
(
➔
page 32, “Off Timer”).
When you insert a new DVD-RW or a DVD-RAM or DVD-RW (DVD-
Video format) recorded on a computer or other equipment, a format
confirmation screen is displayed. Format the disc to use it. However,
all the recorded contents are erased.
Press [
w
] to select “Yes” and press [ENTER].
■
To format a disc
(Several steps are necessary to format a disc.)
“Erasing all contents of a disc-Format Disc” (
➔
page 30)
Press [AUDIO].
•
If you change the sound setting while recording, the recorded
sound will also change.
Select the audio (Main or SAP) in “Select
MTS” in the SETUP menu (
➔
page 33).
Press [
q
] (PLAY) during recording.
To stop play
Press [
g
].
To stop recording
2 seconds after play stops
Press [
g
].
To stop scheduled recording
Press [
g
], then [ENTER] within 5 seconds.
•
You can also press and hold [
g
] on the main unit for more than 3
seconds to stop recording.
Press [DIRECT NAVIGATOR] during
recording.
Press [
e
,
r
,
w
,
q
] to select a title and
press [ENTER].
To stop play
Press [
g
].
To stop recording
After play stops
Press [DIRECT NAVIGATOR] to exit screen, then press [
g
].
To stop scheduled recording
Press [
g
], then [ENTER] within 5 seconds.
•
You can also press and hold [
g
] on the main unit for more than 3
seconds to stop recording.
To exit the Direct Navigator screen
Press [DIRECT NAVIGATOR].
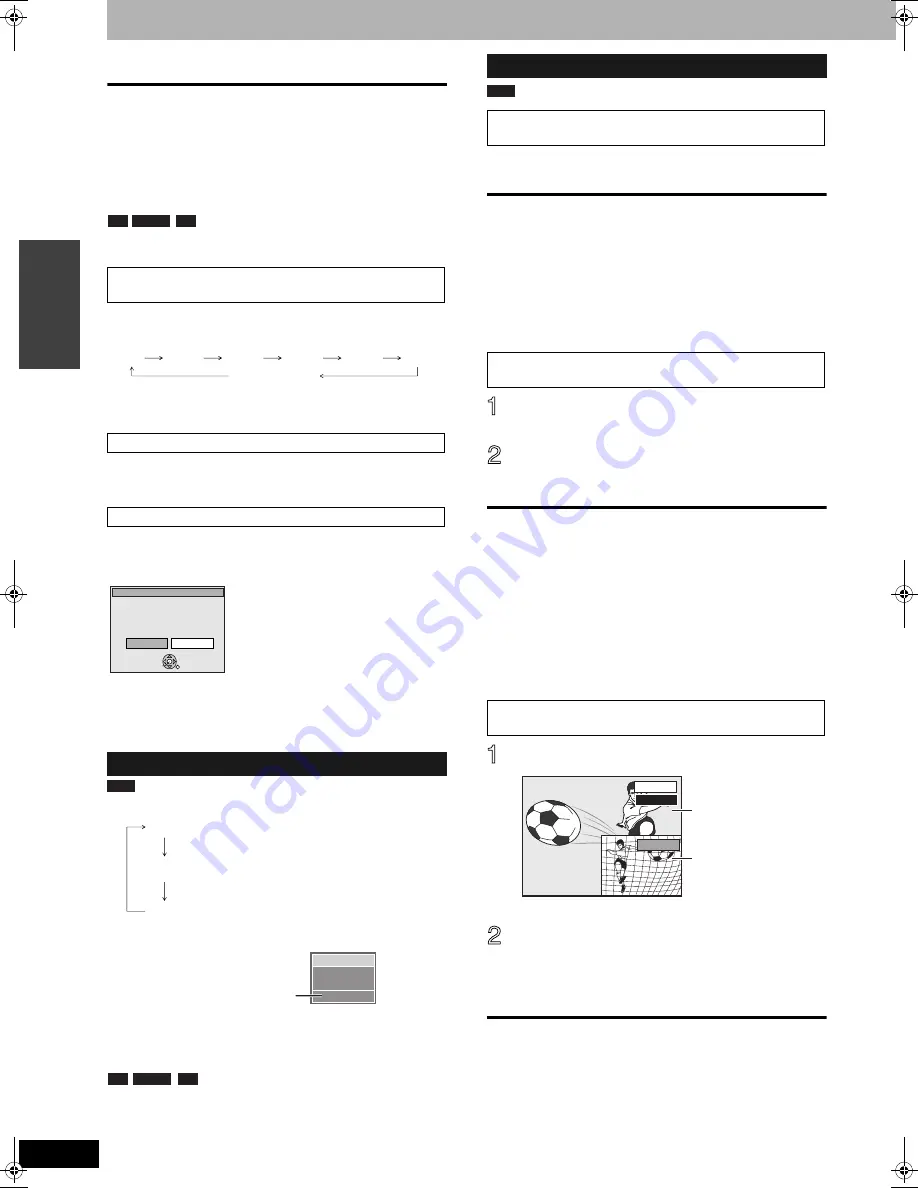
Press [TIME SLIP] during recording.
•
You will hear the playback audio.
Press [
e
,
r
] to select the time and
press [ENTER].
•
Press [TIME SLIP] to show the play images in full. Press
again to show the play and recording images.
To stop play
Press [
g
].
To stop recording
2 seconds after play stops
Press [
g
].
To stop scheduled recording
Press [
g
], then [ENTER] within 5 seconds.
•
You can also press and hold [
g
] on the main unit for more than 3
seconds to stop recording.
To specify a time to stop recording—One Touch
Recording
Off Timer
When the format confirmation screen is displayed
Selecting audio to be recorded
-R
-RW(V)
+R
0: 30
1: 00
1: 30
2: 00
3:00
4: 00
Counter (cancel)
This disc is not formatted properly.
Do you want to format the
disc in Disc Management?
ENTER
Format
No
Yes
RAM
Stereo:
SAP:
Mono:
Main audio (stereo)
•
If the broadcast is “Mono+SAP”, audio will be
monaural even if you select Stereo mode.
Secondary audio program (SAP)
•
If recorded in SAP mode, main audio is also
recorded.
Main audio (monaural)
•
Select “Mono” if reception is poor during a
stereo broadcast.
CH 12
Stereo
No disc
((
e.g., “Stereo” is selected
“((” appears when the unit is receiving the audio type you selected.
-R
-RW(V)
+R
Playing while you are recording
Playing from the beginning of the title you are
recording—Chasing playback
Playing a title previously recorded while recording—
Simultaneous rec and play
Reviewing the recorded images while recording—
Time Slip
RAM
0 min
PLAY
REC
Play starts from 30
seconds previous.
The video currently
being recorded
DMR-ES10-P_new.fm Page 16 Saturday, February 12, 2005 2:31 PM


