4.
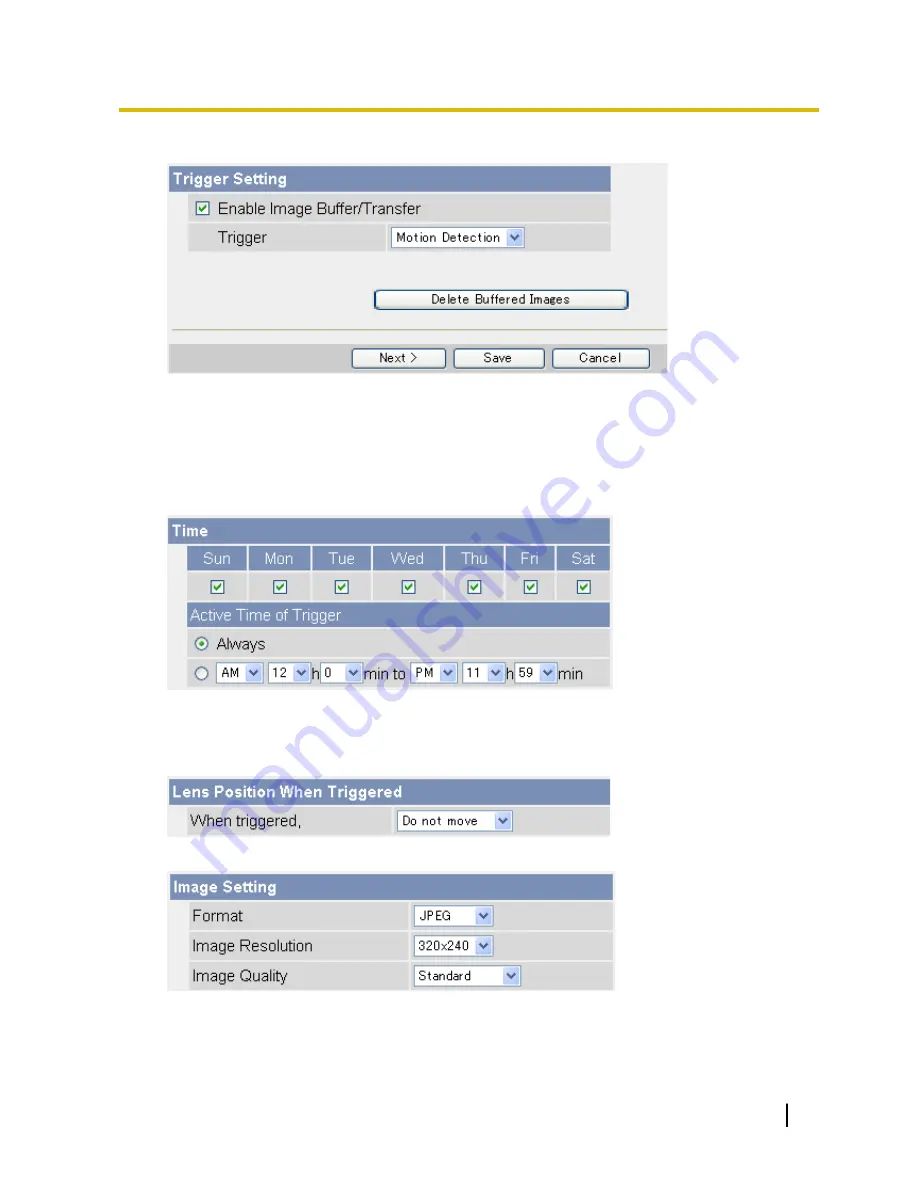
Check [Enable Image Buffer/Transfer] to enable the trigger.
5.
Select [Sensor] or [Motion Detection] from the pull-down menu, then click [Next].
•
To adjust the sensitivity of the built-in sensor, see Page 56.
•
For information on how the motion detection feature detects motion and how to adjust the sensitivity
of the motion detection feature, see Page 57.
•
The motion detection feature is disabled when panning and tilting the camera lens, i.e., moving the
camera lens will not trigger the motion detection feature.
6.
Under [Time], select the days of the week when the trigger will be active.
7.
Select the time of day the trigger will be active, or click [Always] to enable the trigger for the full 24 hours
of each day selected.
8.
Under [Lens Position When Triggered], select [Do not move] or the desired preset. The lens will aim in the
appropriate direction when triggered.
9.
Under [Image Setting], select the desired image format, image resolution, and image quality.
•
The image quality setting is not available when [MPEG-4] is selected as the image format.
•
When configuring the trigger to transfer images to a mobile phone’s E-mail address, set the image
resolution to 192
´
144, and set the image quality to [Favor Motion].
Operating Instructions
31
2.2 Configuring a Sensor or Motion Detection Trigger


