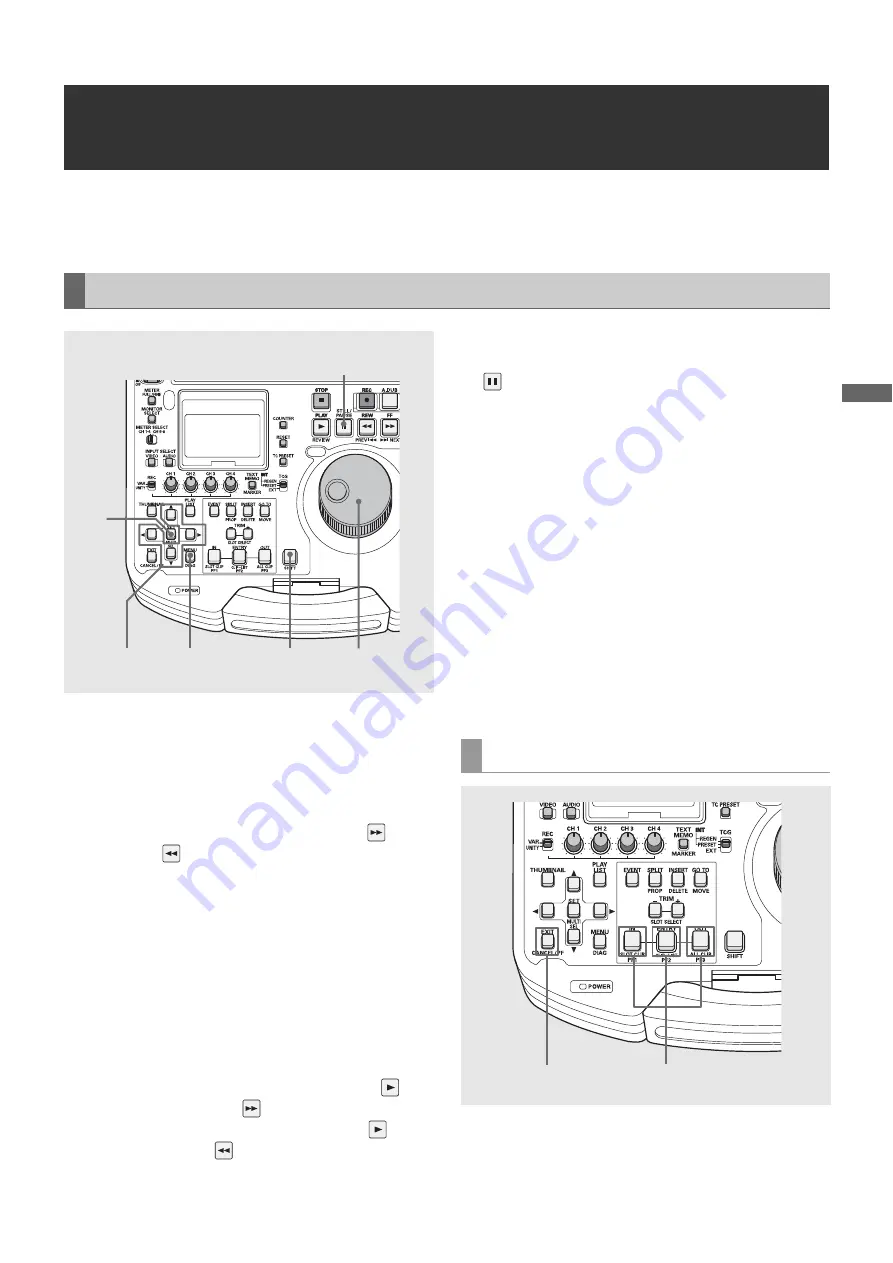
Setup: Changing Settings
107
S
e
tu
p
Changing Settings
The menus on the LCD monitor or a monitor (when the SUPER switch on the right side of the LCD monitor is set to “ON”)
connected to the ANALOG COMPOSITE MONITOR OUT connector make it possible to change settings.
1
Press the MENU button.
The setup menu screen appears on the LCD monitor and
the counter display indicates the setup menu number.
2
Select the file to change.
• Hold down the SHIFT button and press the FF
button
or the REW
button to switch to the next or previous
file.
3
Select items to change.
Turn the search dial or press the up (
▲
) or down (
▼
)
buttons to move the cursor (*) to the item you want to
change.
• Use the search dial in JOG mode.
• Turn the dial clockwise to increment item numbers
(001
➝
002
➝
003
➝
004
➝
) and counterclockwise to
decrement them.
• To switch to the next item, hold down the PLAY
button and press the FF
button or the + button. To
switch to a previous item, hold down the PLAY
button
and press the REW
button or the – button.
4
Change set values.
Select the item to change, hold down the STILL/PAUSE
button and turn the search dial or press the left (
b
) or
right (
a
) button to change the setting.
• Turn the dial clockwise (or press the right (
a
) button) to
increment the set number and turn it counterclockwise
(or press the left (
b
) button) to decrement it.
• Release the STILL/PAUSE button after making the
change.
• In the SHTL mode, set the search dial to the center
position or items will move.
• Repeat the operations described in steps 3 and 4 when
there are more items to change.
5
Finalize the change.
Press the MENU button.
In the confirmation message that appears, press the SET
button to accept the change or press the EXIT button to
cancel it. The menu closes after this operation.
You can assign three of the items that are most often changed
to the PF buttons to enable quick changes of the setting
values.
Change Operations
1,5
4,5
5
2
3,4
3,4
Making changes using the PF buttons
2
1,3


