


INF-18
5-4-1. Setting and confirmation of Date and Time of internal clock(SYSCON(S) section)
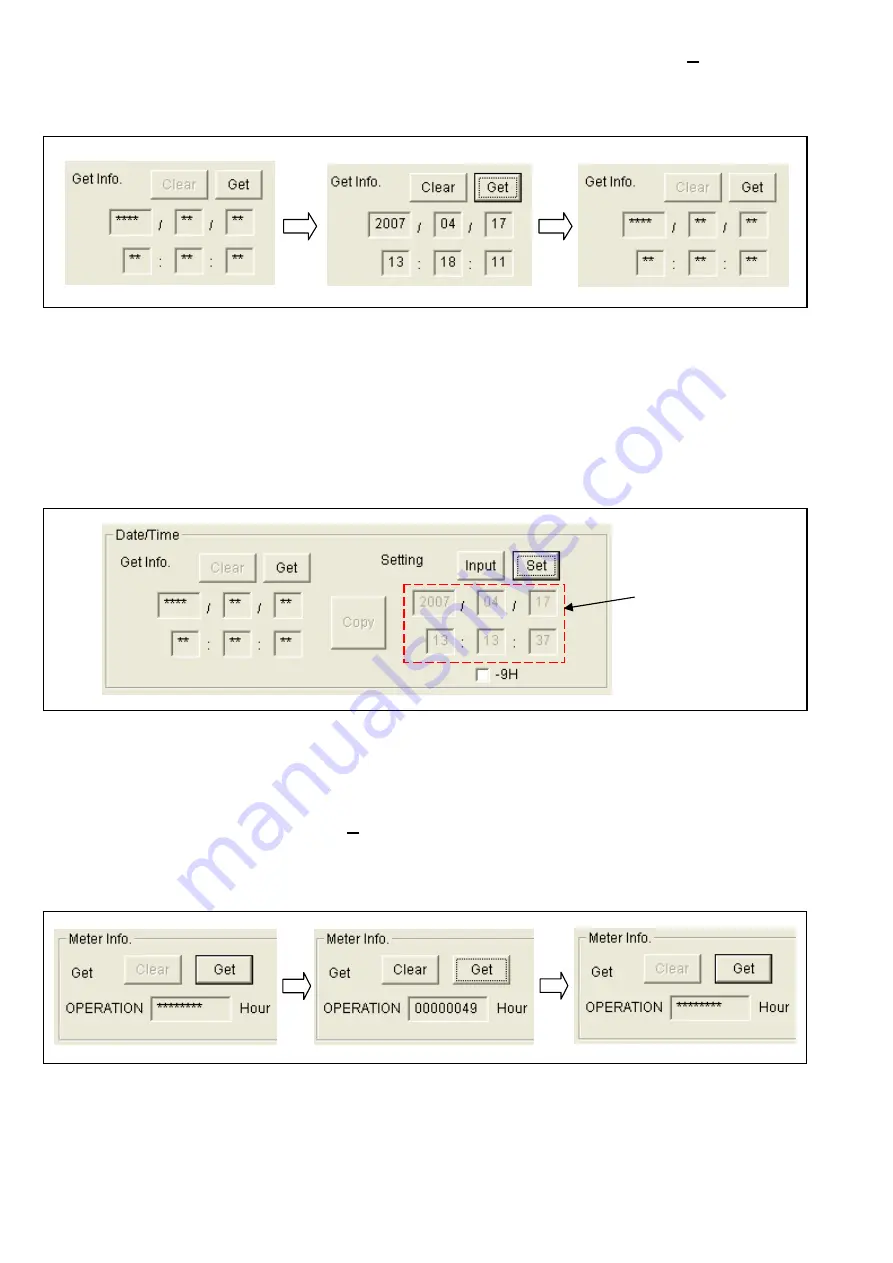
< Confirmation method >
1. Clicking
“Get”
button, the date/time information in camera recorder is displayed.
2. Clicking
“Clear”
button, the displayed date/time is cleared. Clock information on the camera recorder is not
cleared.
< Setting method >
1. The date/time information of PC is displayed in the window as shown in following figure on real time.
2. When
the
“Input”
button is clicked, a date and time will be fixed on the
Setting Tool
screen (When the
“Input”
button is clicked again, it will return to a real-time display.). And the window to enter date/time becomes valid.
3. Confirm that the date/time is displayed on the LCD panel (DISPLAY SETUP menu
→
DATE/TIME
→
TIME&DATE).
4. Clicking
“Set”
button, clock is set in a camera recorder follow the set up on the
Setting Tool
screen. In case of
data/time is not input to window (gray window), clock information of PC is set. After click
“Set”
button, see the
display on LCD panel to confirm the date/time display have changed.
NOTE:
In case of put the check in box
“-9H”
, the time of -9 hour from the time displayed on the
Setting Tool
is set.
NOTE:
A setup of the date and time of internal clock can be set also with the OTHER FUNCTIOM menu (Refer to
the procedure of operation instructions for the setting method) and PC EVR software for AG-HMC150
series (refer to item
“6-3-3. Setup of Date and Time of internal clock”
(page INF-26).
5-4-2. Hour Meter Display(SYSCON(S) section)
1. Clicking
“Get”
button, total operation hours is displayed.
2. Clicking
“Clear”
button, the display is cleared. The time information of camera recorder is not cleared.
NOTE:
The OPERATION hours can be confirmed also with the OTHER FUNCTIONS menu. Refer to operation
instructions.
Real time display


