95
Create Guest/Temp Card
Guest Card and Temp Card are almost the same. They serve the purpose to temporarily
grant access to a visitor. The default expired date will be one day only. The one time
pass attribute can be used to further restrict access to lockplace to only one time for all
the lockplaces granted. Below is a demo to create a Guest Card. Create a temp card is
the same.
You will request the visitor to return the Guest/Temp Card when they leave the property.
The returned card can be reused to issue any card types.
❖
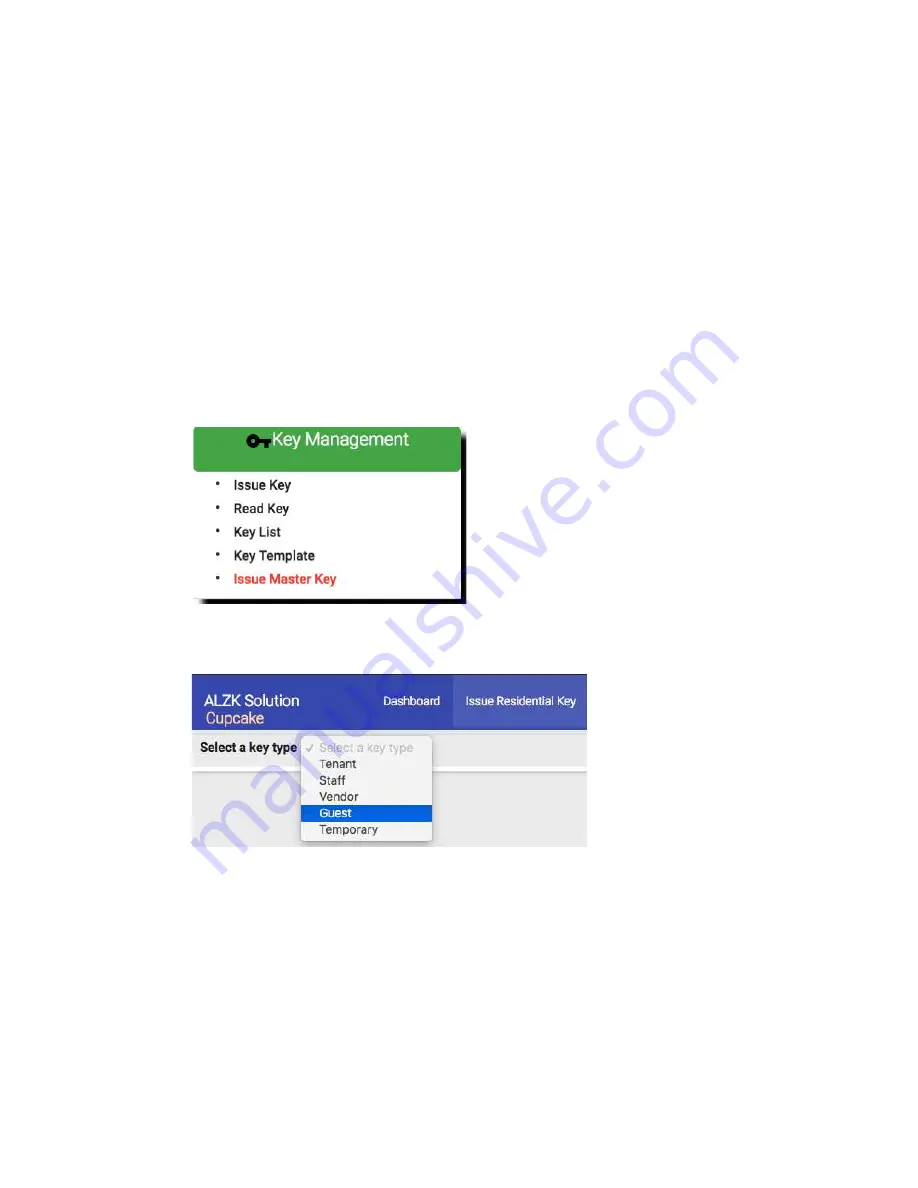
Steps to create a guest card
Navigate to Issue Key page.
Key Management
=>
Issue Key
Select key type as
Guest.
Summary of Contents for Kapture KA-WR1N
Page 10: ...9 Front View Figure 3 Kapture KA WR1S Front Kapture KA WR1N Front ...
Page 11: ...10 Back View Figure 4 Kapture KA WR1S Back Kapture KA WR1N Back ...
Page 13: ...12 Basic Door Installation Figure 6 Kapture KA WR1S N Basic Door Installation ...
Page 14: ...13 Basic Door Installation Wiring Figure 7 Kapture KA WR1S N Basic Door Installation Wiring ...
Page 15: ...14 Solid State Output Figure 8 Kapture KA WR1S N Solid State Output ...
Page 16: ...15 Surface Mounting Figure 9 Kapture KA WR1S N Surface Mounting ...
Page 18: ...17 Dimensions Figure 11 Kapture KA WR1S Front Figure 12 Kapture KA WR1N Front ...
Page 19: ...18 Back Figure 13 Kapture KA WR1S Back ...
Page 20: ...19 Figure 14 Kapture KA WR1N Back ...
Page 27: ...26 Product Photo Mark ...
Page 28: ...27 Dimensions 內外機 Mark ...
Page 29: ...28 Installation Guide ...
Page 32: ...31 Product Photo Mark ...
Page 33: ...32 Dimensions 內外機 Mark ...
Page 34: ...33 Installation Guide D1 Installation Guide ...
Page 37: ...36 Product Photo Mark ...
Page 38: ...37 Dimensions 內外機 Mark ...
Page 39: ...38 Installation Guide ...
Page 42: ...41 Product Photo Mark ...
Page 43: ...42 Installation Guide ...
Page 46: ...45 Product Photo Mark ...
Page 47: ...46 Installation Guide ...
Page 63: ...62 Place key card on reader first Click Read Key From Reader to get Key s UID ...
Page 81: ...80 Place key card on reader first Click Read Key From Reader to get Key s UID ...
Page 91: ...90 Check the box on Group Area M and click time control button to edit ...
Page 93: ...92 Click Issue Write Key to issue the vendor key Place key card on reader first ...
Page 99: ...98 Place key card on reader first Click Read Key From Reader to get Key s UID ...
Page 118: ...117 Factory default settings Deadbolt Same as Wall Reader ...
Page 119: ...118 Factory default settings Leverset Same as Wall Reader ...
Page 120: ...119 Factory default settings Interconnect Same as Wall Reader ...


