60
Chapter 3
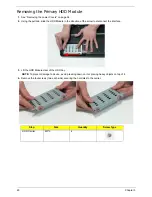
Removing the Primary HDD Module
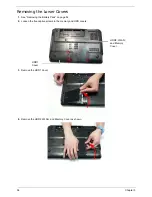
1.
See “Removing the Lower Covers” on page 54.
2.
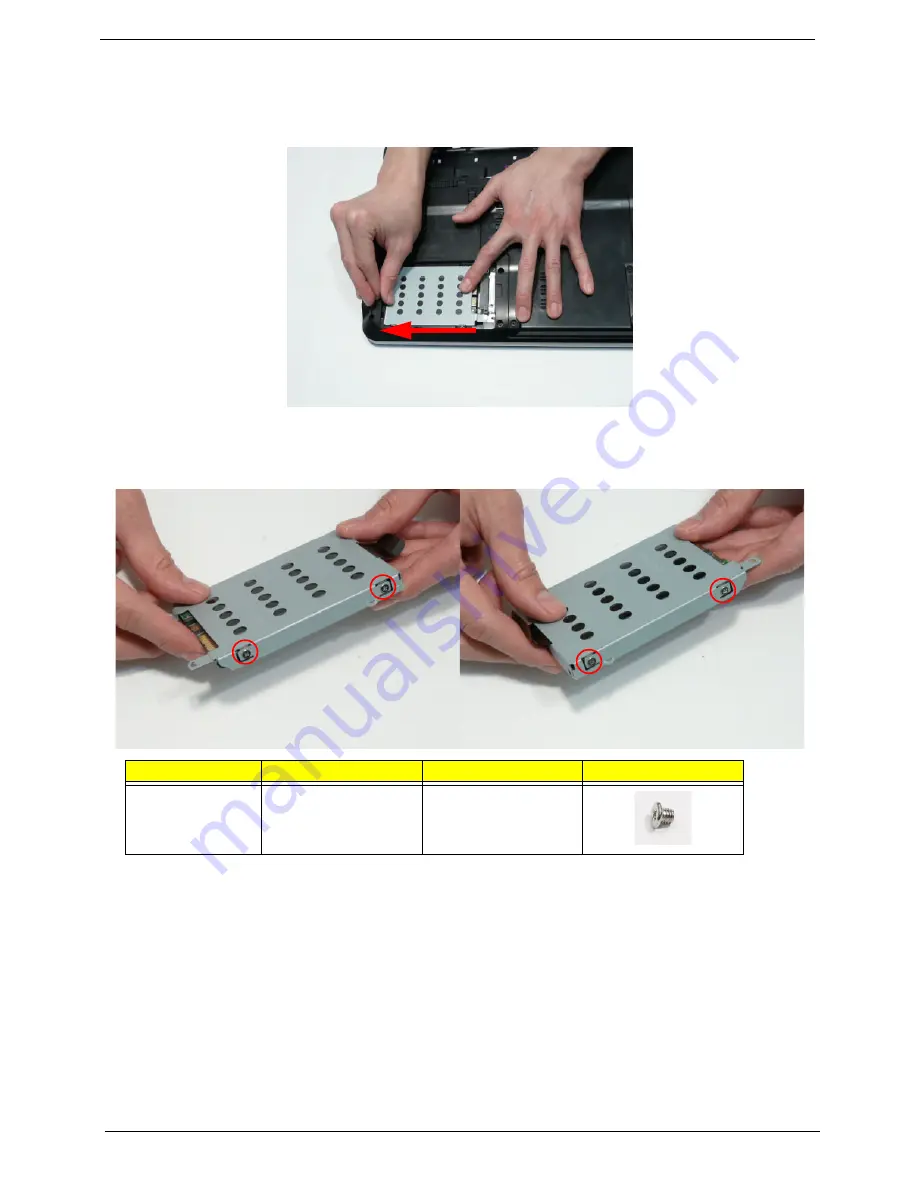
Using the pull-tab, slide the HDD Module in the direction of the arrow to disconnect the interface.
3.
Lift the HDD Module clear of the HDD bay.
NOTE:
To prevent damage to device, avoid pressing down on it or placing heavy objects on top of it.
4.
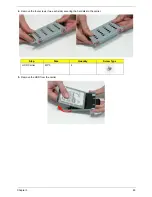
Remove the four screws (two each side) securing the hard disk to the carrier.
Step
Size
Quantity
Screw Type
HDD Carrier
M3*3
4
Summary of Contents for EasyNote LJ75
Page 6: ...VI ...
Page 10: ...X Table of Contents Online Support Information 207 Index 209 ...
Page 15: ...Chapter 1 5 System Block Diagram ...
Page 58: ...48 Chapter 2 ...
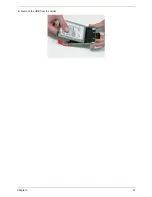
Page 71: ...Chapter 3 61 5 Remove the HDD from the carrier ...
Page 85: ...Chapter 3 75 11 Carefully remove the LCD module from the chassis ...
Page 94: ...84 Chapter 3 5 Lift the entire Speaker assembly clear of the Upper Cover ...
Page 148: ...138 Chapter 3 ...
Page 178: ...168 Chapter 4 ...
Page 186: ...176 Chapter 5 ...
Page 199: ...Chapter 6 189 ...
Page 216: ...206 Appendix B ...
Page 218: ...208 Appendix C ...
Page 222: ...212 ...

