


26
OTICOn InTIGA FITTInG GUIDE
27
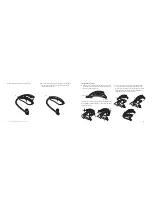
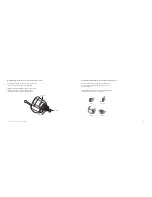
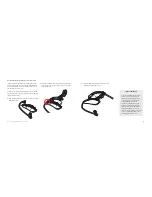
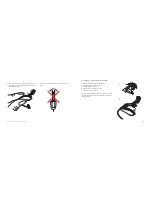
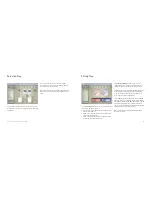
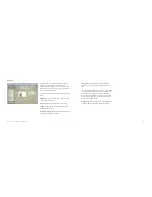
Intiga Micro Mould Receiver Insertion
Canal Receiver Insertion
Note: Make sure that the Receiver is not angled when inserted into the Mould. An incorrect angle will prevent the Receiver
from engaging the Adapter. The click sound indicates that the Receiver is placed correctly and only minimal force should
be applied. Never force the Receiver and the Mould together!
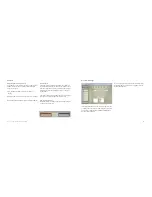
1a
1b
2a
2b
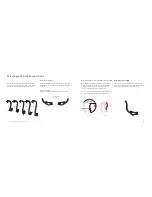
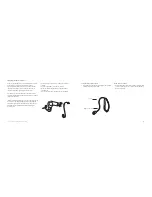
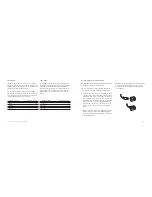
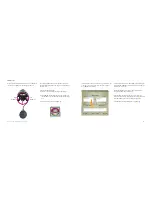
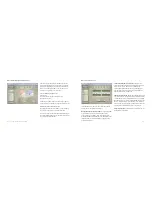
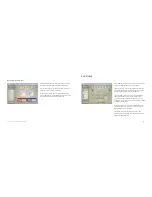
Removing the Intiga Micro Mould
The Mould cannot be detached from the Receiver without
the Intiga Micro Mould tool. When detaching the Intiga
Micro Mould follow the instructions to the right:
1.
Remove the WaxStop.
2.
Place the tool in the Intiga Micro Mould as illustrated
making sure that the cross in the Adaptor is aligned with
the tip of the tool. Angle the removal tool slightly so it
follows the slight angle of the receiver in the Intiga
Micro Mould.
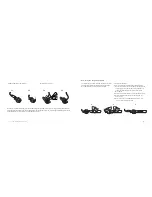
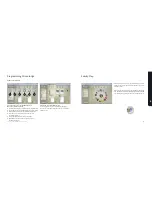
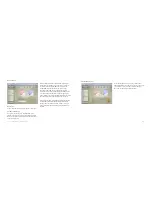
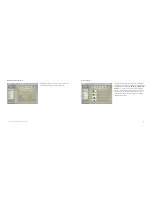
3.
Press the tool into the Mould to release the Receiver unit.
4.
now the Intiga Micro Mould can be removed from the
Receiver unit.
5.
never remove the existing noWax from the Receiver.
It is part of the locking mechanism.
1
2
3


