


Ones Stop Systems
EB7-X8G2-RAS | 2 Hardware Installation
10
2 Hardware Installation
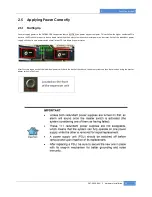
The following steps will guide you through the installation of your OSS expansion system
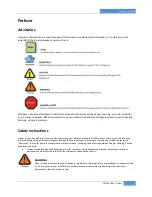
CAUTION
Hardware installation shall be performed only by qualified service personnel per UL and IEC
60950-1.
Electrostatic Discharge (ESD) Warning
All PCI cards are susceptible to electrostatic discharge. When moving PCI cards, it is best to carry
the cards in anti-static packaging. If you need to set a PCIe card down, be sure to place it inside or
on top of an anti-static surface. For more information, see “Protecting Against Electrostatic
Discharge” in the Preface.
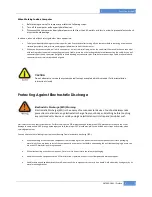
WARNING
High voltages are present inside the expansion chassis when the unit’s power cord is plugged into
an electrical outlet. Disconnect the power cord from the AC outlet before removing the enclosure
cover. Turning the system power off at the power on/off switch does not remove power to
components. High voltage is still present.
CAUTION
Before touching anything inside the enclosure, move to an ESD station and follow proper ESD
procedures. Failure to do so may result in electrostatic discharge, damaging the computer or its
components. For more information, see “
Protecting Against Electrostatic Discharge
” in the
Preface.
STOP
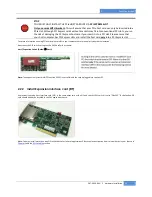
If your OSS expansion chassis was not purchased directly from OSS, you must check to ensure that
it does not contain any pre-installed PCIe cards.
Check the rear side of the chassis to see if any PCIe cards are visible in the slots. If you see a PCIe
card, you should continue installation using instructions provided by your dealer. If no separate
instructions are available, remove the cover by using instructions in
Chapter 4 Install Cards and
Drives
. Then remove the card(s) as normal. If no PCIe card is visible, then continue with the cable
installation.


