Osprey Talon User Guide
39
© 2016 Osprey Video. Osprey®, Ceylon® & SimulStream® are registered trademarks of Osprey Video AG. All other trademarks are the property of their respective owners.
Product specifications and availability may change without notice <20161223
1.
In the
Live Streams
panel of the
Live Streams
page of Wowza Streaming Cloud, select
the live stream that uses Osprey as its video source.
2.
Click the
Video Source and Transcoder
tab of the live stream detail page.
3.
Under
Download Configuration File
, click
Download
.
4.
Copy the downloaded file,
osprey.xml
, to a computer on the same network as the Osprey
Talon.
5.
Sign in to the Osprey Talon web-based admin interface.
6.
Click the
Stream 1
tab or click the plus sign to create a new stream.
7.
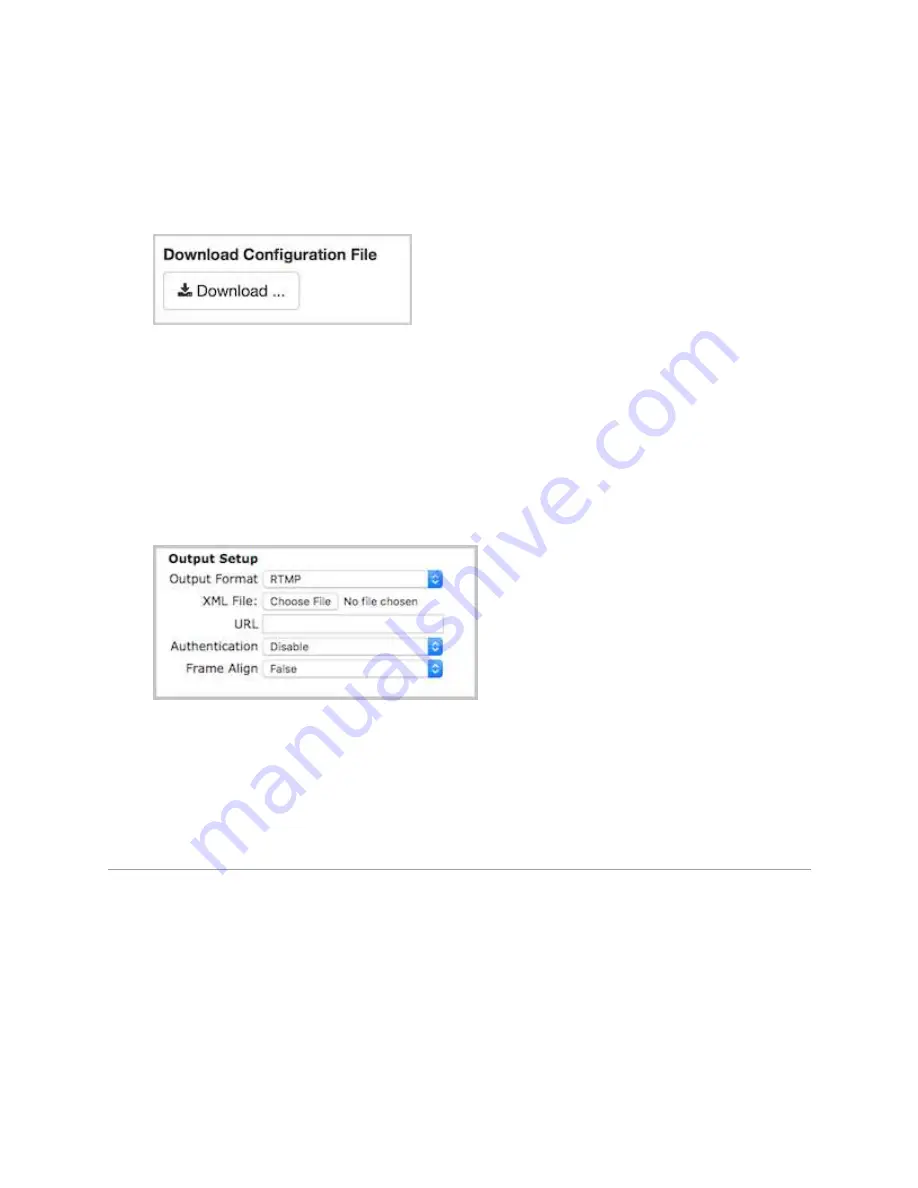
Under
Output Setup
, for
Output Format
, choose
RTMP
.
8.
For
XML File
, click
Choose File
and navigate to and select the
osprey.xml
profile.
9.
Configure any other required settings for your broadcast. See the
“Encoder Setup” portion
of this guid for information on how to configure a stream.
Test the connection
1.
In the Wowza Streaming Cloud web manager, select the live stream that uses the Osprey
Talon as its video source.
2.
Click
Start Live Stream
at the top of the live stream detail page.
3.
Click
Start
to confirm that you want to start the stream.
Wowza Streaming Cloud opens the stream and connects with the Osprey encoder.
Summary of Contents for Talon G2 model SAH-E23
Page 1: ...Osprey SAH E23 User Guide...


