


ENGLISH
FRENCH
GERMAN
IT
ALIAN
SP
ANISH
ENGLISH
FRENCH
GERMAN
IT
ALIAN
SP
ANISH
POR
TUGUESE
POR
TUGUESE
8
9
When you have finished inputting the data, tap ENTER to confirm the schedule. The PDA will ask you if
you wish to save the record as “SECRET”. Tap YES or NO and the PDA will save your record.
A dot appears by the date to indicate that an appointment/event has been recorded there. Tap on the date to
view or edit the record. The PDA lists all records scheduled for that date with the start and end times and
the first letters of the subject. Use the arrow keys to find the record you want to edit and tap on it. Or
simply tap on it if it is already displayed. You can also tap the SEARCH function key. Input the keyword
using one of the methods for inputting data and then tap on ENTER.
The PDA then displays the date, the times and the content of your schedule. Tap EDIT. The PDA displays
the same screen that you use for inputting a new record, with the date, start time, end time, subject and
alarm bell. Tap on the part that you want to edit. The procedure is then the same for when you input a
completely new record. You can leave any screen simply by tapping EXIT. The PDA will ask you if you
want to abort the edit. Tap YES to abort and to return to the schedule list, tap NO to continue editing.
[
] MEMO
Use MEMO to record simple memos.
The MEMO list uses the very first letter of the memo to list your memos in alphabetical order.
Scroll through the list using the arrow keys. Tap on a memo to view it. While viewing, tap EDIT and edit
appropriately, or DELETE to delete a memo. You will be asked to confirm the deletion. Tap NEW to write
a new memo using one of the methods described under Inputting data.
Press EXIT at any time to return to the previous screen or finally to exit the application.
[
] PAINT
This paintbrush program allows you to draw freehand sketches and diagrams or to write notes. The pro-
gram features the following drawing tools: line, rectangle, circle, eraser and different line width.
Tap PAINT to enter the application. The screen displays a list of records. Tap NEW to draw a new diagram.
TO EDIT, tap on a record.
The drawing tools appear on the left-hand side of the screen. Tap on the tool you want to use - to draw
freehand, to draw perfect squares and circles, or to erase what you have drawn, and so on.
Tap ENTER or SAVE to save your drawing. The PDA will ask you to input the name under which you
want to save the drawing. Input the name using one of the methods described under Inputting data.
Press EXIT at any time to return to the previous screen or finally to exit the application.
[
] E-MAIL (*works only with PumaTech™ Intellisync
®
)
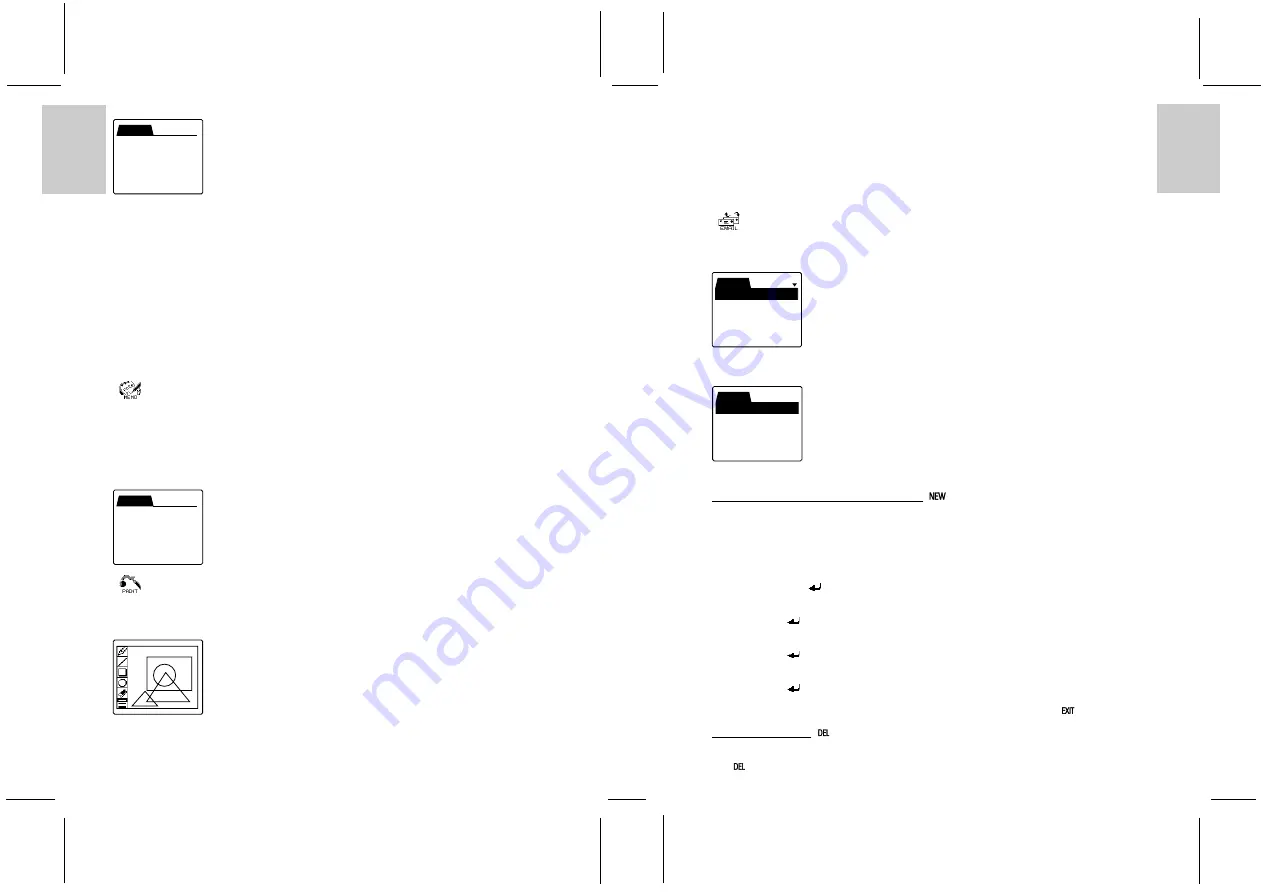
To access the PDA’s e-mail program, tap the E-MAIL icon. The screen displays three folders, Inbox,
Outbox and Sent.
Use the arrows on the right of the screen to scroll between the folders and then tap the folder you want to
open. Or simply tap the folder twice to open it.
* Messages with an “R” beside them have been read.
WRITING AND SENDING A NEW E-MAIL - [
]
Note: new e-mail messages (i.e. not replies) can only be created in the Outbox.
1. To send an e-mail, open the Outbox and tap the NEW icon at the right of the screen.
2. The screen prompts you to enter the recipient (To:).
3. Input the e-mail address of the person you want to write to.
4. You can input a maximum of 60 characters.
5. Then tap ENTER [
] from the functions on the right-hand side of the PDA.
6. The screen prompts you to enter the recipients you wish to send copies of the e-mail to [ Cc: ].
7. The Cc field can contain a maximum of 60 characters.
8. Tap ENTER [
].
9. The screen prompts you to enter the subject.
10. The subject field can contain a maximum of 40 characters.
11. Tap ENTER [
].
12. The screen prompts you to enter the body of your message.
13. The text body can contain a maximum of 200 characters.
14. Tap ENTER [
]. The record will be saved in the Outbox folder.
Note: while you are writing your e-mail message, you can always exit by tapping [
] Exit.
DELETING E-MAIL [
]
1. You can delete a message in the Inbox, Outbox and Sent folders by accessing it and then tapping the
[
] DEL key.
MEMO VIEW
Buying Snacks for
Party:
1. Chocolate
2. Coke
INBOX
OUTBOX
SENT
SCHEDULE VIEW
DATE : 01/01/2002
TIME : 12:00AM- 12:30AM
CONTENT : New Year
party
ALARM : OFF
INBOX
1
peter@abc>Meeting R


