background image

ENGLISH

    will allow you to water the stations in Program A for their  
    pre-set durations. Press 

ENTER

 to begin watering. 

•  

Or

, press 

NEXT

 again for MANUAL - PROG B watering. This  

    will allow you to water the stations in Program B for their  
    pre-set durations. Press 

ENTER

 to begin watering.

To advance to the next station in manual mode, press 

NEXT

.

Press 

CANCEL

 to stop the manual watering cycle.

To Set Water Budgeting:

Water Budgeting is a quick way to adjust your set durations  
(10 to 200%) based on seasonal requirements.

•  

Press 

BUDGET

.

•  

Press      or    to select the desired budget percentage.  

    Press 

ENTER

.

Note: If your set duration is 10 minutes and you set the water budget 
to 150% the duration will be 15 minutes. If you set it to 50% the 
duration will be 5 minutes.

WIRELESS SENSOR STATE  

[OPTIONAL FOR RF MODEL ONLY]

This timer can communicate with Orbit wireless sensors.

To change the communication status between the timer and the  
wireless sensor do the following:


Press the 

BUDGET

 button on the Home/Auto Screen.


Press the 

SENSOR

 button on the top right of the screen.


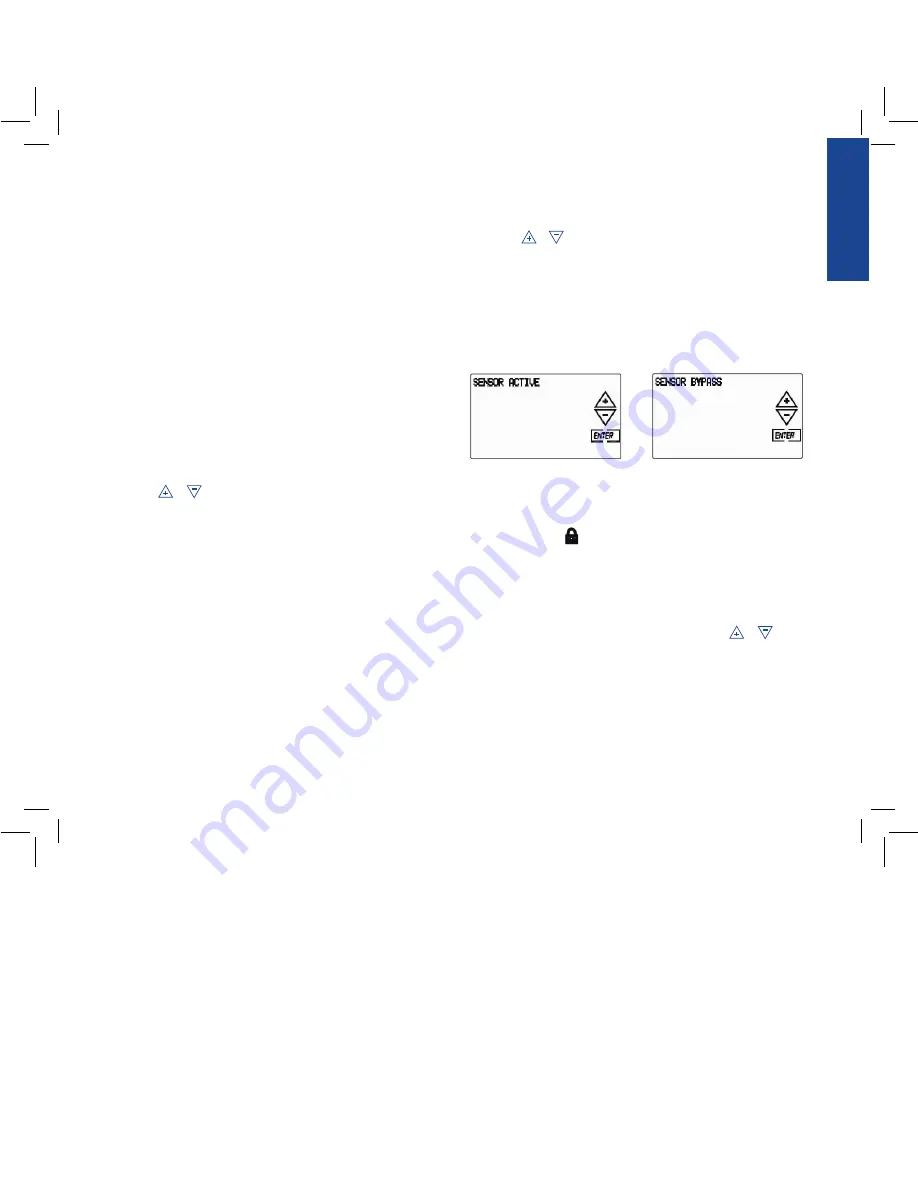
Use the     or     to toggle the sensor communication status.

Sensor Active

 - timer will allow sensor to block watering.

Sensor Bypass

 - timer will ignore the sensor and will not allow  

watering to be blocked.


Press 

ENTER

 when desired status is selected.

To Lock Programming Keys: 

•  

Push the 

HOME/LOCK

 button once from the Home screen.  

    The lock icon, 

, will show on the screen. To unlock the  

    touch screen press the 

HOME

 button again.

To Prevent Watering:

•  

To stop watering for a set period (1 to 99 days) press 

RAIN  

    DELAY

 once and select the desired delay using     

or 

    and then press 

START

. To cancel the RAIN DELAY and return  

    to AUTO mode press 

CANCEL

.

•  

To stop all watering indefinitely, push the 

RAIN DELAY/ 

    SYSTEM OFF

 button twice. The controller will be placed  

    in OFF mode. To return to AUTO mode press the  
    

HOME/LOCK 

button.

07WTM004225 57932-24 rE.indd   7

5/2/07   4:39:24 PM

Summary of Contents for B-hyve 57946

Page 1: ...d not be used as the source to create final printed pieces of the file it represents Rather it is a low resolution visual reference only containing relevant information regarding the file e g color te...

Page 2: ...b no 07WTM004225 client ORBIT sku 57932 upc NA file name 07WTM004225 57932 24 rE indd software InDesign CS2 colors additional instructions color non printing PMS 280 PMS color non printing PMS Registr...

Page 3: ...d this manual completely before you begin programming and using the timer Important Features and Capabilities PC Programmable Visit www orbitonline com to download software which will allow you to pro...

Page 4: ...B is stored indefinitely in the timer s non volatile memory EEPROM and internal memory This high end feature means your programming won t be lost or erased if the power and batteries go out Convenien...

Page 5: ...ignore the rain sensor This switch is for hard wired sensors only and does not effect wireless rain sensors Section 2 Getting Started Set Language Press the RESET button The controller will now take y...

Page 6: ...ressing the station number on the bottom of the touch screen or press ENTER to advance to the desired station Note The active station being programed will Flash Set the watering duration for each stat...

Page 7: ...lowing cycle Press ENTER Repeat this procedure for the other program if desired To Change Settings From the HOME AUTO Screen Orbit has simplified the way to make modifications to your timer Just tap t...

Page 8: ...ors To change the communication status between the timer and the wireless sensor do the following Press the BUDGET button on the Home Auto Screen Press the SENSOR button on the top right of the screen...

Page 9: ...ht on the timer Press the OFF button on the remote or depress the stem of the RF sensor the red light should start blinking If the red light blinks you have successfully synchronized the devices If th...

Page 10: ...outlet Avoid using an outlet controlled by a switch In a dry indoor location where operating temperatures are not below 32 or above 122 Fahrenheit below 0 degrees or above 50 degrees Celsius Not in d...

Page 11: ...wire Taking the sprinkler wire strip 1 2 12 mm of the plastic insulation off the end of each individual wire Connect one wire from each valve it doesn t matter which wire to a single common sprinkler...

Page 12: ...f you are activating a pump from this timer you must purchase a Pump Start Relay From the pump start relay or master valve connect one wire to the PUMP terminal and the other wire to the COM terminal...

Page 13: ...lenoid 2 Test the station by operating a manual watering sequence 3 If the short is not detected after a few seconds the fault notification message will be terminated 4 If the message continues a shor...

Page 14: ...ler timer from running it s scheduled watering program for a specific duration A feature that allows a program to be operated multiple times on the same day The electrical part on a sprinkler irrigati...

Page 15: ...ram the timer Based on the preceding information your watering program may look like this A A B B Program Days of Week Days of Week Odd Even Interval Watering Option 1 2 3 4 Station M W Sat M W Sat Ev...

Page 16: ...not programmed to 1 Transformer is defective or is not connected correctly 2 Programming is incorrect 3 Timer is in OFF mode 1 Water pressure is too high 2 More than one cycle is programmed 3 Stations...

Page 17: ...or relocate the receiving antenna Increase the separation between the equipment and receiver Connect the equipment into an outlet on a circuit different from that to which the receiver is connected Co...

Reviews: