Orbit B-hyve 57946 Manual Download Page 10

ENGLISH

•  

If you wish to advance to the next selected station before a  

    station’s watering duration is complete, press 

NEXT

.

Section 5: 

Installing the  

Orbit

®

 Touch-Screen Timer  

and Remote Control Device Sleeve

NOTE: Before installation, please have the following tools on hand:

•  

Phillips screwdriver

•  

Wire strippers

Installing the Sprinkler Timer in  

Five Easy Steps

Your new timer has been designed for easy, convenient 
installation. Simply slide the timer off the docking port, screw 
the docking port onto a wall in an appropriate location, insert 
the various connections into the sockets at the bottom of the 
docking port, and slide the timer back on. Finally, install the 
sleeve for the remote control device.  
Follow these easy steps:

1.  Select a Location

Select a location with the following criteria:

•  

Near an electrical outlet. (Avoid using an outlet controlled   

    by  a switch.)

•  

In a dry, indoor location, where operating temperatures  

    are not below 32° or above 122° Fahrenheit (below 0  
    degrees or above 50 degrees Celsius).

•  

Not in direct sunlight.

•  

Accessible to sprinkler wires from valves.

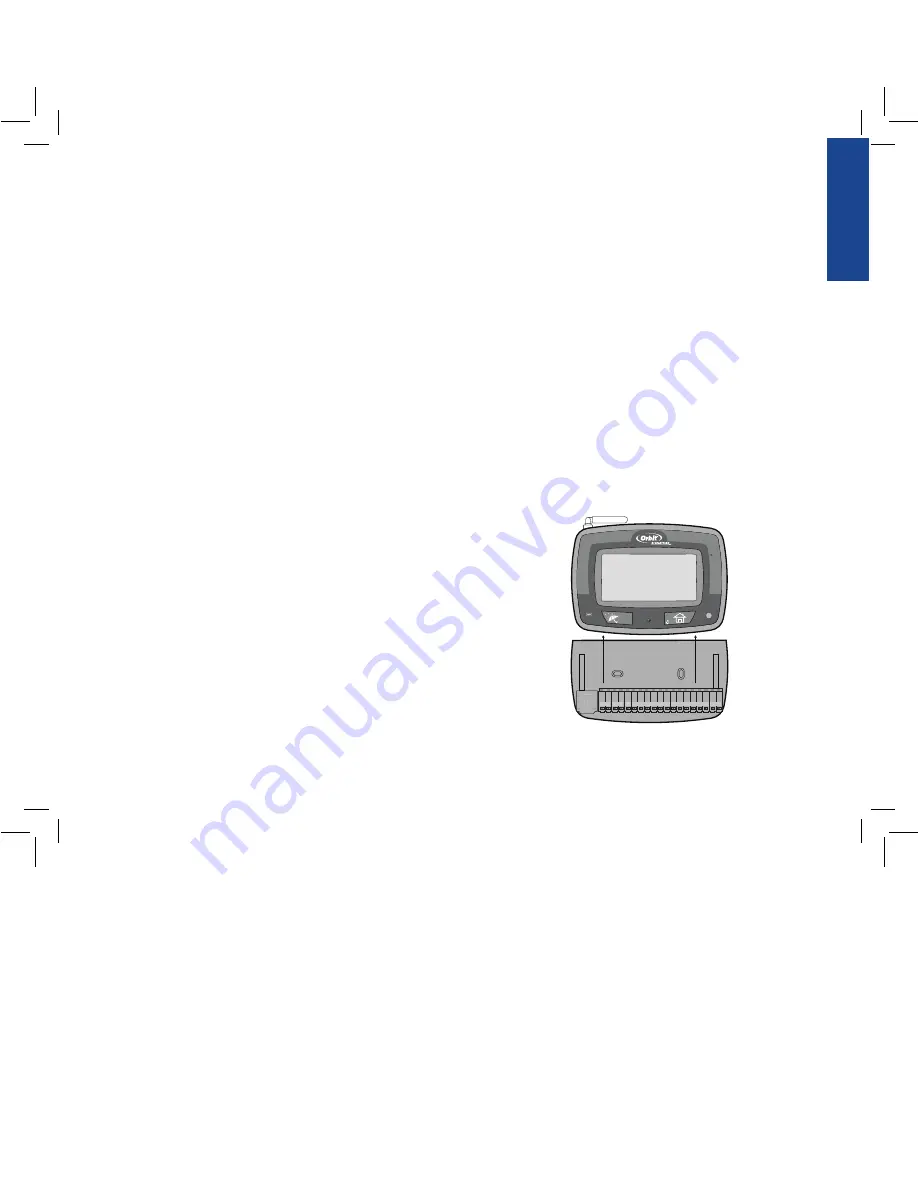
2.  Mount the Docking Port

•  

Slide the timer off the docking port. (See Figure 5)

•  

Using the mounting template (included), mark the two  

    screw locations on the wall, then drill holes at the marks  
    for No. 8 screws. Use the expanding anchors in plaster or  
    masonry if necessary.

•  

Place the docking port against the wall, aligning the two  

    holes in the docking port with the two drilled holes. 

•  

Secure the docking port to the wall by screwing a No. 8  

    screw (included) through each of the two holes. 

•  

Do not slide the timer back onto the docking port yet.

Figure 5: 

Mounting the Docking Port

Slide the Timer off the Docking Port

SENSOR

COM

PUMP

1

2

3

4

5

6

7

8

9

10

11

12

24 VAC

SYSTEM

OFF

RAIN SENSOR

ACTIVE | BYPASS

RF SYNC

RESET

07WTM004225 57932-24 rE.indd   9

5/2/07   4:39:25 PM

Summary of Contents for B-hyve 57946

Page 1: ...d not be used as the source to create final printed pieces of the file it represents Rather it is a low resolution visual reference only containing relevant information regarding the file e g color te...

Page 2: ...b no 07WTM004225 client ORBIT sku 57932 upc NA file name 07WTM004225 57932 24 rE indd software InDesign CS2 colors additional instructions color non printing PMS 280 PMS color non printing PMS Registr...

Page 3: ...d this manual completely before you begin programming and using the timer Important Features and Capabilities PC Programmable Visit www orbitonline com to download software which will allow you to pro...

Page 4: ...B is stored indefinitely in the timer s non volatile memory EEPROM and internal memory This high end feature means your programming won t be lost or erased if the power and batteries go out Convenien...

Page 5: ...ignore the rain sensor This switch is for hard wired sensors only and does not effect wireless rain sensors Section 2 Getting Started Set Language Press the RESET button The controller will now take y...

Page 6: ...ressing the station number on the bottom of the touch screen or press ENTER to advance to the desired station Note The active station being programed will Flash Set the watering duration for each stat...

Page 7: ...lowing cycle Press ENTER Repeat this procedure for the other program if desired To Change Settings From the HOME AUTO Screen Orbit has simplified the way to make modifications to your timer Just tap t...

Page 8: ...ors To change the communication status between the timer and the wireless sensor do the following Press the BUDGET button on the Home Auto Screen Press the SENSOR button on the top right of the screen...

Page 9: ...ht on the timer Press the OFF button on the remote or depress the stem of the RF sensor the red light should start blinking If the red light blinks you have successfully synchronized the devices If th...

Page 10: ...outlet Avoid using an outlet controlled by a switch In a dry indoor location where operating temperatures are not below 32 or above 122 Fahrenheit below 0 degrees or above 50 degrees Celsius Not in d...

Page 11: ...wire Taking the sprinkler wire strip 1 2 12 mm of the plastic insulation off the end of each individual wire Connect one wire from each valve it doesn t matter which wire to a single common sprinkler...

Page 12: ...f you are activating a pump from this timer you must purchase a Pump Start Relay From the pump start relay or master valve connect one wire to the PUMP terminal and the other wire to the COM terminal...

Page 13: ...lenoid 2 Test the station by operating a manual watering sequence 3 If the short is not detected after a few seconds the fault notification message will be terminated 4 If the message continues a shor...

Page 14: ...ler timer from running it s scheduled watering program for a specific duration A feature that allows a program to be operated multiple times on the same day The electrical part on a sprinkler irrigati...

Page 15: ...ram the timer Based on the preceding information your watering program may look like this A A B B Program Days of Week Days of Week Odd Even Interval Watering Option 1 2 3 4 Station M W Sat M W Sat Ev...

Page 16: ...not programmed to 1 Transformer is defective or is not connected correctly 2 Programming is incorrect 3 Timer is in OFF mode 1 Water pressure is too high 2 More than one cycle is programmed 3 Stations...

Page 17: ...or relocate the receiving antenna Increase the separation between the equipment and receiver Connect the equipment into an outlet on a circuit different from that to which the receiver is connected Co...

Reviews: