


5
1
Note: All the installation and operations should conform to your local electric safety rules.
Hardware Installation and Connection
1.1
Unpacked and Check the DVR
When you receive the DVR from the forwarding agent, please check whether there is any visible damage. The
protective materials used for the package of the DVR can protect most accidental clashes during transportation.
Then you can open the box to check the accessories.
Please check the items in accordance with the list on the warranty card (Remote control is optional). Finally you
can remove the protective film of the DVR.
Note
Remote control is not a standard accessory and it is not included in the accessory bag.
1.2
About Front Panel and Real Panel
For detail information of the function keys at the front and rear panels, please refer to the
User’s Manual
included
in the resource CD.
1.3
Cables and Settings
Your DVR system was already pre-inspected at the Optiview OEM facilities where all the settings and cables
were already checked and verified by a service technician.
1.4
HDD Installation
Hard drive is already pre-installed on your DVR system. This section is only a reference in case you are adding
more hard drive.
1.4.1
2 or 4 HDD Series
There are three model series for the VR Embedded DVR systems. Please refer to you DVR specification sheet at
the DVR User’s Manual for the total physical hard drive capacity on your system. Use HDD with 7200rpm or
higher. It has no requirement for HDD capacity.
You can refer to the user’s manual for recommended HDD brand.
VRLT – 1 hard drive, max. 2TB
VREM – 1 hard drive or 2 hard drives if there is no DVD drive installed, max. 2TB/HDD
VRPRO – 6 hard drive or 8 hard drives if there is no DVD drive installed, max. 2TB/HDD
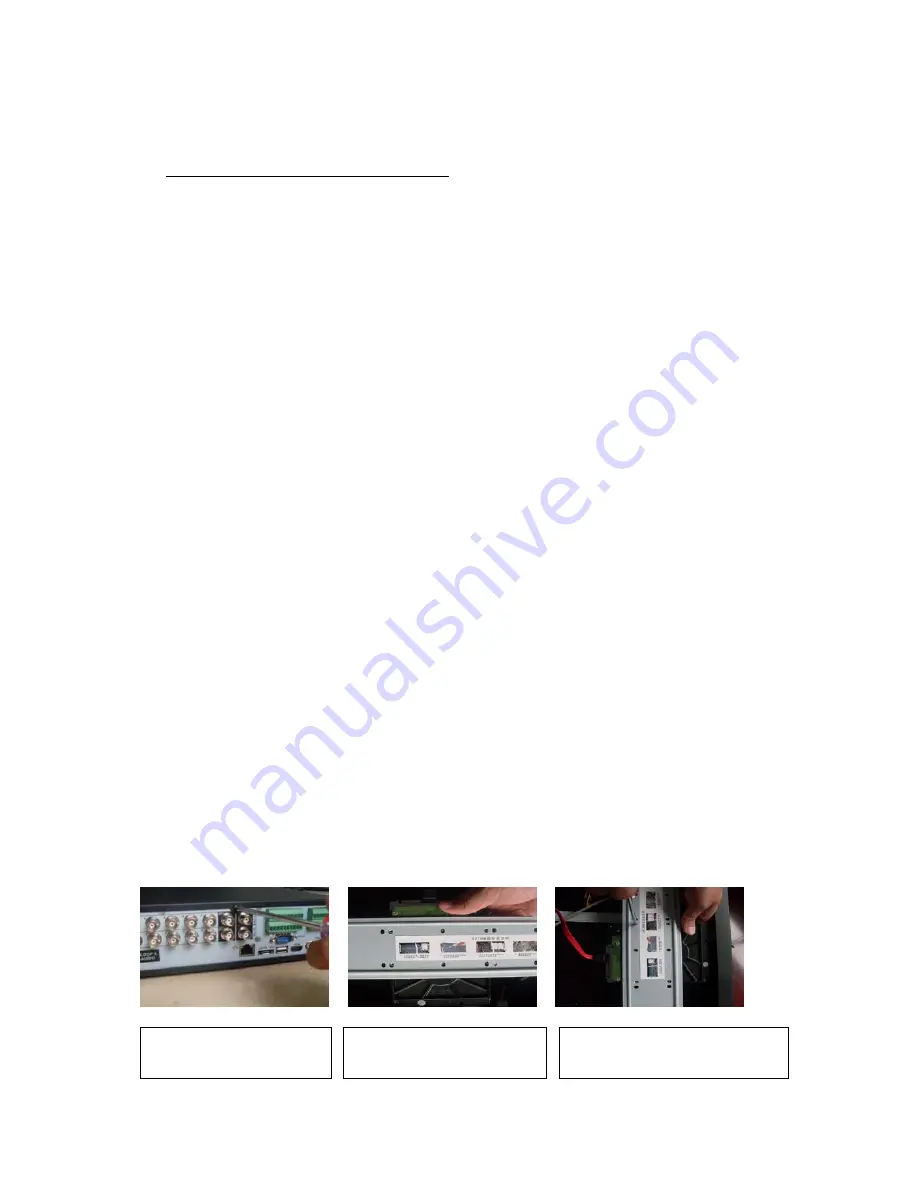
Please follow the instructions below to install hard disk.
1. Loosen the screws of the
upper cover.
2. Line up the HDD to the four
holes of the HDD bracket.
3.
Use four screws to fix HDD.


