DVR Server Manual ver.5.05/rel.092507
8
1.2.4.1.1 Add IP camera device
Press
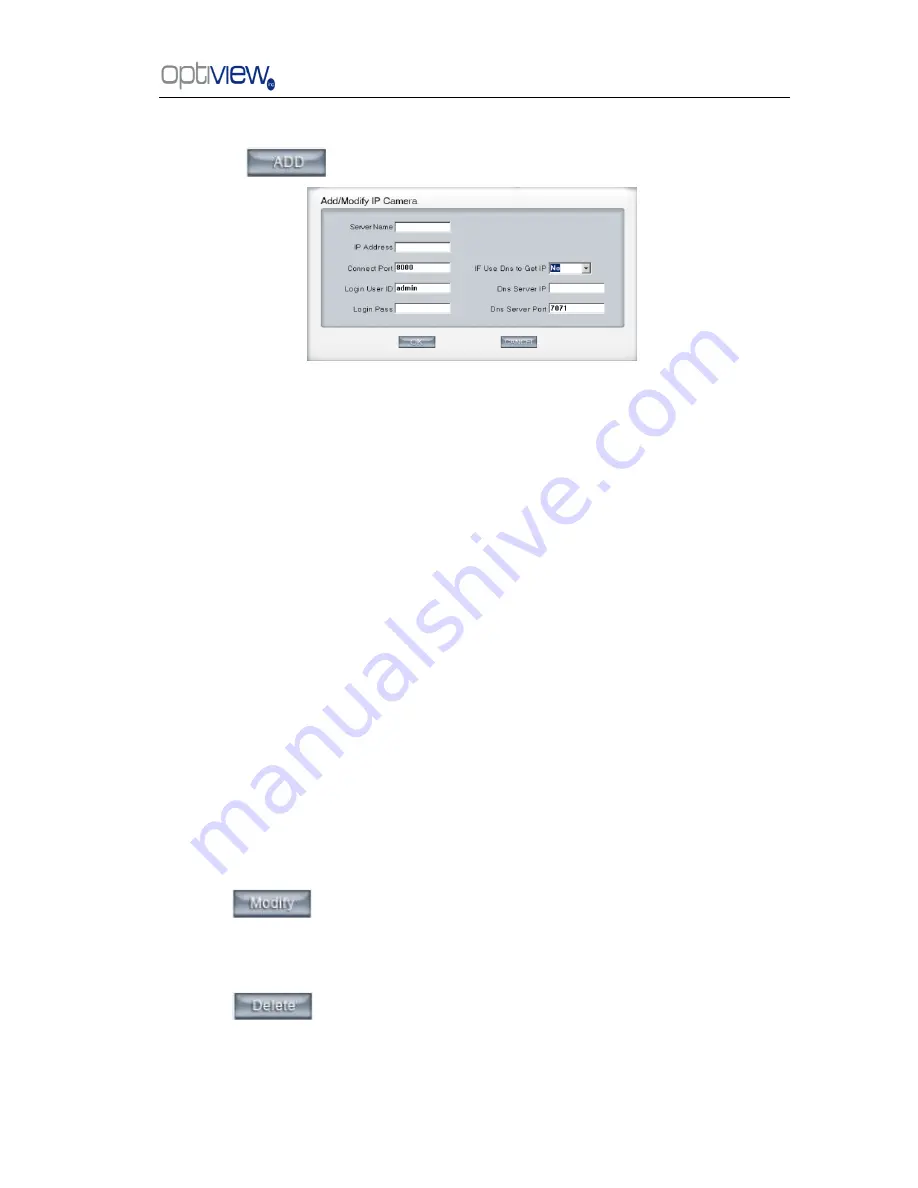
button to add an IP Camera device:
Figure2
— 1
【
Server Name
】
Set a name for the new IP camera device.
【
IP Address
】
Input the address of the IP Camera, it is an IP address or IP alias of an IP camera
which is connected through DNS Server.
【
Connect Port
】
Set the port through which connects to IP Camera.
【
Login user ID/Login Pass
】
When the user wants to visit IP Camera and the server has used
the function of rights management, login user ID and password will be checked. If the user has no
rights to visit that camera, the connection will be shut down automatically.
【
Using DNS to get IP
】
Select whether to use DNS to get IP or not, if the server end is the
dynamic IP address, users need to use the
DNS to get the server‘s IP.
【
DNS Server IP
】
Set IP address of DNS server host.
【
DNS Server Port
】
DNS server host‘s port, which is provided to connect DNS software.
Note:
1. Currently our DVR server allows a maximum of 16 channels for IP cameras. For each device, the system allows you to
connect a maximum of 4 cameras.
2. After you add IP cameras to the DVR system, they will be assigned sequence numbers followed on local board cards.
The sequence numbers of the IP camera change dynamically according to the total numbers of local board cards and the
sequences of the IP cameras to be added. For example, if there are 32 channels local board card, and you add 2 IP cameras,
they will be assigned 33 and 34 as their sequence number. Then if you add another board card (4 channels), the sequence
number of them will change to 37and 38 dynamically.
1.2 .4.1.2 Modify IP Camera
Press
button to modify/edit the IP camera
‘s information.
1.2.4.1.3 Delete IP camera device
Press
button to delete connected server. When system is in processing to add IP
camera device (
―connecting…‖indicated in connect status column), user can not delete that IP
camera device
.


