- 9 -
5. Auto Recording I mages
5-1. How “ Auto Recording” works
5-2. Changing number of images to be captured in “ Auto Recording”
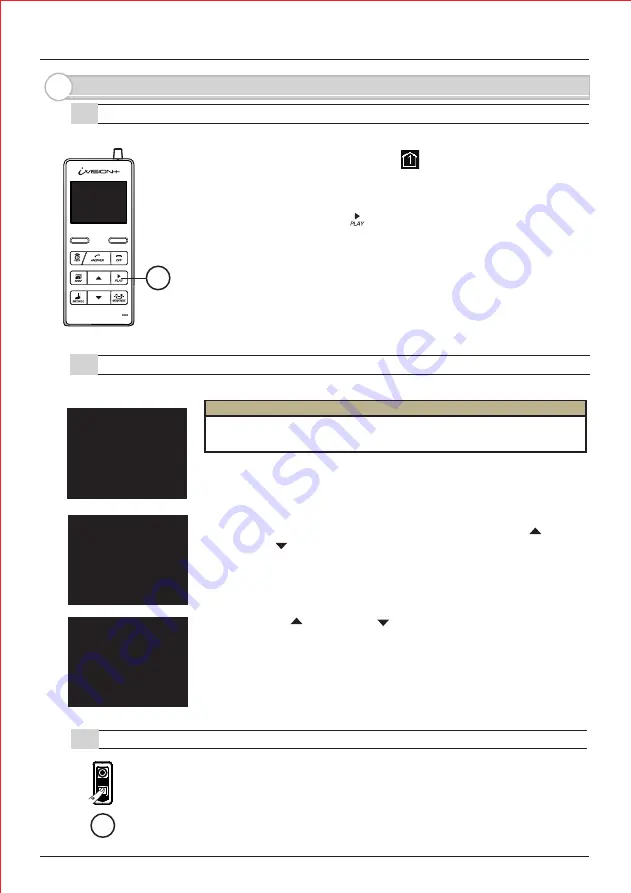
Every time Door Camera Unit makes a call, untill ANSWER button
is pressed, the main Handheld Unit capture images from the
screen and stores into its internal memory.
I f you wish to disable the Auto Recording function, please follow
step 5-2 for setting a number of images to be captured to “ 0” zero.
The internal memory of the Main Handheld Monitor Unit can store
up to 500 images. I f additional images are captured and being stored,
oldest images are deleted and overwritten automatically.
When the Handheld Monitor Unit has newly captured images
from Auto Recording, PLAY button blinks when you exit
STANDBY MODE.
By default, the number of images to be captured during Auto
Recording is “ 2” .
SYSTEM SETUP
1 DATE & TI ME
2 SYSTEM CONFI GURATI ON
3 DEVI CES I N NETWORK
4 PC CONNECTI ON
OK
BACK
NOTE
Please enter SYSTEM SETUP menu by pressing down on
LEFT function key for more than 3 seconds.
Select “ 2 SYSTEM CONFI GURATI ON” by using UP and
DOWN keys and press LEFT function key to confirm “ OK”
SYSTEM CONFI GURATI ON
1 NUMBER OF CAPTURI NG I MAGE
2 TALK SWI TCHI NG SETUP
OK
BACK
PRESS UP OR DOWN KEY TO SET UP
NUMBER OF CAPTURI NG I MAGE: 2
OK
BACK
Select “ 1 NUMBER OF CAPTURI NG I MAGE” and press
LEFT function key to confirm “ OK”
Using UP and DOWN keys, select the number of images
to be captured during “ Auto Recording” from “ 0” zero
to “ 10” ten.
Please press LEFT Function key to “ OK” your selection. The
screen will consequently return to I DLE MODE.
5-3. Timings for capturing images
!
First image will be captured within a second after the PUSH button on the
Door Camera Unit is pressed. The second image will be captured 4 seconds
after the first image. The third and following images will be captured
at intervals of 1 second.
(1)
(2)
(3)
(4)
(5)
!
3 DOOR OPEN DURATI ON SETUP
Summary of Contents for iVision+
Page 15: ...14 MEMO...


