Misaligned
– The edge of the beam has
reached at least one edge of the sensor.
Measurement accuracy could be degraded.
Accept frame or abort the run, adjust the setup,
and take a new measurement. Selecting
Disable
Boundary Check
will suppress this message.
Too bright
– The peak beam energy is above
90% of the camera’s dynamic range. Add
additional attenuation to the beam, accept frame,
or abort run.
Failure to properly attenuate
the beam may cause damage to the
camera.
Too dim
– The peak beam energy is below 50%
of the camera’s dynamic range. Reduce
attenuation of the beam, accept frame, or abort
run.
Too big
– The edges of the beam have reached
the edges of the sensor. Measurement accuracy
could be lost. Accept frame or abort the run;
adjust the setup, and take a new measurement.
Too small
– The calculated beam diameter is
below 10 pixels. Measurement accuracy could be
lost. Accept frame or abort the run; adjust the
setup, and take a new measurement. This can be
done by using a longer focal length lens or by
moving the BeamSquared unit to where the
beam has diverged less, and the beam at the
input aperture is smaller.
Ultracal
– If the camera exposure setting is
changed during the run, a new
Ultracal
cycle
must be performed before the frame can be
accepted. Click
Redo Ultracal
to initiate the
process.
Ultracal
is also used to compensate for
small changes in the camera baseline due to
changes in the camera temperature. This is
caused by the camera’s natural warm up time or
by ambient temperature changes.
As soon as a good frame is found, live playback stops. The user then has the following options:
Redo Ultracal
– If the Ultracal cycle removed
the beam or another error occurred, click this
button to return to the
Ultracal
step. Block the
beam to start the process.
Accept Frame
– Accept the current frame and
move on to the next Z location. If the beam has
quality issues, this icon turns yellow. A frame
cannot be accepted if live playback is running or
if a new Ultracal is required. When accepting the
frame on the last data point of the run, the
Step
by Step
wizard automatically closes.
Live Playback
– Re-enable live playback to view
the beam in real-time.
Single Frame
– Collect a single new frame from
the camera.
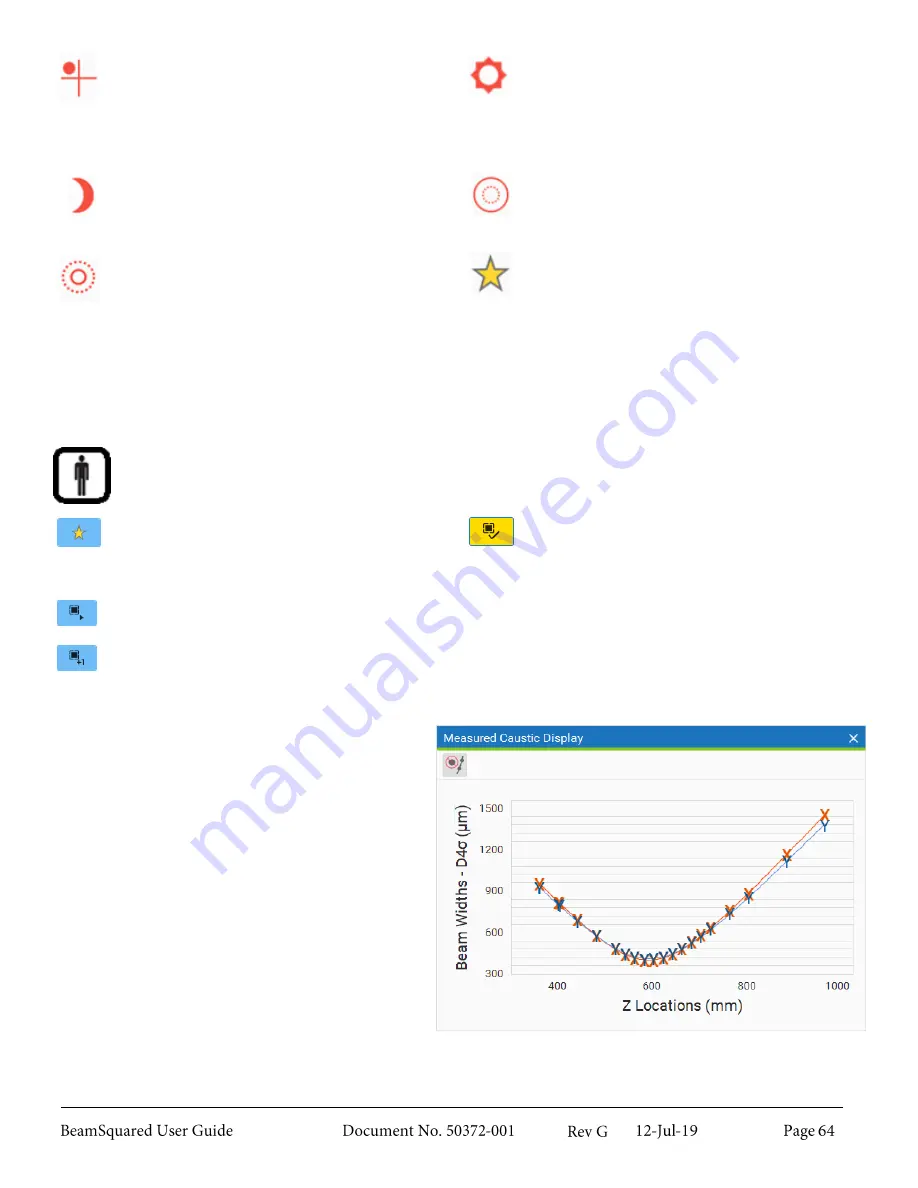
After the setup completes, each accepted data
point appears in the
Measured Caustic Display
window. An estimated curve appears as soon as
enough data accumulates, stabilizing as the run
progresses. The results also update as the
collection process continues.
At the completion of a run, the data can be saved
to a file for further analysis.
Summary of Contents for BeamSquared
Page 10: ......
Page 15: ...BeamSquared Optical Train Dimensions 1 4 ...
Page 75: ...400mm Focal Length Lens M2 1 500mm Focal Length Lens M2 1 ...
Page 87: ......


