44
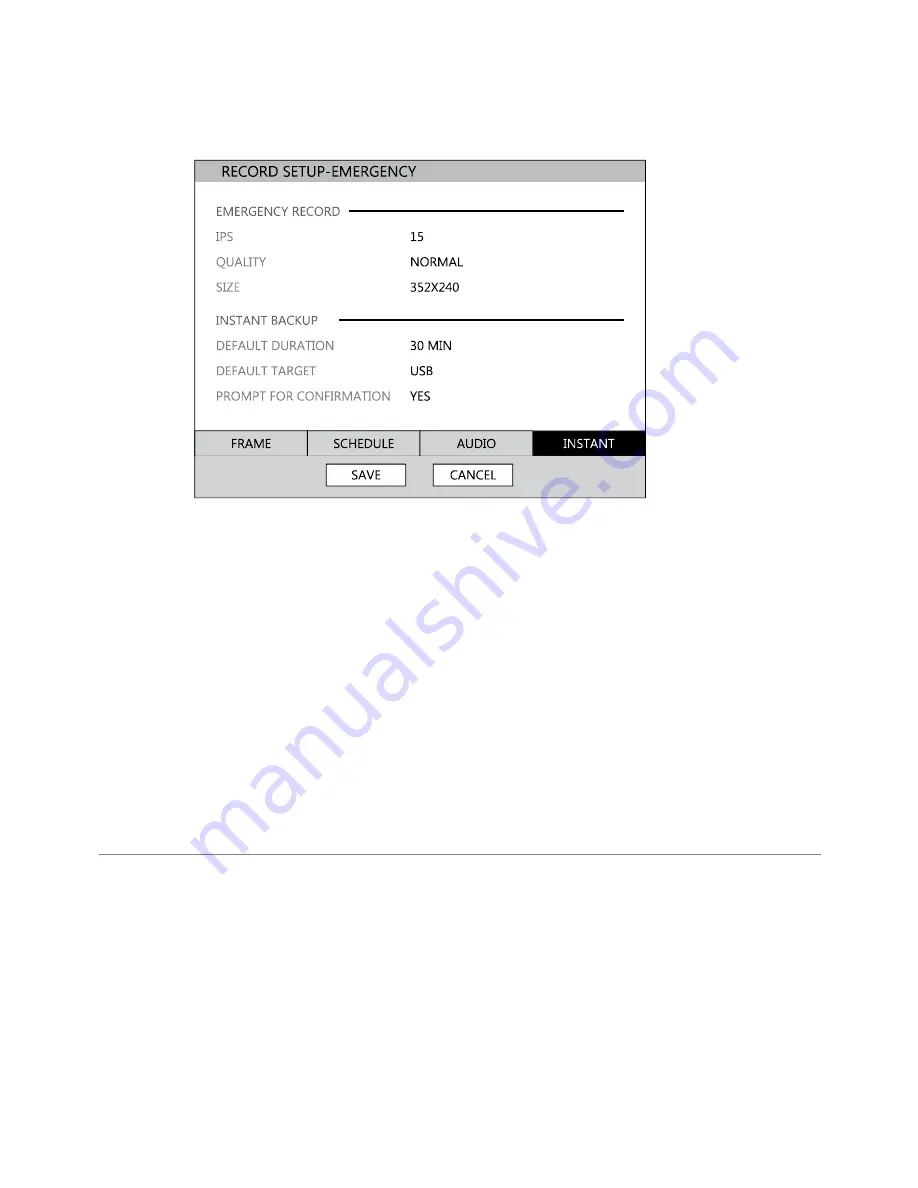
Emergency Recording
Configure the recording settings for Emergency Recording and Instant Backup to use when
they are activated.
Emergency Record:
IPS
– Set the FPS (recording rate per camera).
QUALITY
– Set the picture quality (affects file size).
SIZE
– Set the resolution of the video image.
Instant Backup:
Default Duration
– Set the number of minutes to back up (15, 20, 30, 40, 50, 60). If the
Default Duration is set to 30 MIN, the DVR will export the last 30 minutes of data when the
Instant Backup button is pressed.
Default Target
– Set the location the DVR will export to (USB, DVD/CD). Make sure you
have the selected media on hand.
Prompt for Confirmation
– When enabled, the DVR will prompt the user to confirm the
export.
Using Emergency Recording
To activate Emergency Recording on the DVR:
•
Press the REC key on the remote control, or click the Emergency recording button on the
mouse-over OSD menu.
The E-REC recording icon will appear in the lower right corner of the screen.
To cancel Emergency Recording on the DVR:
•
Press the REC key on the remote control or mouse-over OSD menu.
The DVR will resume scheduled recording.
Summary of Contents for OE3-E12004
Page 2: ...2...
Page 14: ...14 Notes...
Page 26: ...26 Notes...
Page 34: ...34 User Setup Use the User Setup to Add or Delete users...
Page 54: ...54 Status View Displays status screens for Disk Record Audio...
Page 55: ...29716AB 55 Status View continued Sensor Network Event...
Page 56: ...56 Notes...


