


5
Step 9:
Connect the power cable to the power input port on the stand.
Connect a USB mouse to the USB port on the stand
Connect an ethernet cable (if using ethernet instead of WiFi) to the RJ45
(ethernet) port on the stand.
Power on the device to start using it.
Wall Mount:
The OneScreen GoSafe has an option for Wall mount as well. The wall mount version cannot be used with a
floor stand or a table stand version as it has a different assembly.
Installing the Wall Mount:
Step 1:
Place the wall mount on wall and
draw four holes on the wall that
match up with the holes on the wall
mount (marked in red). Drill the holes
and then fix the wall mount against
the wall using screws.
Step 2:
You may choose to pass the cables through the wall.
If yes, you will need to drill a hole to pass the cables.
Otherwise, the cables can run down from the back
side of the unit and pass through the lower side of
the wall mount.
Step 3:
Hang the OneScreen GoSafe on the wall mount. The back side of the unit should be facing the
wall mount as shown in the picture. Once the unit has been secured in place, insert screws from
the bottom side of the wall mount into the unit so that the unit is held in place on the wall mount.
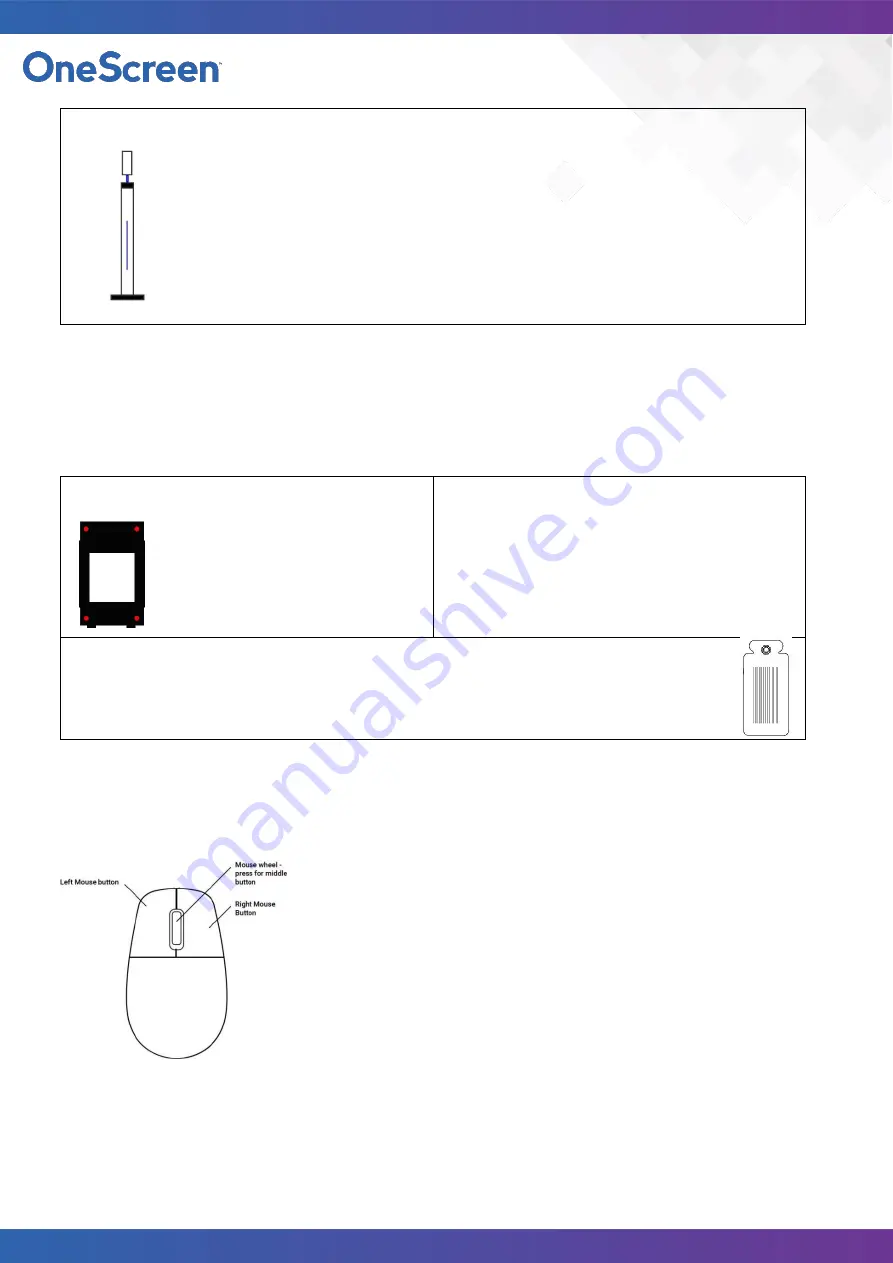
Using a USB Mouse with OneScreen GoSafe:
The OneScreen GoSafe is built to be used as a contact-less device and the
display therefore does not support touch input. To make any changes to the
device a USB mouse should be connected to one of the USB input ports.
1)
The right mouse button is used for a “back” command. It can be used
to go back to previous menus or exit an application.
2)
The middle mouse button (scroll wheel when pressed) is used for a
“more options” command. Pressing the middle mouse button will open
options and settings when inside a particular menu.
3)
The left mouse button is used for a “select” command.
To make any changes to the application settings and the configurations, a mouse is required. Once the device
has been configured, you may choose to remove the mouse and use the device for temperature and facial
scanning which continues to run at all times.


