


STEP 5 – Configure the Computer’s Network Settings
[Applies to “dedicated networks” only]
If using a LAN (Local Area Network), which has a DHCP server, skip this section
and continue with STEP 7 - Configure and Test the System using the
Daq*Configuration Applet (page 6-10).
If using a LAN (Local Area Network), which has no DHCP server, skip this
section and continue with STEP 6 - Configure Device Network Settings using
DaqIPConfig (page 6-9).
1.
Open the Control Panel by navigating from the Windows Desktop as follows:
Start Menu
⇒
Settings
⇒
Control Panel.
2.
Double-click the “Network and Dial-up Connections” icon.
3.
Double-click the “Network Connection” icon for the network that the Daq device is
connected to.
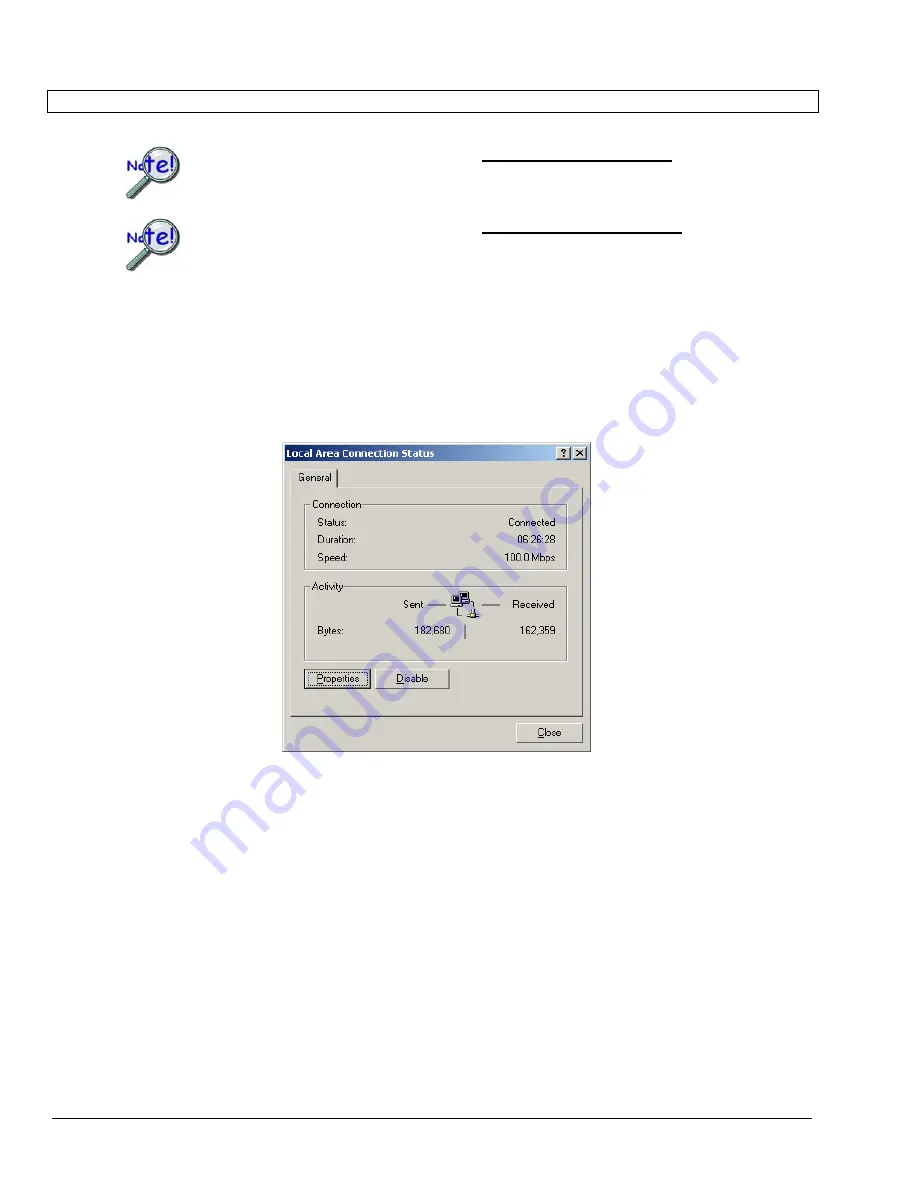
Local Area Connection Status
4.
In the “Local Area Connection Status” box (previous figure), click on the <Properties>
button. The “Local Area Connection Properties” box will appear (following figure).
6-6 Configuring the System for Operation
898195
DaqLab/2000 Series & DaqScan/2000 Series
Summary of Contents for OMB-DAQSCAN-2000 Series
Page 12: ...1 6 Daq Systems 949595 DaqScan 2000 Series...
Page 16: ...2 4 Device Overviews 898095 DaqLab 2000 Series...
Page 17: ...Block Diagrams 3 DaqScan 2001 Block Diagram DaqScan 2000 Series 947495 Block Diagrams 3 1...
Page 19: ...DaqScan 2005 Block Diagram DaqScan 2000 Series 947495 Block Diagrams 3 3...
Page 20: ...3 4 Block Diagram 947495 DaqScan 2000 Series...
Page 24: ...4 4 Connectors Indicators Cables Pinouts 898095 DaqScan 2000 Series...
Page 56: ...9 2 Calibration 948695 Daqscan 2000 Series...
Page 62: ...10 6 Troubleshooting Customer Support 898095 DaqScan 2000 Series...


