background image

Automatic Data


logging

The meter stores a reading at a user-selected sampling rate onto an  
SD memory card. The meter defaults to a sampling rate of 2 seconds.  
NOTE: The sampling rate cannot be “0” for automatic data


logging. 

NOTE: Plug in the adaptor for SD data logging. 
Setting the data


logger clock time 

NOTE: Make sure the clock of the meter is set up correctly in order to get accurate 
date/time during data


logging


sessions. 

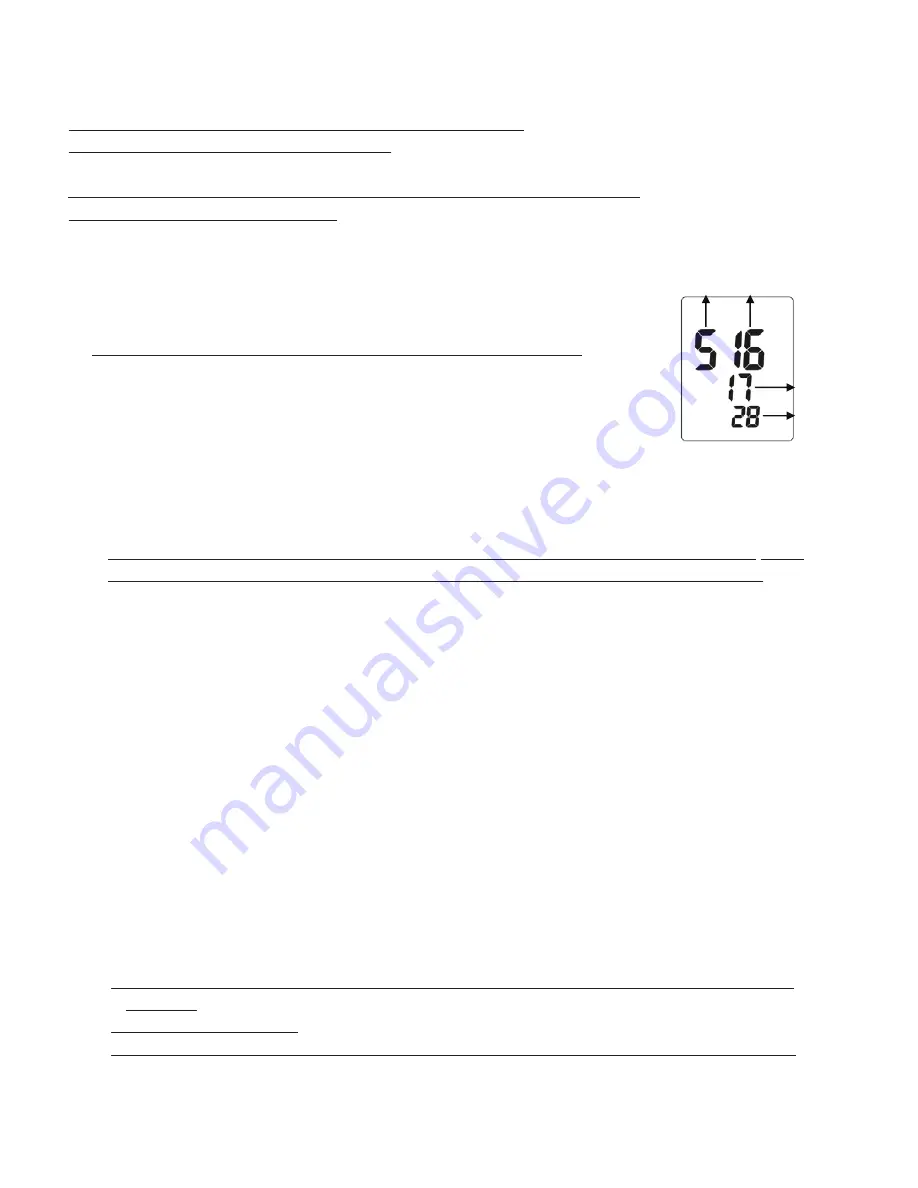
1. Power OFF the meter, press MODE+POWER button to enter setting. YEAR digit “18” will flash.
2. Short press CAL go to Month

Day

 Hour

 Minute setting.

3. Press and hold SET button to save setting and screen will show “SA” then “End”.
4. Re-power ON the meter to back to normal measurement mode.

NOTE: To escape setting by turning OFF the meter without any change. 

a)

Setting the data


logger sampling rate

1. While meter is power ON, press and hold MODE to enter setting.
2. Press HOLD to increase the value; press ADJ to decrease the value.
3. Long press MODE to save setting.
4. The available settings are: 0, 2 sec, 5 sec, 10 sec, 15 sec, 30 sec, 60 sec, 120 sec, 300 sec, 600 sec,

900 sec, 1800 sec, and 1hr.

b)

Start data


logging

Warning: SD recording the selected temperature unit (

or

). If changing the temperature unit during 

the data


logging sessions, the recorded data will be switched into the selected temperature unit. 

1. Power on the meter by AAA batteries or 9V AC/DC adaptor.
2. After inserting the SD card, display will show icon “SD” on the bottom of the screen.
3. Long press ADJ to starts recording until icon “SD” flashing on the bottom of screen.
4. When “SD” disappears, SD stop to record data or SD card is not being inserted.
5. When an SD card is used for the first time a folder is created on the card and named the model number.

Under the MODEL number folder, the MODEL number and AUTO+YEAR folder will be automatically
created. e.g.: /

CDH-SD11

/AUTO2017/…..

6. When data


logging begins, a new folder named M(month)/D(date)/H(hour)/M(minute) is created on

the


SD card in the AUTO+YEAR folder. At the same time, a new spreadsheet document (CSV.)

named


M/D/H/M is also created under its folder.

e.g.: /

CDH-SD11

/AUTO2017/04051858/04051858.csv

7. Each CSV. file can be stored up to 30,000 points.

After reaching 30,000 points, a new file name will be auto created as M/D/H/M right after the last
recording time. Unless you interrupt the recording, this process continues in the initial created M/D/H/M
folder.
e.g.: /

CDH-SD11

/AUTO2017/12261858/12262005.csv

NOTE1: Data


logging stopped when replacing the probe, removing the SD card, removing batteries, 

adaptor or 

resetting the sampling rate. 
NOTE2:When the recording is been stopped, a new folder will be created as M/D/H/M from the next 

Month  Date 

Hour 

Minute

9

Summary of Contents for CDH-SD11

Page 1: ...e mail info omega com For latest product manuals www omegamanual info Shop online at omega com User sGuide CDH SD11 Conductivity TDS and Salinity Meter with Real Time SD Card Data Logger TM 2 e Fo...

Page 2: ...pecifications without notice Servicing North America U S A Omega Engineering Inc Headquarters Toll Free 1 800 826 6342 USA Canada only Customer Service 1 800 622 2378 USA Canada only Engineering Servi...

Page 3: ...two years Electrode is one year SUPPLIED Meter Electrode x 1pc Cond EC TDS Salt Battery AAA x 3 pcs 1413uS buffer solution x1 9V adaptor Black carrying case 8G SD card SPECIFICATION Model CDH SD11 Par...

Page 4: ...stant K value Temp coefficient compensation tds K factor value mode Long press again to escape the K value setting Recovery to factory setting under calibration mode SET CAL Conductivity Calibration H...

Page 5: ...uto power off function by pressing HOLD and PWR button n momentarily shows on screen now meter is at non sleep mode then turns to normal measurement Meter default auto power off 6 FACTORY RESET a Cond...

Page 6: ...r 2 Power on the meter by pressing PWR button 3 First to enter the cell constant K value of the Cond electrode is required e g Refer to the label on the top handle of the probe Long press SET UNIT to...

Page 7: ...right digit Long press SET button to finish calibration screen will show SA The adjustable range is 1 to 7 4 Or to escape setting by long press SET UNIT the bottom of screen will show ESC in few seco...

Page 8: ...measurement except to change the display unit from uS mS to PPM PPT Display will show TDS values at the same time the left bottom display will show the temp value of the measured solution NOTE If the...

Page 9: ...808 1837 1866 1896 1925 1954 1983 2013 2042 2071 2101 2103 CONDUCTIVITY STANDARD SOLUTION 12880 S cm at 25 C Conductivity reading will be affected by the temperature S cm S cm 5 10 15 16 17 18 19 20 2...

Page 10: ...c If the SD card is being used for the first time it is recommended that the card be formatted SD Card Formatting NOTE Always confirm that the device is compatible with the SD SDHC or SDXC memory card...

Page 11: ...essions the recorded data will be switched into the selected temperature unit 1 Power on the meter by AAA batteries or 9V AC DC adaptor 2 After inserting the SD card display will show icon SD on the b...

Page 12: ...for no data can be cleared or SD card isn t being inserted NOTE Once clear the data by long press CAL there is no way to recover the data If you want to keep the previous data rename the file MANUAL c...

Page 13: ...ensor type or adjust temperature manually Long press UNIT button then press UNIT to select not Q2 Appear Error codes A2 Make sure if Hold appears on LCD ERROR CODES Code Description The electrode were...

Page 14: ...A if the unit is found to be defective it will be repaired or replaced at no charge OMEGA s WARRANTY does not apply to defects resulting from any action of the purchaser including but not limited to m...

Reviews: