Operation
OMAX JetMachining® Center Operator’s Guide
400433D-EN
3 - 19
c.
Click
OK
to save any changes made.
23. From
Setup
, click
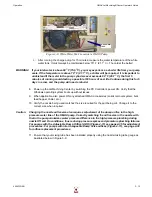
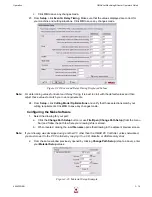
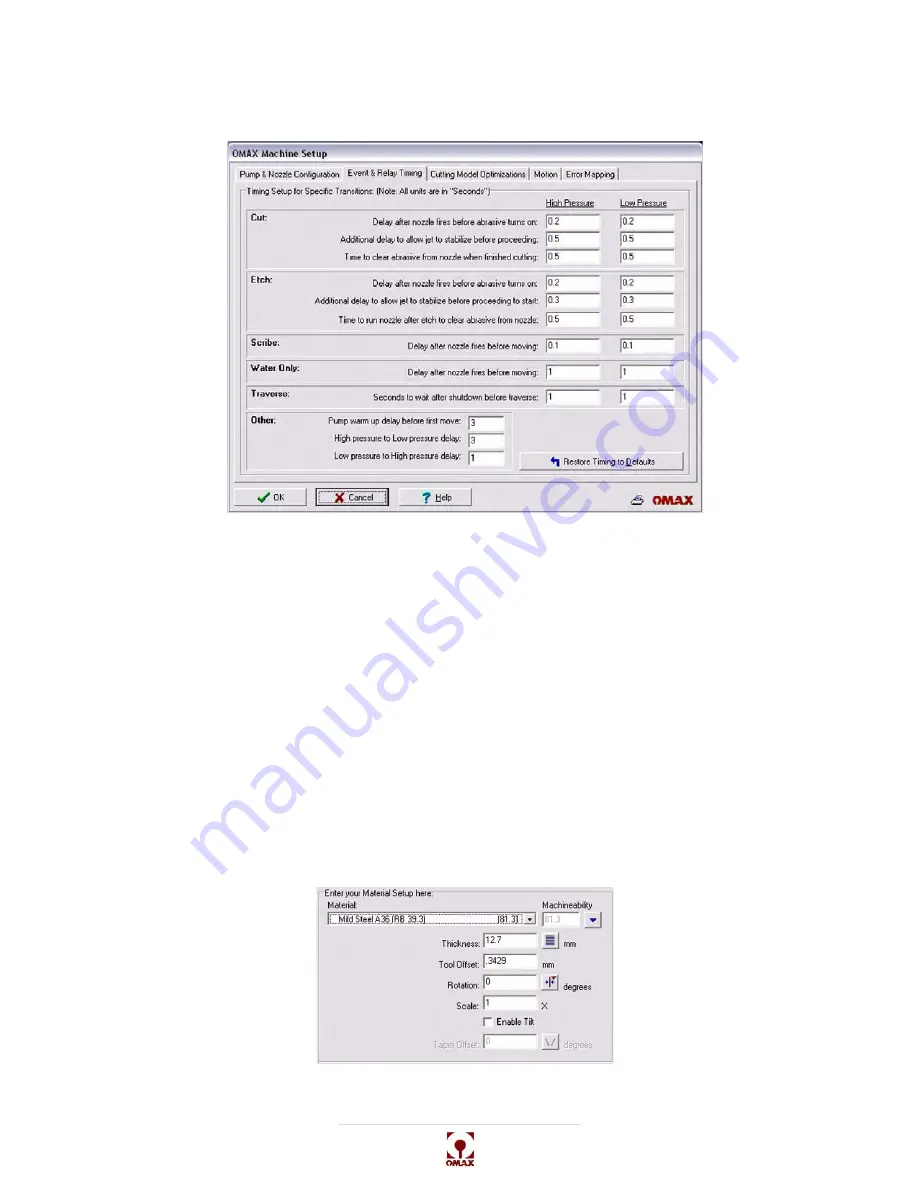
Event & Relay Timing
. Make sure that the values displayed are correct for
your machine and cutting situations. Click
OK
to save any changes made.
Figure 3-20: Event and Relay Timing Displayed Values
Note:
For determining values for Event and Relay Timing, it is best to start with the default values and then
adjust these values to match your own requirements.
24. From
Setup
, click
Cutting Model Optimizations
and verify that those selections match your
cutting requirements. Click
OK
to save any changes made.
Configuring the Make Software
1.
Select the drawing for your part:
a.
Click the
Change Path Setup
button (or use
File/Open (Change Path Setup)
from the menu
bar) and follow the path to where your drawing’s file is stored.
b.
When located, clicking the
.ord file name
opens that drawing in the adjacent preview screen.
Note:
If your drawing was developed using another PC other than the OMAX PC Controller, unless networked,
you must move it to the PC Controller by copying it to a CD, diskette, or USB memory stick.
2.
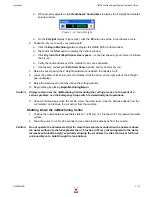
From the same window previously opened by clicking
Change Path Setup
(step 1a above), enter
your
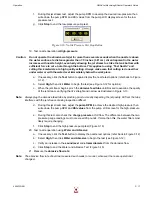
Material Setup
values:
Figure 3-21: Material Setup Example
Summary of Contents for JetMachining Center 2626
Page 8: ...OMAX JetMachining Center Operator s Guide viii 400433D EN ...
Page 12: ...OMAX JetMachining Center Operator s Guide xii 400433D EN ...
Page 22: ...OMAX JetMachining Center Operator s Guide Safety First 1 10 400433D EN ...
Page 140: ...OMAX JetMachining Center Operator s Guide OMAX Glossary 6 16 400433D EN ...
Page 144: ...OMAX JetMachining Center Operator s Guide Index 4 400433D EN ...


