background image

10

  Chapter 1 – Camera Setup and Control Reference

Camera Control Reference

This camera control reference is designed to help you locate and understand the purpose 
of each of the buttons, dials, levers, and switches on the camera.

Many (if not most) of the buttons on the camera can be configured to offer alter-

nate functionality. In fact, the E-M5II is 

the

 most configurable camera I have used in over 

40 years of photography. You can truly customize this camera to work the way you prefer, 
configuring both external controls and internal functions.

If you have a problem locating one of these buttons, please refer to the Control 

Location Reference section in the beginning of this book.

Let’s examine each of the external camera controls in alphabetical order. We will exam-

ine each of the internal functions in later chapters.

Buttons


Arrow pad buttons: The Arrow pad buttons are normally used to scroll 
through camera menus, pictures, and various screens. The Arrow pad has four 
buttons, including one each for up, down, left, and right. As you read through 
the instructions for configuring many of the camera functions in this book, 

you will often read “scroll to the right,” or some other direction. This is a reference to using 
the Arrow pad buttons. The Arrow pad buttons have some programmability through Cus-
tom Menu functions, as described on page 303. You can select from as many as nine tasks 
for the right and down Arrow pad buttons. These tasks are listed in the Appendix.


Erase button: When you want to rid your camera’s memory card of an un-
needed picture or video, you can display it on the rear monitor, press the 
Erase button, answer Yes to the query, and press the OK button to delete the 
picture. This is not a programmable button. 


Fn1 button: The Fn1 button is fully programmable and can accept most tasks 
listed in the Appendix. You can find instructions for how to assign a task to the 
Fn1 button on page 296. Its factory default task is AEL/AFL, which locks auto-
exposure (AEL) and autofocus (AFL) when you press the button, and unlocks 

it when you press it again. 


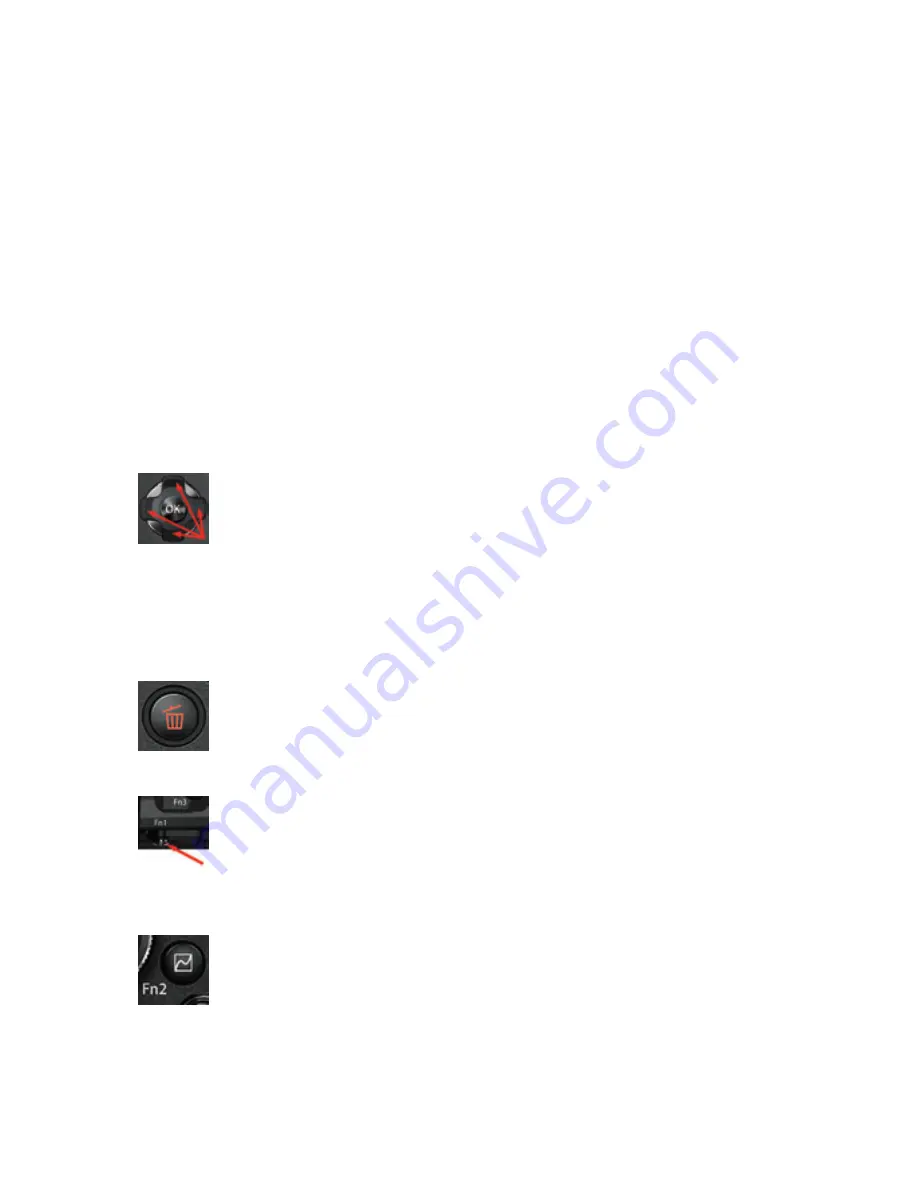
Fn2 button: The Fn2 button is fully programmable and can accept most tasks 
listed in the Appendix. You can find instructions for how to assign a task to the 
Fn2 button on page 297. Its factory default task is Multi Function, which lets 
you choose from one of four specialized functions—Highlight&Shadow Con-

trol, Color Creator, Magnify, and Image Aspect—by holding the button and rotating the 
Rear Dial.

Summary of Contents for E-M5 Mark II

Page 1: ...1 Camera Setup and Control Reference Image Jay Dickman...

Page 2: ...o splash proof dust proof and freeze proof It should remain a reliable camera for years of faithful service Figure 1 1 Olympus E M5II front view The small size of the camera allows great portability f...

Page 3: ...the E M5II as a new photographer and grow into the camera gradually learning about custom features and relying less on automatic features over time Or as an experienced photographer you can take imme...

Page 4: ...ll give new E M5II users a place to start Later as you progress through the book we ll look at all the buttons switches dials and menu settings in detail You will be able to fully master the operation...

Page 5: ...life in it for an hour or two of use so it may not be critical to charge it immediately However for extended configuration and use it is best to have a fully charged battery in the camera Super Contr...

Page 6: ...t arm s length to compose with the Live View screen you may want to leave the Super Control Panel active to have quick access to its settings To use the Super Control Panel press the OK button However...

Page 7: ...g with several other functions that all camera users should set up according to their needs especially with a new camera This section lists the most important camera settings for immediate configurati...

Page 8: ...ISO Noise Filtration Page 369 Long Exposure Noise Reduction Page 367 Beep sound Page 361 Image review Page 335 Image display rotation Page 238 Grid display Page 439 Low battery warning level Page 448...

Page 9: ...ill often read scroll to the right or some other direction This is a reference to using the Arrow pad buttons The Arrow pad buttons have some programmability through Cus tom Menu functions as describe...

Page 10: ...ed to choose various individual items within groups of items This is not a programmable button Lens release button This non programmable button has one function re leasing the lens lock so that you ca...

Page 11: ...the screen This is not a programmable button Playback button This non programmable button is for reviewing images and movies You will press this button to examine images and videos saved on the camera...

Page 12: ...s a Mode Dial on top that allows you to change how the camera works You can select from modes that turn your camera into a fully automatic iAUTO point and shoot camera or a fully manual M user control...

Page 13: ...to move the lever to the Off position and then back to On to bring the camera back to life Unusual Icons in Menu Names Olympus uses unusual icons in some of its camera menus in some cases making it ha...

Page 14: ...Darrell has created a public Facebook site that allows members to freely as sociate with general Olympus camera users It is called Olympus Digital Camera Photo Enthusiasts ODCPE and is found here http...

Reviews: