


Camera Control Reference
11
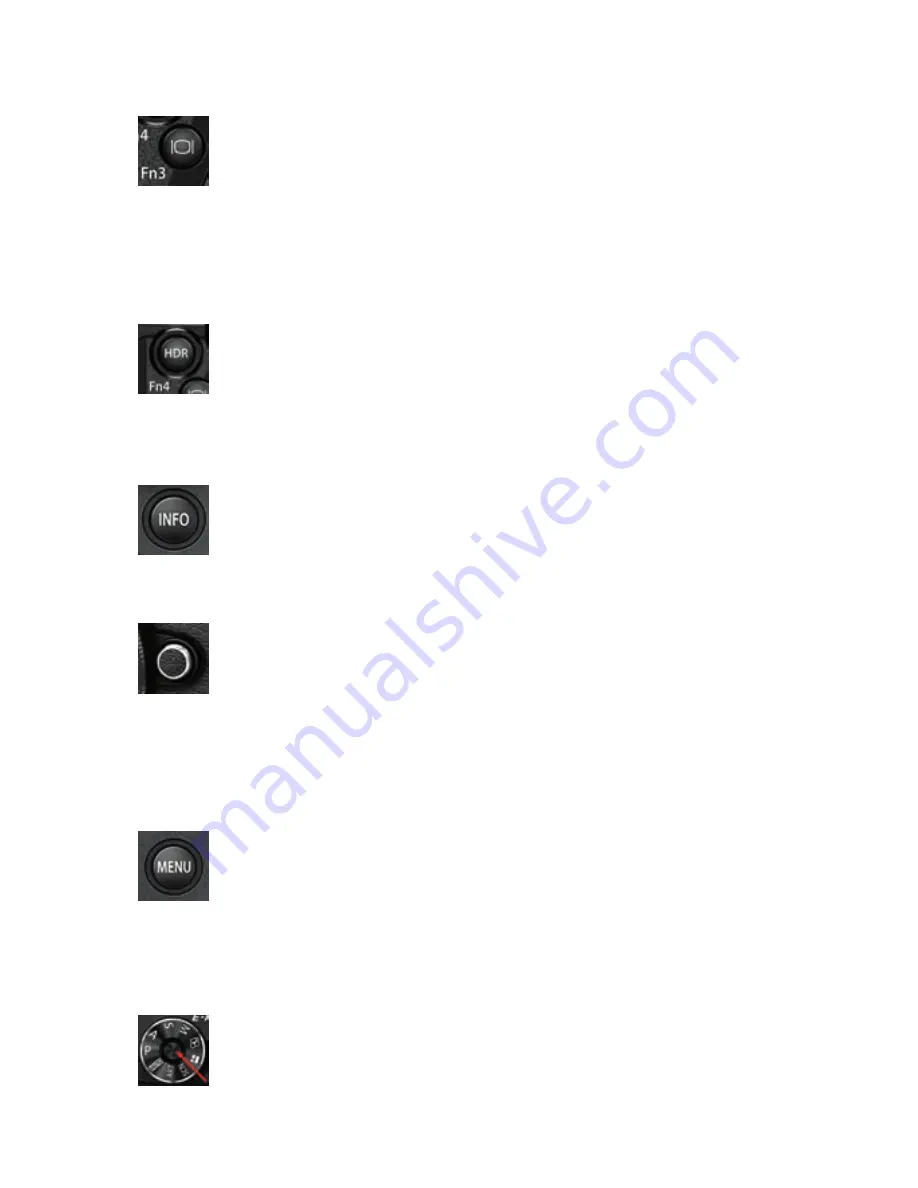
Fn3 button/LV button: The Fn3 button is fully programmable and can accept
most tasks listed in the Appendix. You can find instructions for how to assign
a task to the Fn3 button on page 297. Its factory default task is to activate the
Live View display on the monitor. Because this is the general use of the Fn3
button, the Live View icon is engraved on the top of the button and it is generally referred
to as the LV button. The LV button was discussed in a previous section of this chapter titled
Super Control Panel or Live View Screen, on page 6. It is used to toggle between the
Super Control Panel and the Live View screen on the rear monitor.
Fn4 button/HDR button: The Fn4 button is fully programmable and can ac-
cept most tasks listed in the Appendix. You can find instructions for how to
assign a task to the Fn4 button on page 298. Its factory default task is HDR,
which allows you to control the camera’s high dynamic range (HDR) system.
Because this is the general use of the Fn4 button, the HDR identifier is engraved on the top
of the button.
INFO button: The INFO button is used to enable or disable the menu help
system. It is also used to scroll through and select various screen overlays for
Live View or EVF shooting (e.g., Live Histogram, Level). Throughout this book,
you will find that the INFO button is used to choose various individual items
within groups of items. This is not a programmable button.
Lens release button: This non-programmable button has one function: re-
leasing the lens lock so that you can change lenses. To remove a lens, press
and hold the Lens release button while turning the lens in a counter-clock-
wise direction until it stops. Then pull the lens straight out of the body. To
mount a different lens, do not press the Lens release button. Insert the new lens by match-
ing the orange dot on the top of the lens with the orange dot on the left side of the cam-
era’s lens mount. Turn the lens in a clockwise direction, without forcing it, until it clicks. It
should turn very easily. The camera and lens is then ready to use.
MENU button: The MENU button is primarily used to access the menu sys-
tems (e.g., Shooting Menu 1, Setup Menu, Custom Menu). Press the MENU
button when the monitor is active and the Menu system will open. Scroll up
or down with the Arrow pad buttons to select one of the camera’s menus, and
then scroll to the right to access that menu. The MENU button is often used to cancel ac-
tions, and to return to the main menu from within a function. This is not a programmable
button.
Mode Dial lock button: This button is used for one thing only: to lock the
Mode Dial so that it cannot accidentally be moved from the current Mode Dial
setting (e.g., P, S, A, M). It works like the button on a retractable ball-point pen.
Press it once to lock the Mode Dial and press it again to unlock the Mode Dial.
This is not a programmable button.


