background image

12

  Chapter 1 – Camera Setup and Control Reference


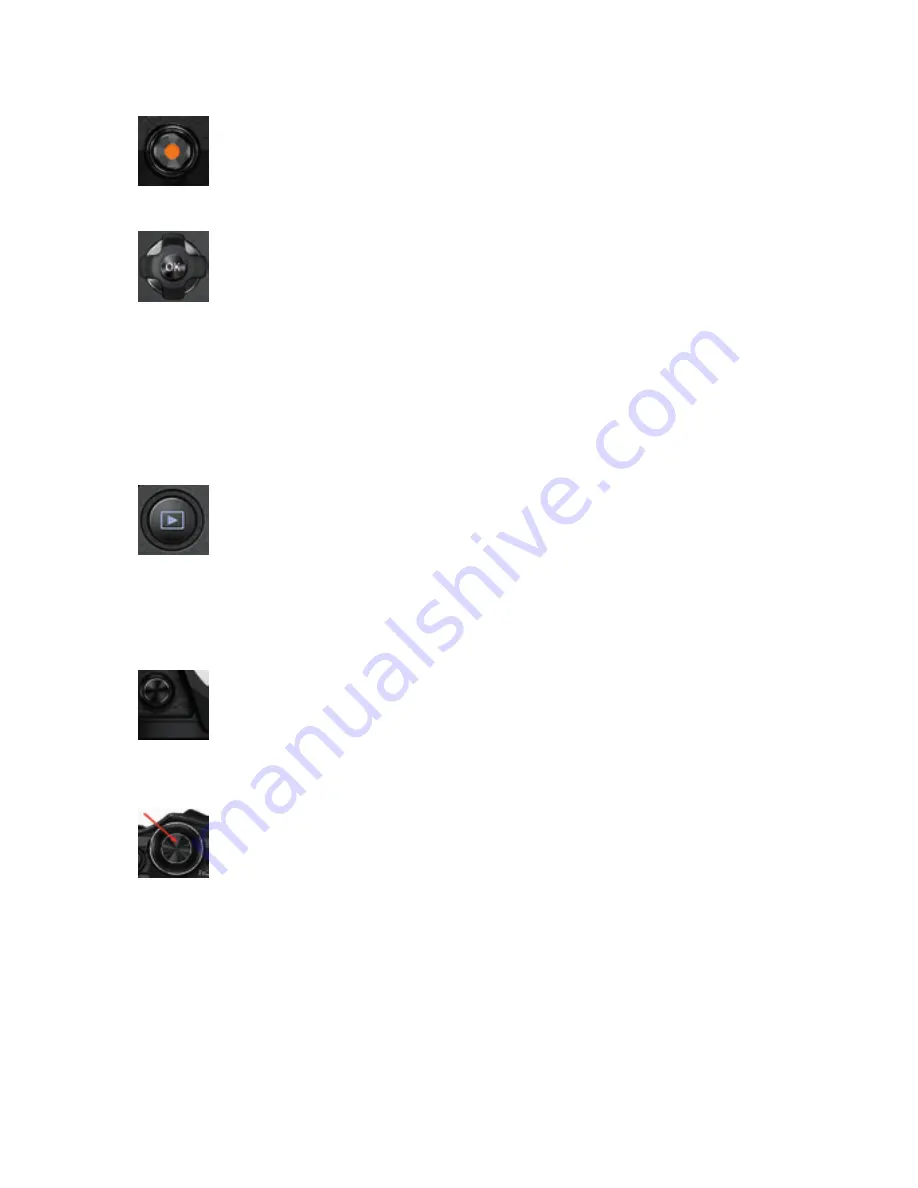
Movie button: The Movie button is fully programmable and can accept tasks 
listed in the Appendix. You can find instructions for how to assign a task to the 
Movie button on page 299. Its factory default task is REC, which is used to 
start and stop the camera’s video recording functions. 


OK button: The OK button is used extensively to confirm configurations of 
camera functions. It can also be used to choose items. When you are done 
configuring a camera setting you will usually need to press the OK button to 
lock in your changes. You can also press the OK button to open the Live Con-

trol when the Live View screen is showing your subject. Live Control is, essentially, the Su-
per Control Panel superimposed on top of the Live View display, and it allows you to select 
many of the camera’s most important settings. You can use the Arrow pad or the Rear Dial 
to select a specific Live Control item, and then use the Front Dial to configure that item. 
Additionally, you can edit images by pressing OK when a picture is on the screen. This is 
not a programmable button.


Playback button: This non-programmable button is for reviewing images 
and movies. You will press this button to examine images and videos saved 
on the camera’s memory card. When you take an image, the camera defaults 
to a half-second display of an image after taking it. Therefore, unless you in-

crease the image display time, which could interfere with using the EVF for follow-up shots 
(the just-taken image will display in the EVF), you will use the Playback button often to 
examine your images and videos.


Preview button: The Preview button is fully programmable and can accept 
tasks listed in the Appendix. You can find instructions for how to assign a task 
to the Preview button on page 300. Its factory default task is Preview, which 
lets you see the depth of field for the current aperture setting as you look at 

the EVF or Live View screen.


Shutter button: The Shutter button is primarily used to release the camera’s 
shutter to take a picture (full press). It is also used to initiate autofocus (half 
press). The autofocus function can be relegated to the AEL/AFL button in-
stead of the Shutter button for back-button focusing, as described on 

page 282. 

Next let’s consider each of the camera’s four dials and what they do.

Summary of Contents for E-M5 Mark II

Page 1: ...1 Camera Setup and Control Reference Image Jay Dickman...

Page 2: ...o splash proof dust proof and freeze proof It should remain a reliable camera for years of faithful service Figure 1 1 Olympus E M5II front view The small size of the camera allows great portability f...

Page 3: ...the E M5II as a new photographer and grow into the camera gradually learning about custom features and relying less on automatic features over time Or as an experienced photographer you can take imme...

Page 4: ...ll give new E M5II users a place to start Later as you progress through the book we ll look at all the buttons switches dials and menu settings in detail You will be able to fully master the operation...

Page 5: ...life in it for an hour or two of use so it may not be critical to charge it immediately However for extended configuration and use it is best to have a fully charged battery in the camera Super Contr...

Page 6: ...t arm s length to compose with the Live View screen you may want to leave the Super Control Panel active to have quick access to its settings To use the Super Control Panel press the OK button However...

Page 7: ...g with several other functions that all camera users should set up according to their needs especially with a new camera This section lists the most important camera settings for immediate configurati...

Page 8: ...ISO Noise Filtration Page 369 Long Exposure Noise Reduction Page 367 Beep sound Page 361 Image review Page 335 Image display rotation Page 238 Grid display Page 439 Low battery warning level Page 448...

Page 9: ...ill often read scroll to the right or some other direction This is a reference to using the Arrow pad buttons The Arrow pad buttons have some programmability through Cus tom Menu functions as describe...

Page 10: ...ed to choose various individual items within groups of items This is not a programmable button Lens release button This non programmable button has one function re leasing the lens lock so that you ca...

Page 11: ...the screen This is not a programmable button Playback button This non programmable button is for reviewing images and movies You will press this button to examine images and videos saved on the camera...

Page 12: ...s a Mode Dial on top that allows you to change how the camera works You can select from modes that turn your camera into a fully automatic iAUTO point and shoot camera or a fully manual M user control...

Page 13: ...to move the lever to the Off position and then back to On to bring the camera back to life Unusual Icons in Menu Names Olympus uses unusual icons in some of its camera menus in some cases making it ha...

Page 14: ...Darrell has created a public Facebook site that allows members to freely as sociate with general Olympus camera users It is called Olympus Digital Camera Photo Enthusiasts ODCPE and is found here http...

Reviews: