68
3
EN
Menu setting method
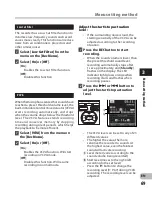
Adjust the recording level:
1
Press the
9
or
0
button
while the recorder is recording or
paused to adjust the recording
level.
• The recording level will be automatically
adjusted when the recording level is set
to [
Auto
]. Set the recording level to
[
Manual
] to use the recording level
adjustment feature.
• When the unit is set to [
Manual
],
the limiter function will be disabled.
Distorted sound will be recorded
during [
OVER
] is displayed. Adjust the
recording level so that [
OVER
] is not
displayed. If sound distortions do not
disappear even after the recording
level has been adjusted, change the
setting for microphone sensitivity (
☞
P.67) and adjust the recording level
again .
• [
OVER
] may be displayed even when
the indicator of the recording level
meter does not reach or is over to the
right.
• Inputting a very loud sound may
produce noise even when the recording
level is set to [
Auto
].
• The level can be adjusted from [
01
] to
[
16
]. The higher the number, the higher
the level and the larger the indicator
position on the level meter.
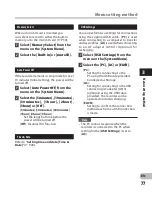
Zoom Mic
The directional microphone function utilizes
DiMAGIC’s (DiMAGIC Co., Ltd.) DiMAGIC
Virtual Microphone (DVM) technology. DVM
is an audio pickup system which allows you
to record by focusing on sound from any
direction. From expansive stereo recording
to high directivity recording, DVM represents
the latest in directional control methods
that allow you to switch to a single exclusive
microphone.
1
Select [
Zoom Mic
] from the menu
on the [
Rec Menu
].
2
Select [
Zoom
], [
Narrow
], [
Wide
] or
[
Off
].
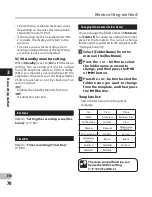
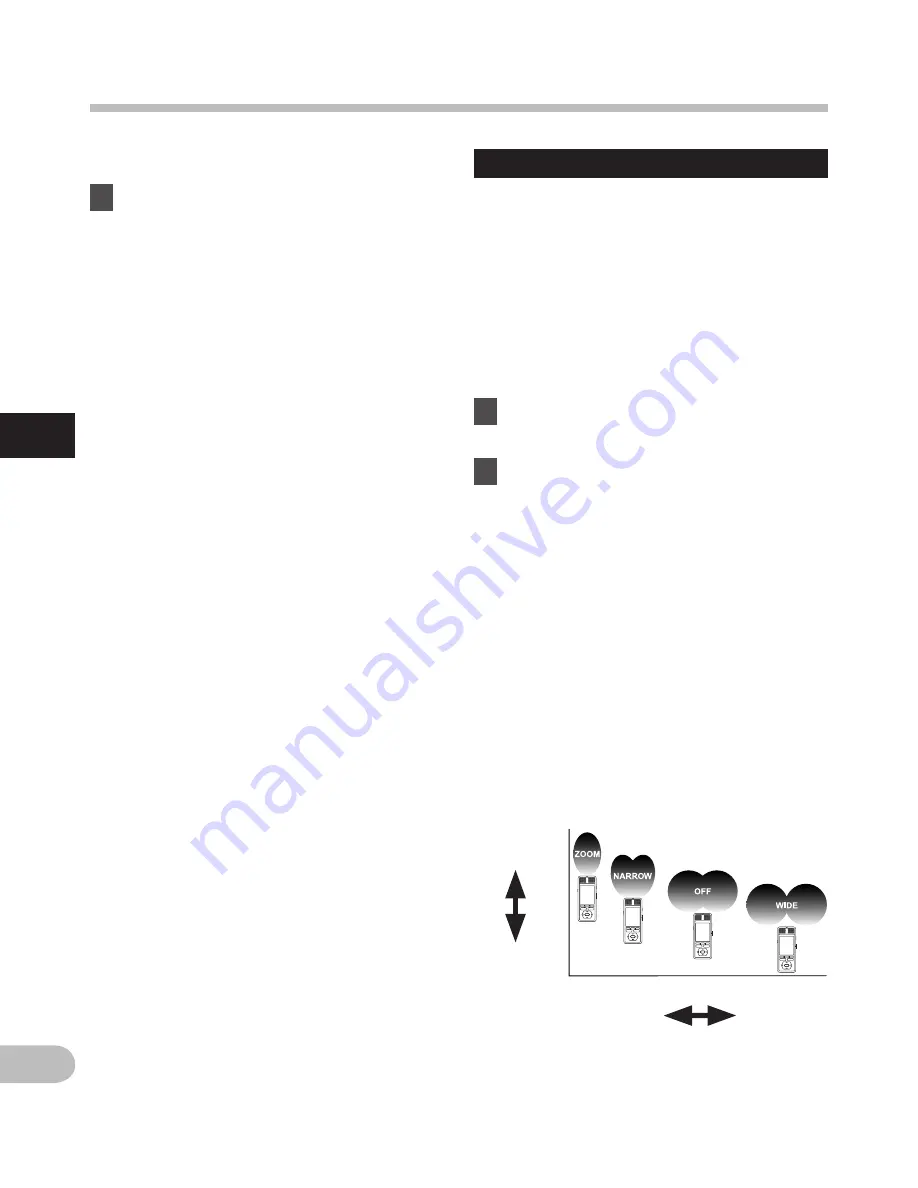
[
Zoom
]:
Recording with monaural, however
you can record high directivity sound.
[
Narrow
]:
Recording by a directivity stereo
sound.
[
Wide
]:
Recording by an expansive stereo
sound.
[
Off
]:
Disables this function.
About the Zoom Mic function:
Directivity
(high)
Directivity
(low)
Sound
collection
(narrow)
Sound
collection
(wide)
M
en
u s
et
tin
g m
et
ho
d


