DISASSEMBLING PROCEDURE CLV-160
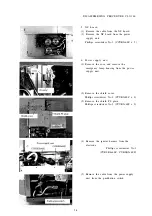
(6) Remove the screw. (Front side)
Phillips screwdriver No.2 (CCUK3x4SZ x 2)
(7) Remove the screws, and remove the power
supply unit from the chassis.
Phillips screwdriver No.2 (CUKSK3x6SZ x 2)
7.
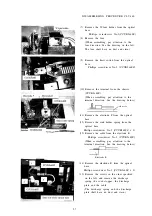
Switch collar and pushbutton switch
(1) Remove the switch washer, switch plate
and switch plate collar from the chassis.
(2) Remove the screws, and remove the switch
unit from the chassis.
Phillips screwdriver No.2 (CCUK3x4SZ x 2)
8 . O p t i c a l u n i t
(1) Remove the shield case.
Box screwdriver(5.5mm)(C6N3SZ x 7)
5-5
Summary of Contents for CLV-160
Page 1: ...MAINTENANCE MANUAL CLV 160...
Page 8: ...2 C O N N E C T I O N D I A G R A M 2 1...
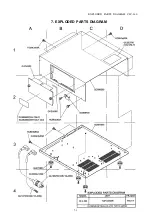
Page 45: ...EXPLODED PARTS DIAGRAM CLV 160 7 EXPLODED PARTS DIAGRAM 7 1...
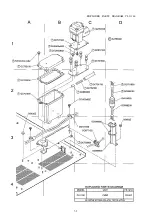
Page 46: ...EXPLODED PARTS DIAGRAM CLV 160 7 2...
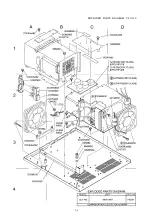
Page 47: ...EXPLODED PARTS DIAGRAM CLV 160 7 3...
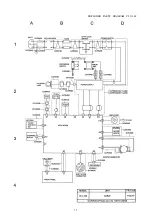
Page 48: ...EXPLODED PARTS DIAGRAM CLV 160 7 4...
Page 49: ...EXPLODED PARTS DIAGRAM CLV 160 7 5...
Page 50: ...EXPLODED PARTS DIAGRAM CLV 160 7 6...


