28
GB
Making Basic Prints
Printing an image recorded on the Smart Media
(continued)
3
Press the
(print) button of the printer to start
printing.
The
(printing) indicator lights and the printer
prints the number of copies you have set. If you
select multiple images, they are printed in the order
of selection.
After the printing finishes, the
(printing)
indicator goes off.
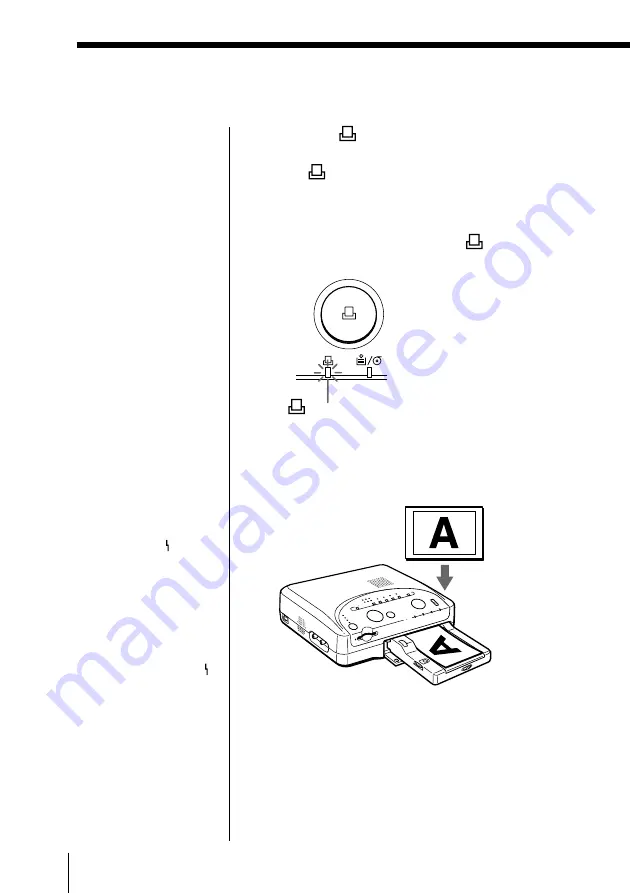
Printing direction
The image displayed on the TV is printed in the
direction as shown below.
Displayed
image
Printed image
(printing) indicator
To stop continuous
printing
Set the dial of the
automatic feeder to 1.
The printer stops after the
current printing.
Notes
• While the access
indicator of the
printer’s slot is
flashing, never remove
the Smart Media; the
format inside the Smart
Media may be
damaged so that it
cannot be used any
longer.
• Do not remove or insert
the Smart Media
during printing. You
may not get a correct
print.
• An image which is
damaged or has some
trouble appears white
in the image list. If the
original image data is
damaged, the (error)
indicator flashes when
you move the white
frame to the white
image or attempt to
display it in full-size.
• If there are no images
stored in the Smart
Media, the screen
appears blue and the
(error) indicator
flashes.
• The time required to
display the image in
full-size differs
depending on the size
of the image recorded
by the digital camera.
If print paper runs out
If the print paper is not inserted or runs out during
printing, remove the automatic feeder from the printer
and insert the print paper. Then install the automatic
feeder again. The printer prints the remaining copies.


