4-11
5
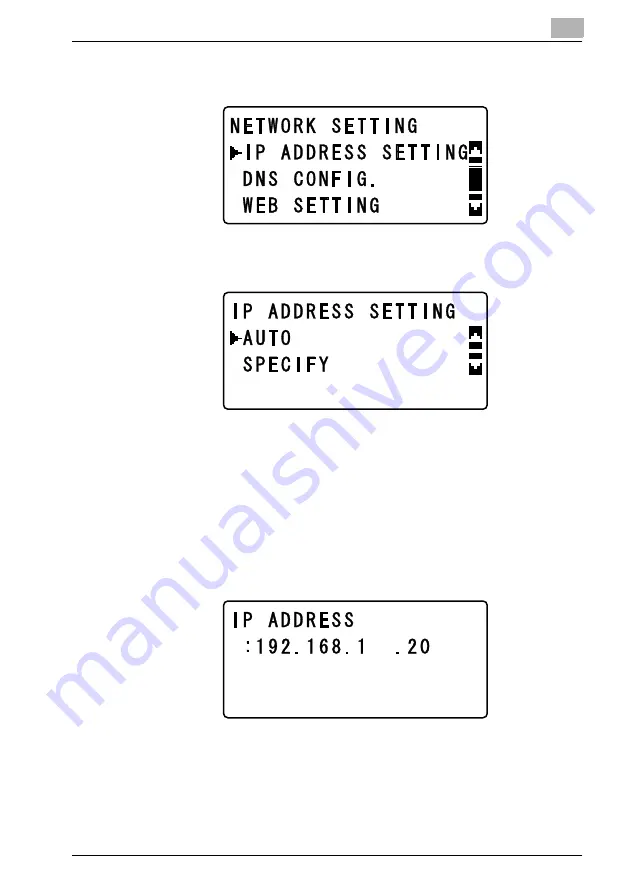
In the “NETWORK SETTING” menu, press the [
,
] or [
+
] key until “IP AD-
DRESS SETTING” is selected, and then press the [OK] key.
6
Press the [
,
] or [
+
] key until “AUTO” or “SPECIFY” is selected, and then
press the [OK] key.
– If “AUTO” was selected, the IP address will automatically be obtained
from the DHCP server. After the message “ACCEPTED” appears, the
“NETWORK SETTING” menu appears again.
– If “SPECIFY” is selected, a screen appears, allowing you to specify the IP
address. Continue with step 7.
– “AUTO” is available only if a DHCP server is on the network. If “AUTO”
is selected, it will not be necessary to specify the subnet mask or gateway
settings.
7
Use the keypad to type in the IP address, and then press the [OK] key.
Summary of Contents for Omega 2140
Page 1: ...Omega 1640 2140 NC 4000 User s Guide...
Page 2: ......
Page 16: ...x 17 Explanation of manual conventions...
Page 17: ...x 18...
Page 27: ...1 10 Press the 3 key 6 times Press the 0 key Press the 123 ABC key Press the 0 key...
Page 133: ...5 26...
Page 183: ...6 50...
Page 222: ...8 27 Scan tab Speed Dial Setting Registered speed dial settings can be viewed...
Page 224: ...8 29 Network tab Summary The basic network settings can be viewed...
Page 229: ...8 34 System tab Save Setting Easy Web Management settings can be saved and restored...
Page 271: ...8 76...
Page 277: ...10 2...


