14
Filter Replacement
I.
Turn off Cold Water & Tank Valve:
Turn cold water supply and tank ball valve to OFF
positions. Turn system faucet to the ON position to release any built up pressure in the
RO system. Once pressure has been released, turn system faucet to OFF position.
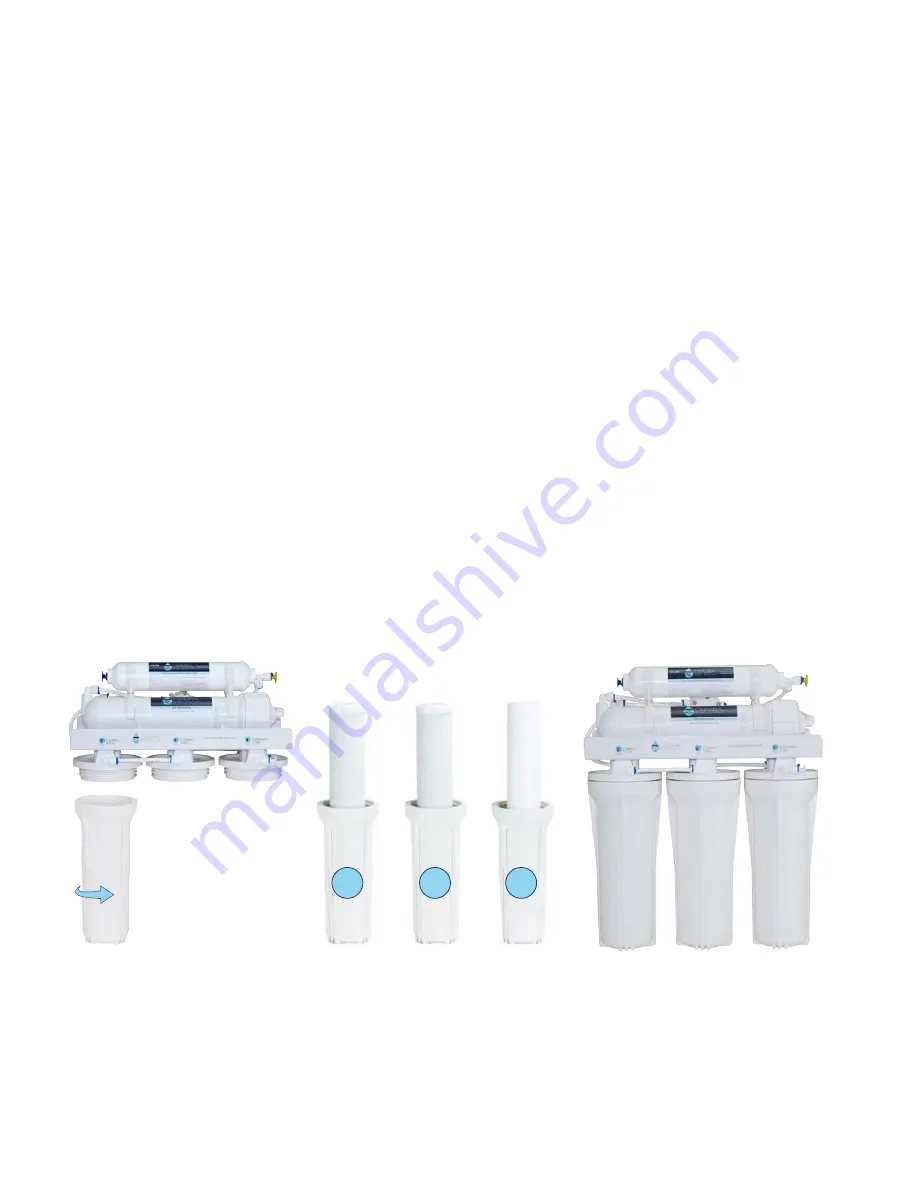
II. Open Housings:
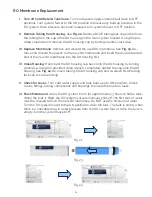
See
Fig. 19.
Starting with the 1st stage, use the large provided wrench
remove the filter housings one at a time by turning counter-clockwise.
III. Replace Filters:
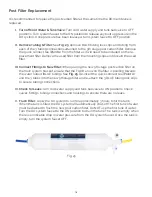
Remove and discard the 3 used filters from the housings. Rinse out
each housing to ensure there is no remaining dirt or particles still in the filter housings.
If necessary, wash the housings by hand with a mild soap before rinsing. See
Fig. 20.
Insert the new 1st stage sediment filter and the 2nd and 3rd stage carbon block filters
into the corrosponding filter housings.
IV. Close Housings:
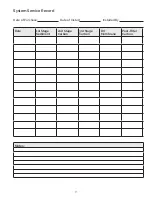
Starting with the 1st Stage housing on the right, hand twist the hous
-
ing onto the main bracket turning clockwise under the 1st Stage label. Using the pro
-
vided large wrench, completely tighten the 1st Stage housing onto the main system
bracket. One at a time, hand twist and then tighten with the provided large wrench, the
2nd Stage and 3rd Stage housings under their corrosponding labels on the main sys
-
tem bracket.
See
Fig. 21.
V. Check for Leaks:
Turn cold water supply and tank ball valve to ON positions. Check
valves, fittings, tubing connections and housings to ensure there are no leaks.
Fig. 19
Fig. 20
Fig. 21
1
2
3


