Olivetti d-Color MF2603 / d-Color MF2604 Sales Guide
Internal and confidential publication not to be reproduced without authorisation
25
Procedure for Editing the Quick Print Tab is as follows:
i.
Open device Properties from “Device and Printers” located in Windows Start menu
ii.
Click “Printing Preferences” from the correct printer (right mouse click to see menu)
iii.
Click “Edit Quick Print…” in the Quick Print Tab
iv.
Add or delete controls in “Edit Quick Print” screen. A maximum of 5 buttons can
be selected to be shown
Set Print Settings by Application Based Profiles
Administrators / users can fine tune printing options for every application to find the
right balance between cost savings, quality, and security.
For example, for text applications or email programs, some organisations might want to
save paper and toner by enabling mono and duplex print only. Conversely, when
printing from MS PowerPoint or MS Excel, customers may always wish to print in colour.
Creating application based profiles is very intuitive and completely integrated into the
Printer Driver profile feature. After creating a profile, the user chooses an application by
entering the application name or browsing to the native software and saving the
association. By default, all future prints from this application will be printed with the
selected settings. The user can override the settings for individual print jobs by changing
the settings in the printing preferences.
Edit via the Quick Print Tab menu:
i.
If the desired profile is not defined, add the profile in the
“Profiles” settings
ii.
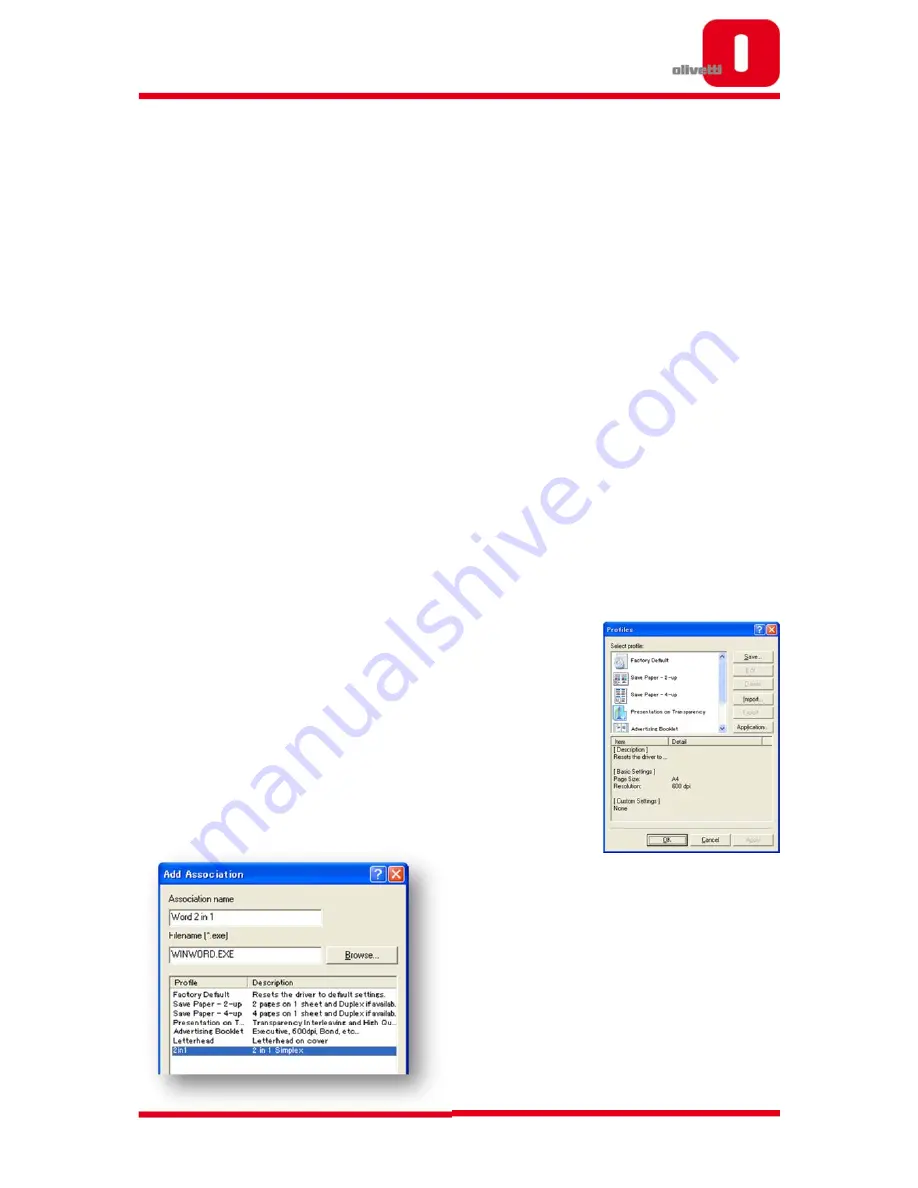
In the Profiles screen, click “Application…”
iii.
Click “Add” in the “Application Based Printing” screen
iv.
Enter the Association Name and File
name, then choose the associated
profile


