Operation > 72
Pull Scan Option
1.
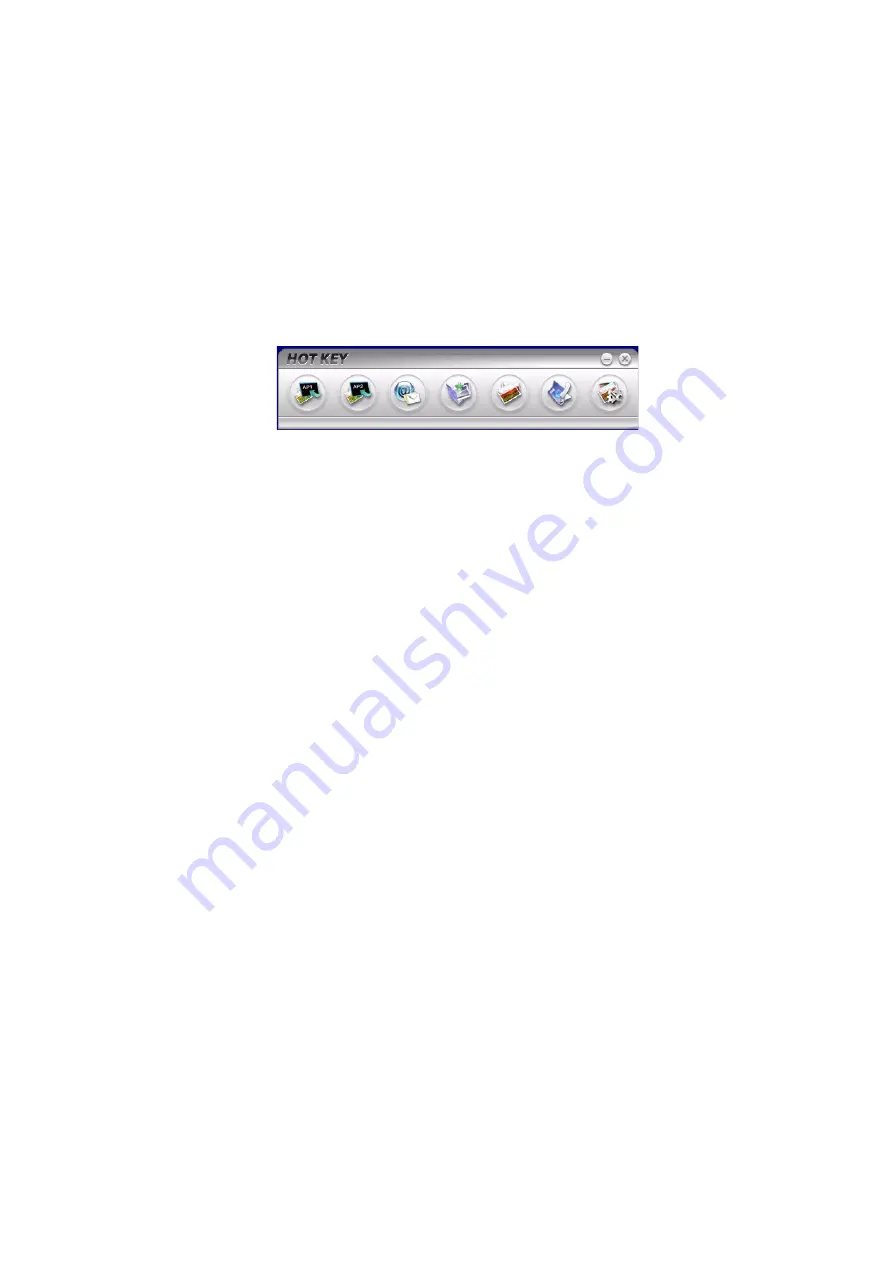
Double click the Hotkey Icon on your desktop
The Hotkey console (below) will appear.
The functions below, can now be controlled from the PC:
>
Scan to Application1
>
Scan to Application2
>
Scan to Email
>
Scan to Folder
>
Scan & Print
>
Scan to PCFax
>
Settings
As the cursor passes over an icon, the parameters set for that
icon appear in a text box (except, of course, “Settings”). a single
click will select that option.
Besides the “Settings” option, there are two others available in
Pull Scan - “Scan to Application2” and “Scan & print”.
>
“Scan to Application2” works exactly the same as scan
to Application1, simply allowing an alternative
application to be selected.
>
“Scan & Print” allows you to scan to any printer
available to your PC, including the MFP’s printer.
>
The “Settings” option allows you to set the parameters
for all options.


