134
–
Scanning
MC361/MC561 Basic User’s Guide
6
If necessary, specify a name.
a) Make sure that [Name] is selected, then press the right arrow
key.
b) Enter a name containing up to 16 characters.
c) Select [Done], then press <OK>.
7
Press the down arrow key repetitively to scroll to [E-mail
Address], then press the right arrow key.
8
Enter an e-mail address containing up to 80 characters, then
press <OK>.
9
Press <OK>.
Registering From Transmission History
You can add an e-mail addresses to the address book from fax
transmission histories.
1
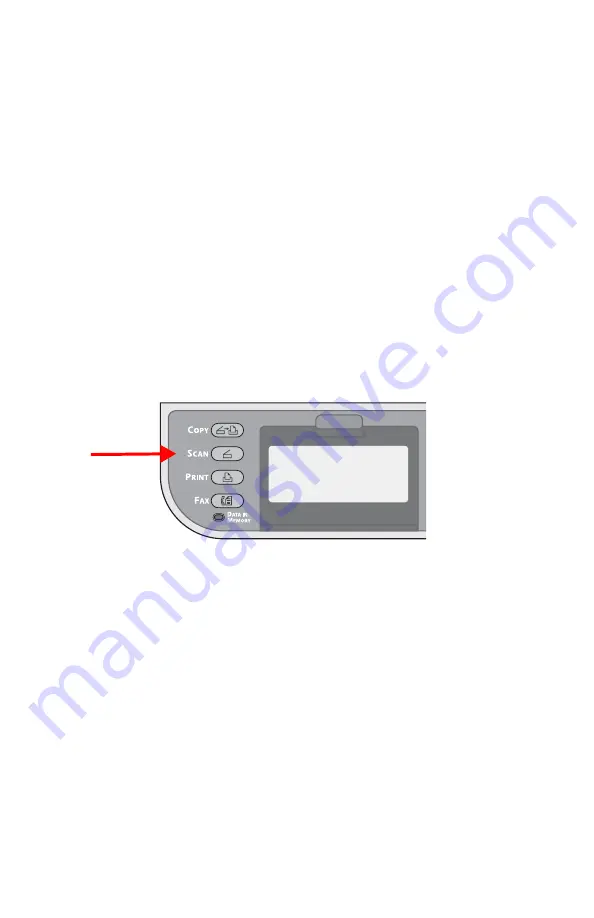
Press <SCAN> on the control panel.
2
Make sure that [Email] is selected, then press the right arrow
key.
3
Press the down arrow key repetitively to scroll to [Email Tx
History], then press the right arrow key.
4
Press the down arrow key repetitively to scroll to the entry you
want, then press the right arrow key.
5
Check the entry, then press the right arrow key.
6
Make sure [Register to Address Book] is selected, then press the
right arrow key.
7
Press the right arrow key.
8
Press the down arrow key repetitively to scroll to the e-mail
address you want, then press the right arrow key.
Summary of Contents for MC561MFP
Page 1: ...Basic User Guide 59101401 my okidata com MC361 MC561...
Page 53: ...53 Print Media MC361 MC561 Basic User s Guide 2 Unfold the stacker 3 Open the paper support...
Page 246: ...246 Replacing Consumables MC361 MC561 Basic User s Guide 2 Open the MP tray...
Page 249: ...249 Replacing Consumables MC361 MC561 Basic User s Guide 7 Close the MP tray...


