38
SECTION 4: NETWORKING YOUR DVR
NOTE
The MEDIA PORT, WEB PORT, and SETUP PORT numbers do not need to be changed unless these numbers conflict with other
devices on your network.
7. Use the values in Table 1 to configure your DVR with a DNS address, IP ADDRESS. SUBNET MASK, and GATEWAY address. You
can also use any other values that are compatible with your local network.
8. After configuring your network settings, click the confirm icon (
a
) in the lower right corner of the screen, then click the
Confirm
button in the
Note
window.
9. Press the
MENU
button on the front panel, or right click anywhere to return to the SETTINGS menu.
10. At the
SETTINGS
menu, click the
SYSTEM
tab, then click the >> icon on the
MAINTENANCE
line.
11. Click the >> icon on the
REBOOT
line, then follow the on-screen prompts to reboot your DVR.
12. Connect an Ethernet cable between the LAN port on the back of your DVR and any open port on your router.
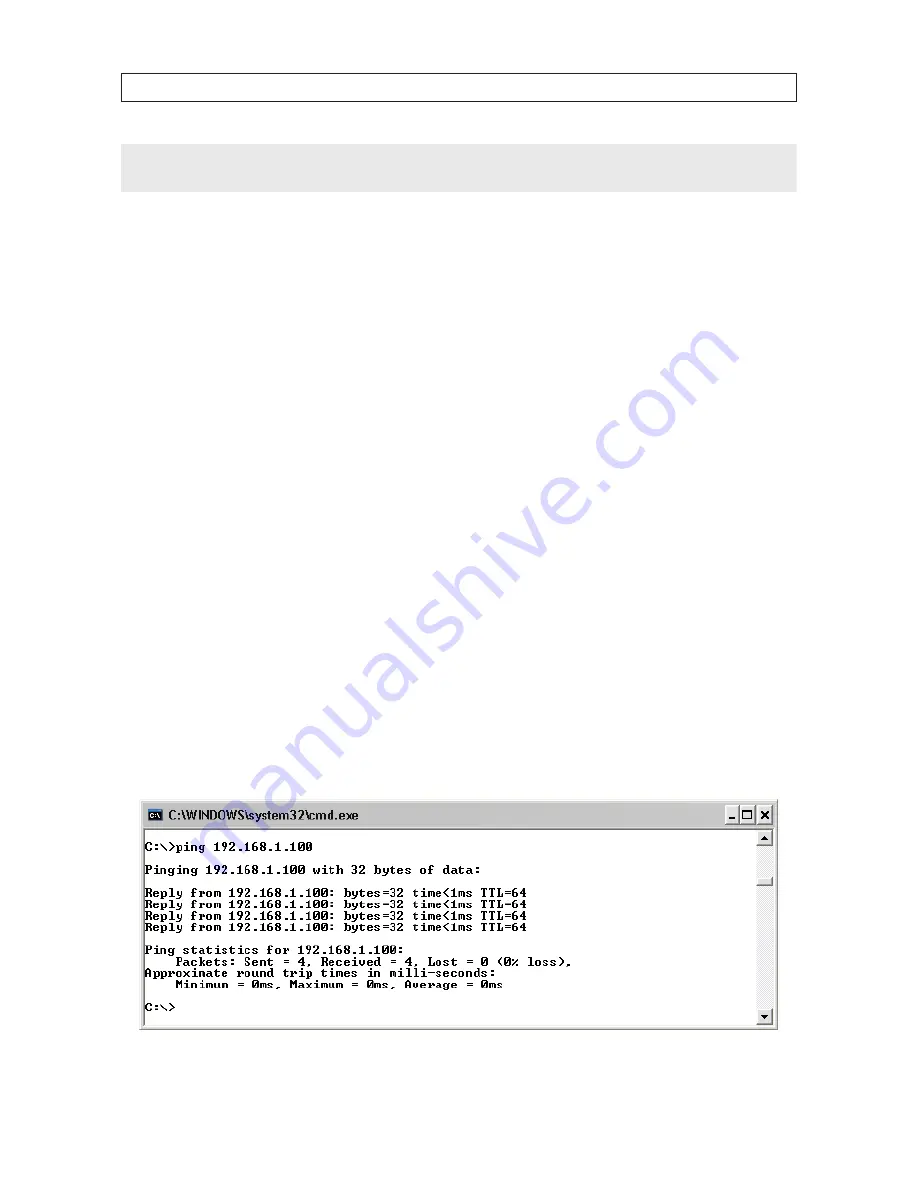
13. At your PC, use the
ping
command with your DVR’s IP address to confirm that you can connect to your DVR from your PC. At
the DOS prompt in the Command window, enter:
ping <IP address>
where <IP address> is the new DVR IP address. For example, if your DVR’s IP address is now 192.168.1.100, enter
ping 192.168.1.100
14. Examine the response to the ping command. If the response is “
Reply from ...”
and NOT “
Request timed out.
” as before,
your DVR is now configured on the network.


