Using Objet Studio
5–20
DOC-00260 Rev. A1
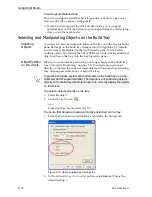
To choose the finish type for a model:
1. Select
the
model.
2. In
the
Options
tab
of
the
Entity
Properties
dialog
box,
select
Matte
or
Glossy
.
or—
1. Right
‐
click
the
model
on
the
build
tray.
At
the
bottom
of
the
pop
‐
up
menu,
the
current
finish
type
is
not
enabled
(that
is,
you
cannot
select
it).
2. To
change
the
finish
type,
select
the
other
(enabled)
option.
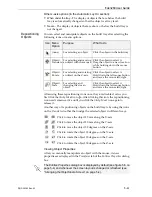
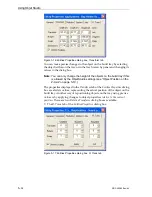
Note:
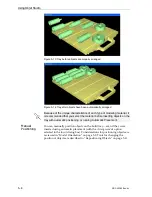
To distinguish between models with different finishes, the color of
objects displayed on the build tray—when they are not selected—is
different for each type. To view and change the color settings, see “Object
Color Codes” on page 5-21.
Handling Completed Trays
After
you
have
properly
placed
all
objects
on
the
build
tray,
you
save
the
tray
as
an
otf
file,
which
is
sent
to
the
3
‐
D
printer
for
production.
But
before
saving
the
tray,
you
can
check
that
there
would
be
no
problem
producing
it.
You
can
also
calculate
how
much
material
would
be
consumed
during
production
and
how
much
time
this
would
take.
Tray Validation
Before
sending
a
job
to
the
Eden
printer
for
production,
you
should
check
that
the
tray
is
“valid”
and
can
be
printed.
Note:
Because of the unique characteristics of each type of modeling
material, make sure that the correct material is selected
before
performing Tray Validation.
To validate that the tray can be printed:
¾
From
the
Tools
menu,
select
Tray Validation
.
or—
¾
Click
.
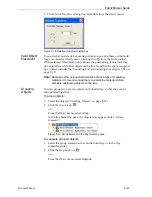
If
the
tray
is
not
valid,
the
color
of
the
problematic
models
on
the
tray
changes
according
to
a
pre
‐
set
color
code.
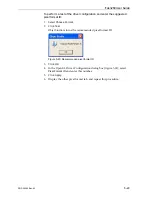
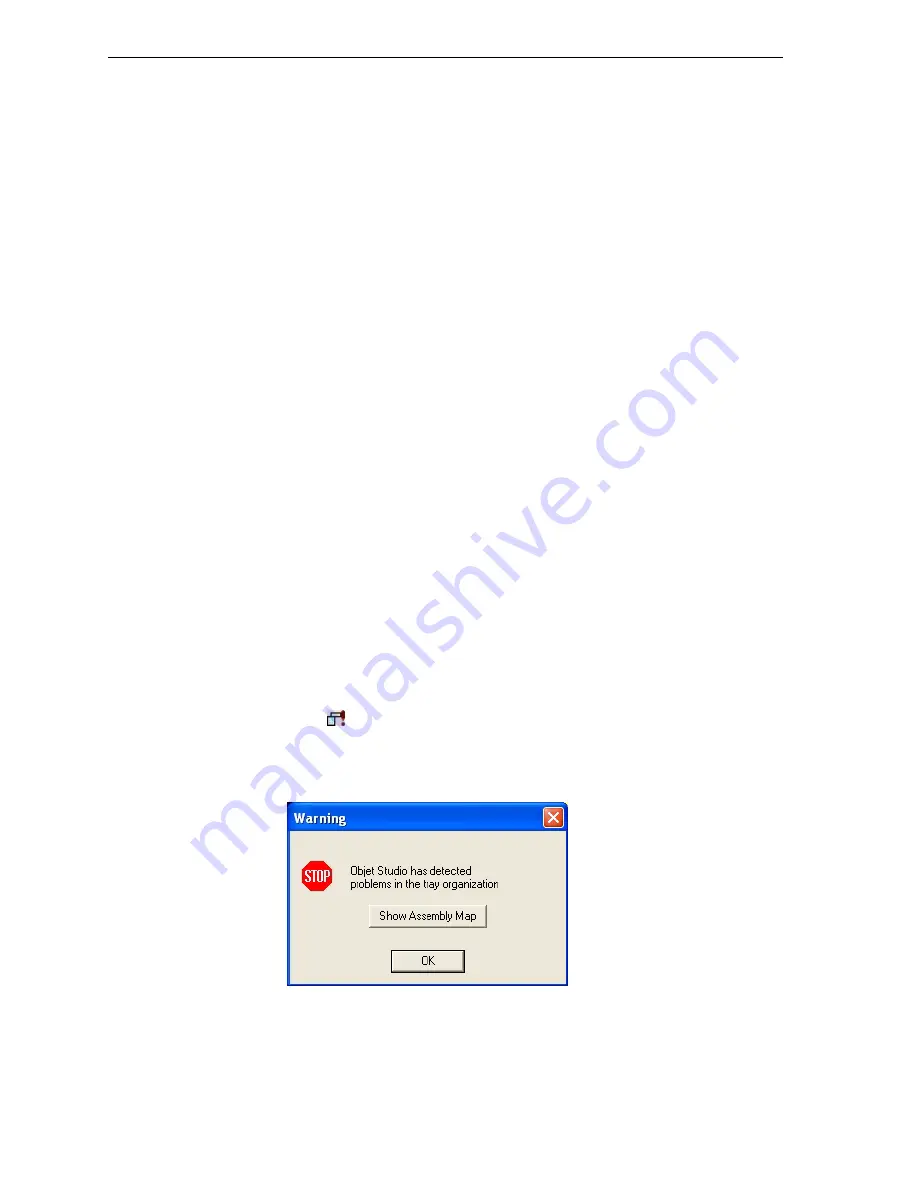
If
a
warning
message
appears,
click
OK
to
close
it.
Figure 5-26: Tray validation warning

