11
3.
INSTALL THE UNIT
(CONT’D)
3.6 I
NSULATED
F
LEXIBLE
D
UCTS
I
NSTALLATION
3.7 E
XTERIOR
O
PENING
(
S
) I
NSTALLATION
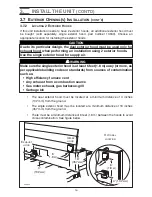
If the joists are perpendicular to the ducts, or if the connection to the exterior hood is in
a limited area, the installation will need 2 exterior hoods (or soffit grilles). Go to Point
3
.7.2
or
3
.7.4 for more details.
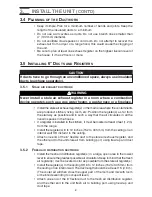
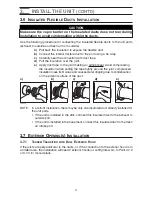
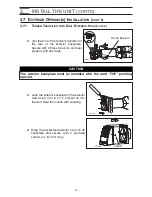
Use the following procedure for connecting the insulated flexible ducts to the unit ports
(exhaust to outside and fresh air from outside).
a)
Pull back the insulation to expose the flexible duct.
b)
Connect the interior flexible duct to the port using a tie wrap.
c)
Carefully seal the connection with duct tape.
d)
Pull the insulation over the joint.
e)
Apply duct tape to the joint making an airtight seal. Avoid compressing
the insulation when pulling the tape tightly around the joint; compressed
insulation loses its R value and causes water dripping due to condensation
on the exterior surface of the duct.
a)
b)
c)
d)
e)
NOTE:
In a retrofit installation, there maybe only one insulated duct already installed for
the unit ports.
• If the unit is installed in the attic, connect this insulated duct to the exhaust to
outside port.
• If the unit is installed in the basement, connect this insulated duct to the fresh
air intake port.
CAUTION
Make sure the vapor barrier on the insulated ducts does not tear during
installation to avoid condensation within the ducts.
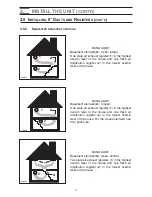
3.7.1
T
ANDEM
T
RANSITION WITH
D
UAL
E
XTERIOR
H
OOD
VJ0010


