25/33
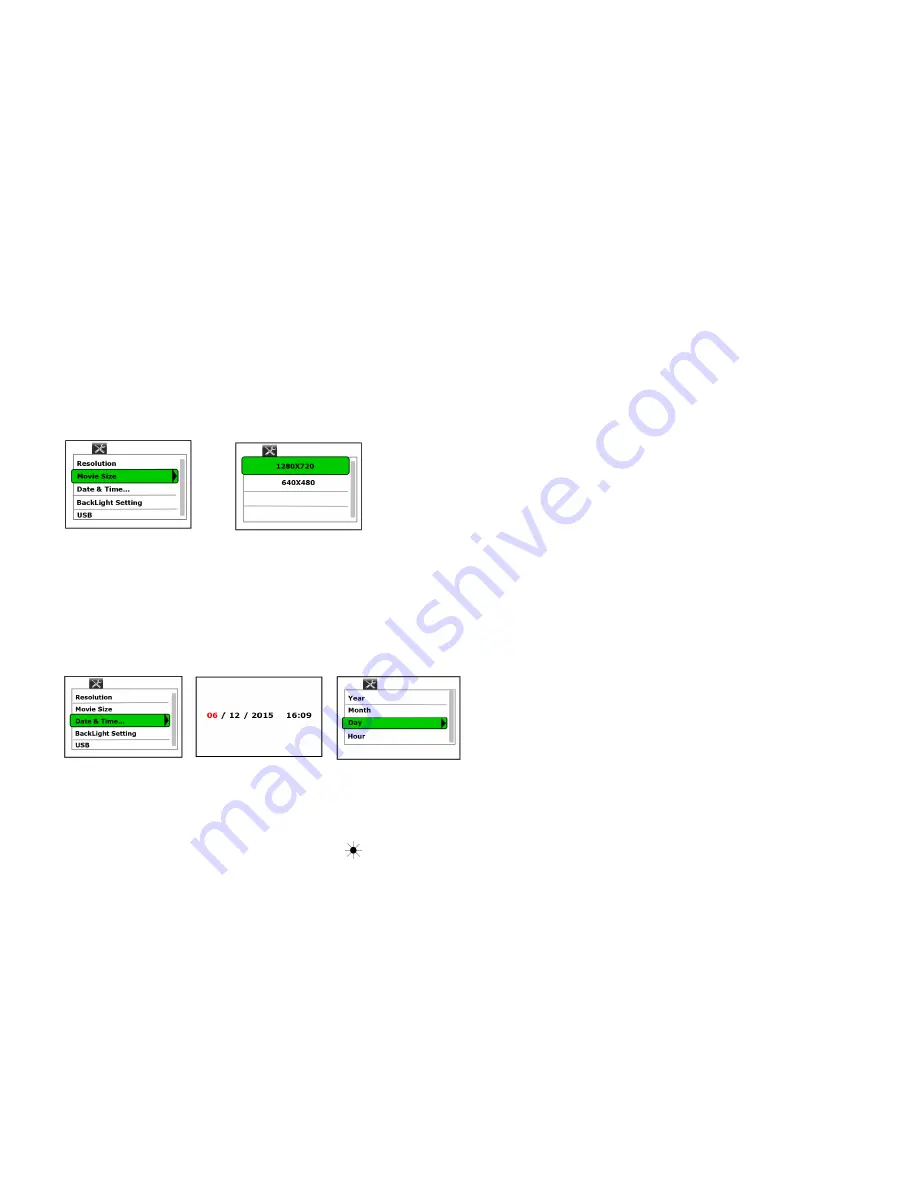
Set up of movie size:
-
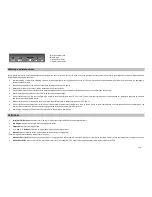
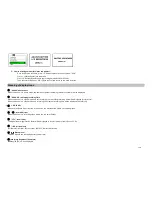
Once in the setup interface, press “IR” button to move to the next menu: “Movie Size”.
-
Press the « - » button
(B)
and enter in submenu “Movie Size”.
-
Press « IR » button
(C)
to choose your favorable movie size: 1280 x 720 or 640 x 480.
The highest movie size would be much clearer
but 640 x 480 would take less storage
space.
-
After choosing, press the record button « REC » to confirm and return to the main setup menu.
Note: to cancel and exit the current setting, press « + » button.
Set up date and time:
-
Once in the setup interface, press “IR” button to move to the next menu: “Date and time”.
-
Press the « - » button
(B)
and enter in submenu “Movie Size”. Check the default time and date.
-
If need to adjust, press the « - » button
(B)
enter into
the adjust
interface
.
-
Press IR button « IR »
(C)
to select Year/Month/Day/Hour/Minute.
-
Then press « - » button
(B)
enter for choosing the right number.
-
After that, press the record button « REC »
(F)
to confirm.
Note: to cancel and exit the current setting, press « + » button.
Set up backlight setting:
-
Once in the setup interface, press “IR” button to move to the next menu: “Backlight setting”.
-
Press « - » button (B) to enter in backlight setting interface. The LCD backlight level can be toggled from level 00 to level 03.
-
Press « + » and « - » button to adjust backlight setting. This allows you to quickly make a significant change in viewing brightness and also provides a greater total range of
adjustment.
-
After finish the setting, press image brightness button to confirm.


