


RDC.ED.UT-3M-EMA.000 OM
Operating manual
EMA Thickness Gauge NOVOTEST UT-3M-EMA
Page. 11
The main menu of the thickness gauge consists of four sections:
1.
“MEASUREMENT” – entering the measurement mode;
2.
“ARCHIVE” – displaying of all the saved measurement results;
3.
“SETTINGS” – in this section, the following parameters can be set: language, brightness,
color scheme, sound, type f., clear SD card, transducer, material, scale, time and date;
4.
“INFORMATION” – displaying the information about manufacturer and the device.
2.3.2 “MEASUREMENT” mode
To enter the “MEASUREMENT” mode, choose the needed point using “
” and “
”, and
confirm the selection by pressing “
”.
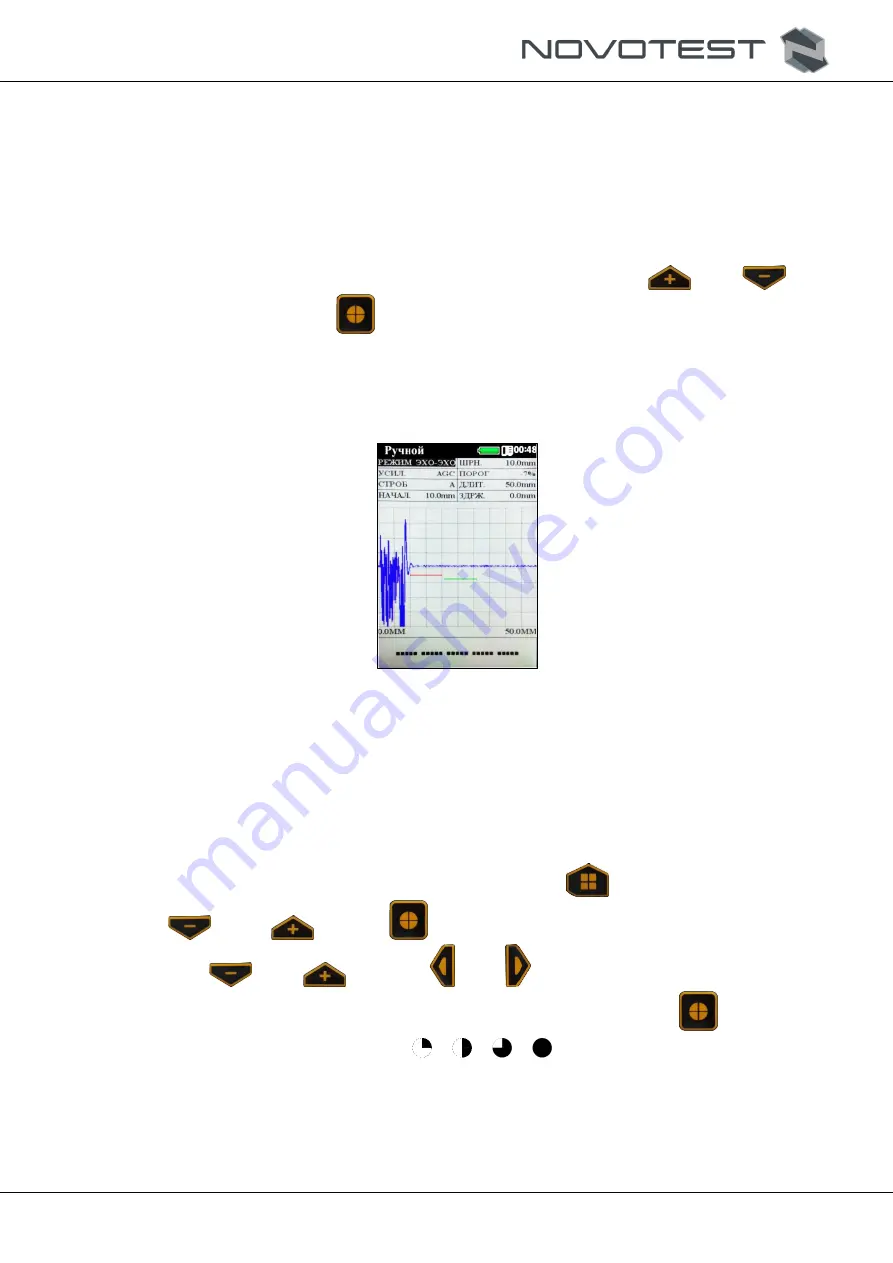
In the MEASUREMENT mode, the display is split into two sections: main and informational (top
part of the display) (fig. 2.5). The main section contains the working section of the mode, and the
informational section features the battery charge, connection to PC, SD card connection, and the
current time.
Figure 2.5 – Display of the thickness gauge
In “MEASUREMENT” mode, the thickness gauge can be operated in the following modes:
“AUTO”;
“MANUAL” mode;
“В SCAN” mode;
“CONTROL” mode;
“CALIBRATION” mode.
To switch the operating mode of the thickness gauge, press “
”, and select the needed mode
by using “
” and “
”, press “
” to confirm the selection. To navigate through the
parameters, use “
” and “
”, and use “
” and “
” to change the value.
Operator can change the resolution of the selected parameter by pressing “
”. The selected
resolution is displayed by a special number (
,
,
,
) next to the value being changed.
2.3.2.1 “AUTO” mode
In this mode, the device automatically analyses the measured signals, selects the measurement
method, sets the parameters of the receive path, and displays the measured thickness value.


