


26
OY NORDIC SPA LTD | Tehdaskatu 7, 24100 Salo | www.novitek.fi
EN
FACTORY INSTALLED ACCESSORIES
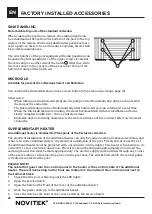
When sinking the pool into a terrace, the sinking depth can
be a maximum of 40 cm from the bottom of the pool to the top
surface of the terrace. With sink panelling the pool panels are
in two parts, so there is no ned to make a separate service hatch
for possible maintenance.
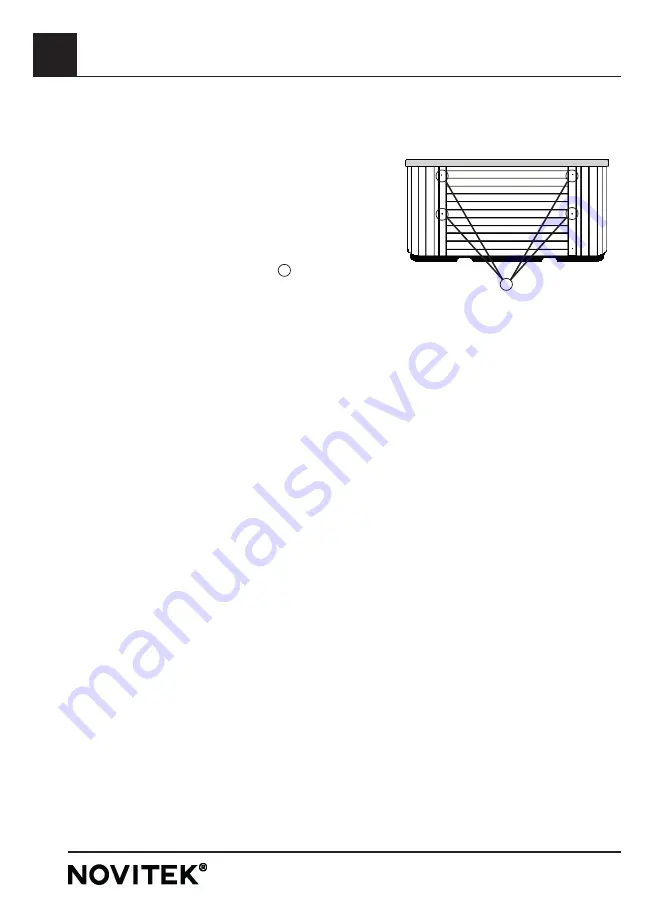
The side hatches of the pool equipped with sink panelling can
be opened by fi rst opening two of the upper screws located at
the cover strips on either side of the hatch
1
. After this, slide
the cover strips to the corners of the pool, raise the top of the
hatch a bit and pull the hatch out.
SINK PANELING
1
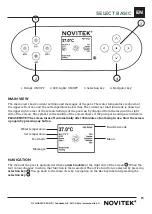
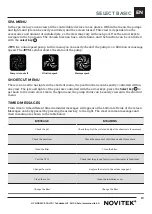
MICROSILK
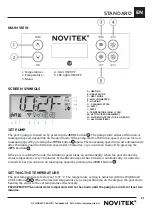
You can fi nd the Microsilk feature on the screen button (5) Spa menu (see image, page 10)
Other notes:
•
When turning on the Microsilk program, the pumps turn off automatically, and you cannot start
them up at the same time.
•
The Microsilk feature turns off automatically after 30min, but you can interrupt it at any time.
•
When the Microsilk feature is running, the water becomes fi lled with microbubbles and turns
slowly completely milk-like – this is entirely normal.
•
Microsilk does not add any chemicals to the water and does not have a direct effect on the water
chemistry.
Available for pools of the collections Select and Exclusive.
Not available for pools of the standard collection.
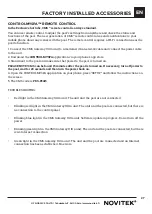
The electrical installation of the additional heater can only be carried out by a licensed electrician, and
it has to be done simultaneously to the electrical installation of the pool. The electrical connection of
the additional heater must be protected with a ground circuit interrupter. The heater is hooked up to its
own 230V, 1 x 16 A electrical connection. The wires should be stripped approximately 20 mm and the
earthing connection must be made appropriately. The electric supply can be drilled through any corner
of the pool’s siding or a moving strap groove in the pool base. The side behind which the control panel
is located is marked on the pool.
SUPPLEMENTARY HEATER
1.
Check that the pool is fi lled up until the LED lights.
2. Open the service hatch.
3. Open the hatch at the front of the cover of the additional heater.
4. Hook the power cable up to the additional heater.
5. Close the hatch at the front of the cover as well as the service hatch.
PLEASE NOTE!
The cable that goes from the control panel to the heater is the control cable of the additional
heater . The electrical wiring instructions are marked on the inside of the control panel next to
the terminal block .
An additional heater is standard for Ylläs pools of the Exclusive collection.