


28
NORTEK
water has to be entered. In general, this is around
1500 m/s in seawater.
Mounting depth [m]
0
The depth below the surface at which the instrument is
mounted.
Velocity Measurement
Blanking distance [m]
0.5
Distance to the start of the first measuring cell.
Cell Size [m]
0.5
Size of each measuring cell. A larger cell size will
improve the accuracy per cell, at the cost of losing
vertical resolution.
The total number of cells that is recorded is limited by
the selected cell size. The total measured distance (Nr
of Cells * Cell size) cannot exceed the maximum
range of the instrument.
Echosounder
Echosounder specific settings. Only available if the
instrument has an echosounder licence. Two
echosounder measurements are available, each can
be enabled or disabled.
Blanking distance [m]
0.1
Distance to the start of the first measuring cell.
Cell Size [m]
0.5
Size of each measuring cell. This basically sets the
vertical resolution of the echosounder.
Echogram
If disabled this echosounder mode is not used.
(echosounder is NOT recorded!). Select a frequency
from the dropdown box to enable the echosounder.
Most Signature sensors only have one frequency
available, which is the base frequency of the sensors
itself (e.g. 1000 kHz for a Signature 1000). On a
Signature 100 with echosounder option mounted it
may be possible to select different frequencies.
Pulse compression
on
Only available for the first echosounder.
Transmit length (ms)
0.1
Length of the transmit pulse in ms.
Note: If you change these values and want to store them for future measurements, open the ‘Configuration
window
’ and click ‘Save configuration’
Cli
ck ‘Start’ to start the actual measurement. When any of the settings in this window is invalid for this
specific sensor the Start button is not enabled and the measurement cannot be started.
The system will now start recording the measurement data. When it is recording this is indicated by the two
progress bars that are visible when clicking
at the bottom of the ‘Settings’ window. Use ‘Next recording’ to
create a new file. This may be useful to start a new file when a specific area or track is started.
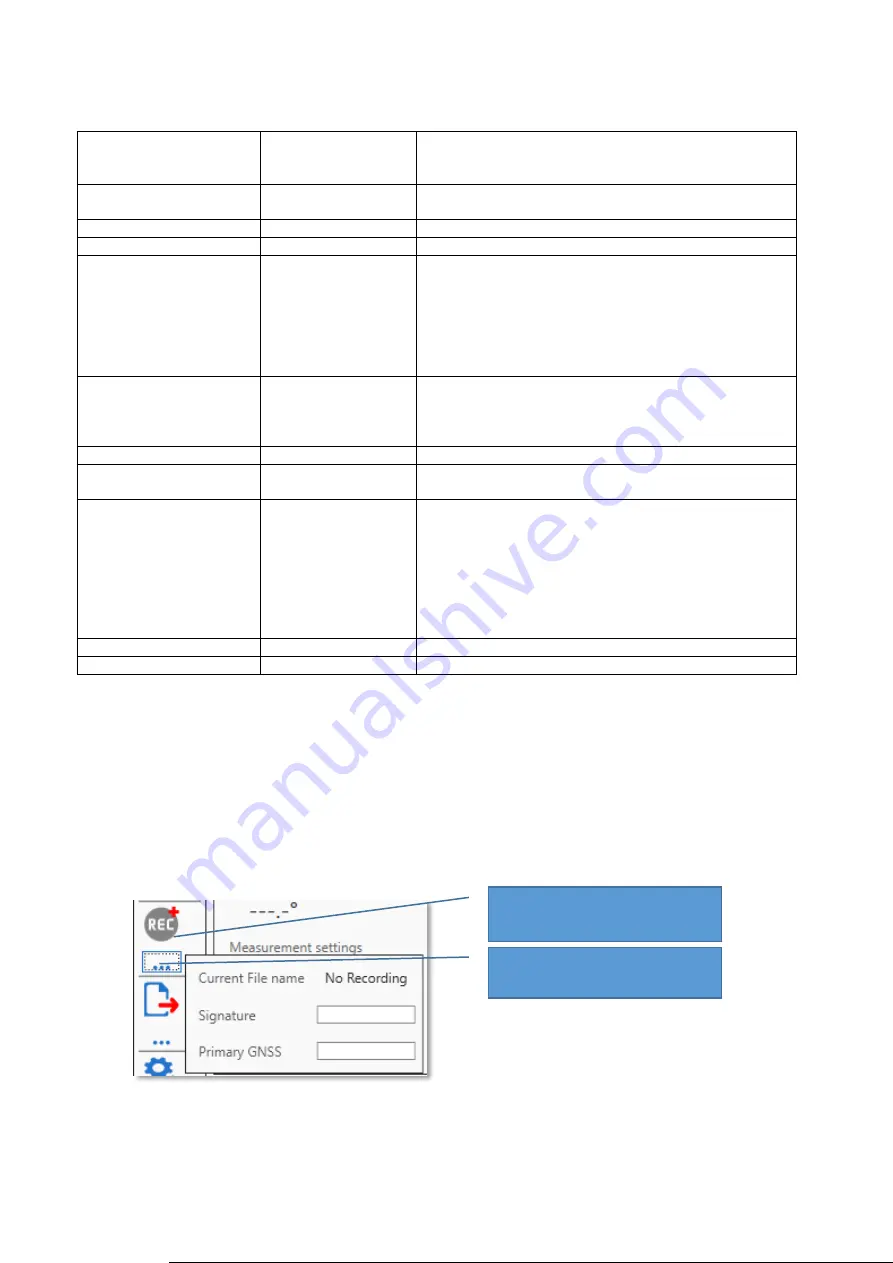
Figure 20 Recording and recording status
Click ‘REC’ to start a new
recording
Recording status will bring up
the popup


