


3
Configuring IP71
68
Nokia IP71 User Guide
Diagnostics
Diagnostics provide you information about the performance of your IP71.
n
Tools
n
Utilization
n
Services
n
Console
n
Edit Files
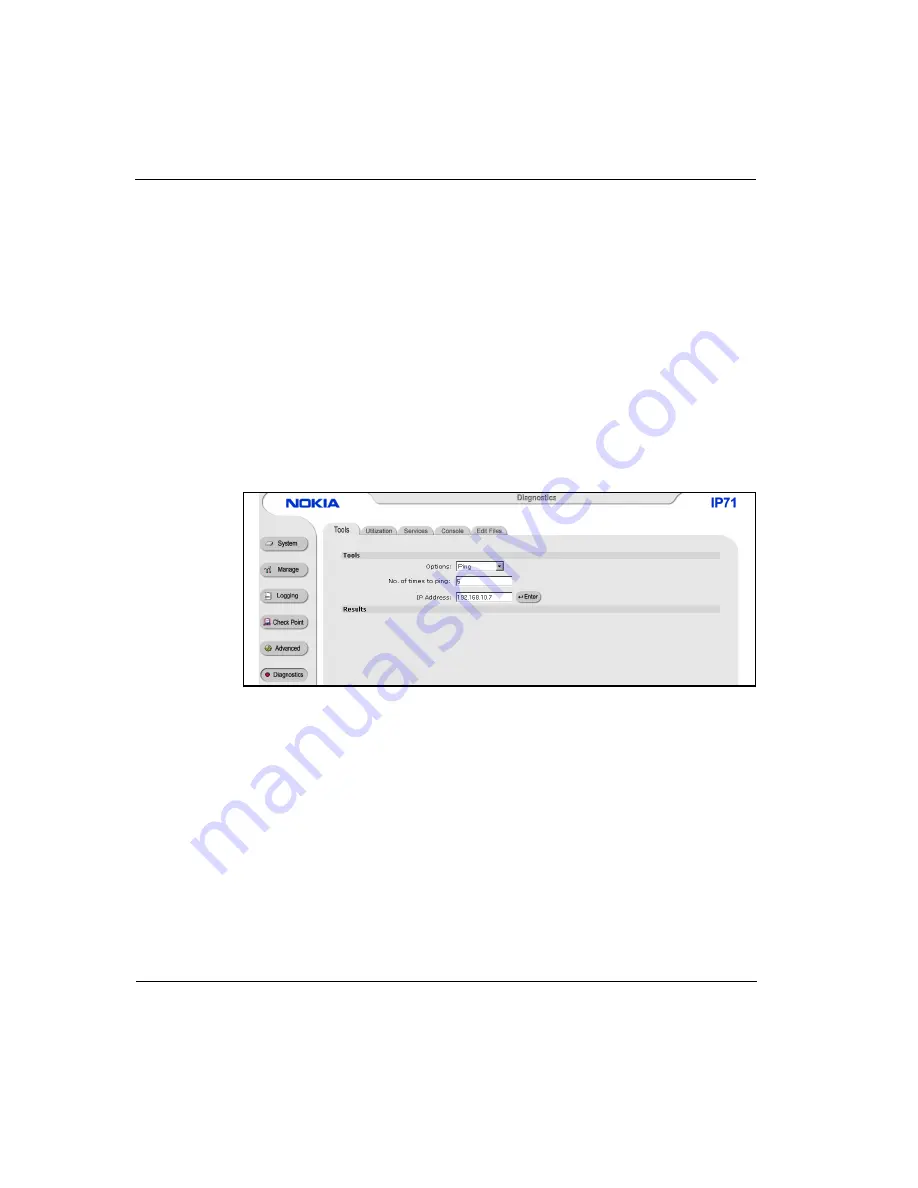
Tools
To access Tools, click Diagnostics.
Figure 24 Diagnostics - Tools
Diagnostics Tools provide you the following information:
n
Ping checks for reachability of a device installed in a remote location. If
you select Ping as in Figure 24,
n
Enter the number of times you want to ping.
n
Enter the IP Address of the of the device you are trying to reach.
n
Trace Route gives the number of hops required to reach a remote host or
network. If you select Trace Route,
n
Enter the Interface (LAN, WAN or PPP)
n
Enter the IP address of the remote network
Summary of Contents for IP71
Page 1: ...IP71 User Guide version 2 0 N450794001 Rev A October 2002 ...
Page 4: ...iv Nokia IP71 User Guide ...
Page 94: ...4 Configuring a VPN 94 Nokia IP71 User Guide ...
Page 102: ...A Obtaining a Check Point License 102 Nokia IP71 User Guide ...
Page 108: ...B Technical Specifications 108 Document Title Variable ...


