E
28
Connecting the Camera to a Printer (Direct Print)
Refere
nce S
e
ct
io
n
6
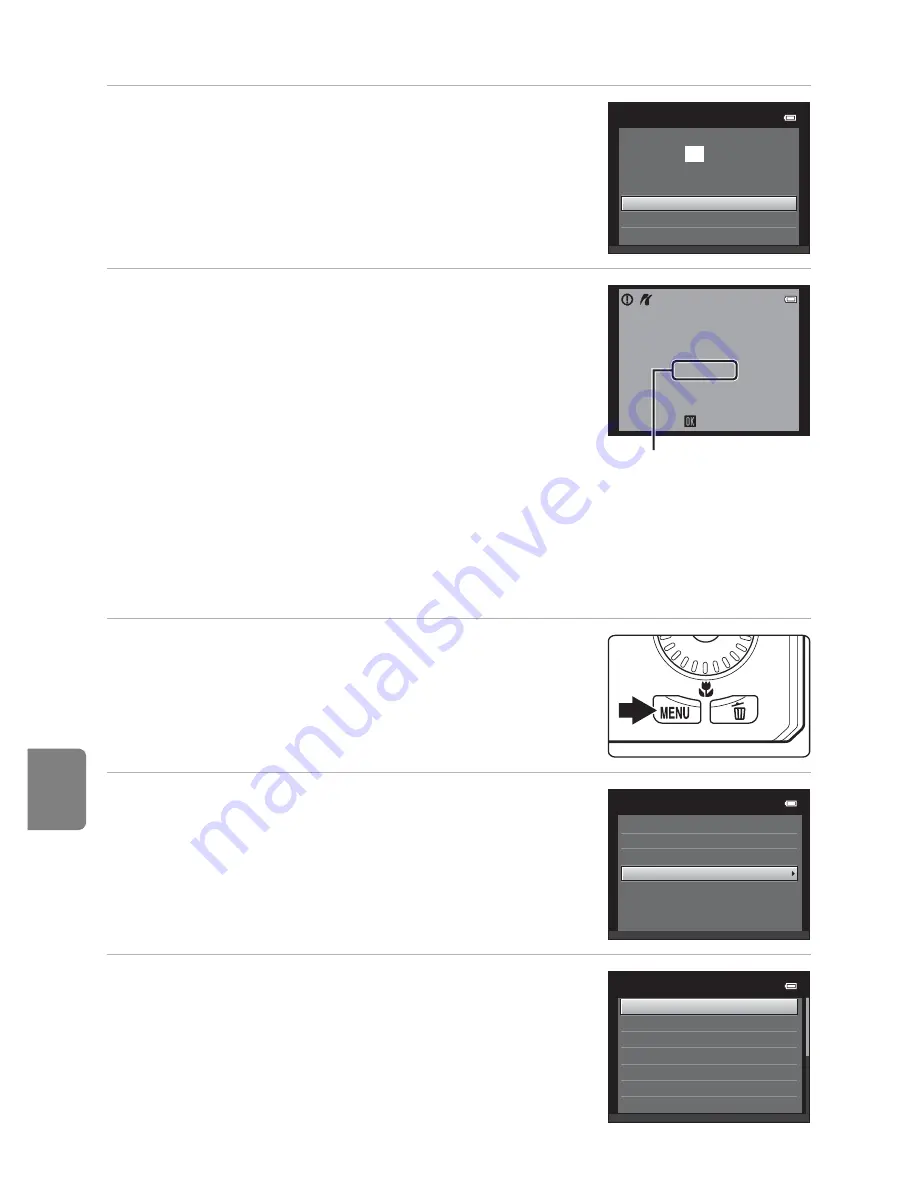
Select
Start print
and press the
k
button.
7
Printing begins.
•
Monitor display returns to the print selection screen
shown in step 1 when printing is complete.
•
To cancel printing before all copies have been printed,
press the
k
button.
Printing Multiple Images
After properly connecting the camera to the printer (
E
26), follow the
procedures described below to print multiple images.
1
When the
Print selection
screen is displayed,
press the
d
button.
2
Use the multi selector to select
Paper size
and press the
k
button.
•
To exit the print menu, press the
d
button.
3
Select the desired paper size and press the
k
button.
•
To specify paper size using settings on the printer,
select
Default
in the paper size option.
Start print
0 0
4
prints
PictBridge
Copies
Paper size
Printing
002 / 00
4
Cancel
Current number of copies
/
total number of copies
Print menu
Print selection
Paper size
DPOF printing
Print all images
Paper size
Default
100×150 mm
4
×6 in.
8×10 in.
Letter
5×7 in.
3.5×5 in.
Summary of Contents for COOLPIX 56300
Page 25: ...DIGITAL CAMERA Reference Manual En ...
Page 54: ...13 Basic Operations Parts of the Camera and Basic Operations Attaching the Camera Strap ...
Page 55: ...14 t ...
Page 77: ...36 t ...
Page 127: ...86 t ...
Page 256: ...Nikon COOLPIX Printed in China YP1 J01 10 Y VG0692341 FOO 790 9MXA57 0 0 1 ...
Page 258: ......


