


20
Using Camera Control Pro
Appendices
Return to fi rst page
Overview
1
Turn the camera off and use the interface cable to connect the camera to the
computer as described in the camera manual. If you are using a D1-series camera,
choose “PC” as the operating mode. If you are using a D100, choose P, S, A, or M
mode. Users of D2-series cameras can select any mode other than
M-
UP
(mirror up).
The D70S, D70, and D50 can be connected in any shooting mode.
Starting and Exiting Camera Control Pro
1/6
USB
D70S
D100
D200
D2-series
D70
D50
Users of the above cameras will need to ensure that the appropriate setting is chosen for
USB
option in the camera setup menu before connecting the camera to a computer running Camera
Control Pro. Choose a USB setting ac cord ing to your com put er’s operating system:
Operating system
D100
D70S
D200
D2-series
D70
D50
Windows XP
Choose
Mass Storage
*
or
PTP
.
Choose
PTP
.
Windows 2000
Choose
Mass Storage
.
*
Mac OS
Choose
PTP
.
* Log on to an administrator account when using Camera Control Pro.
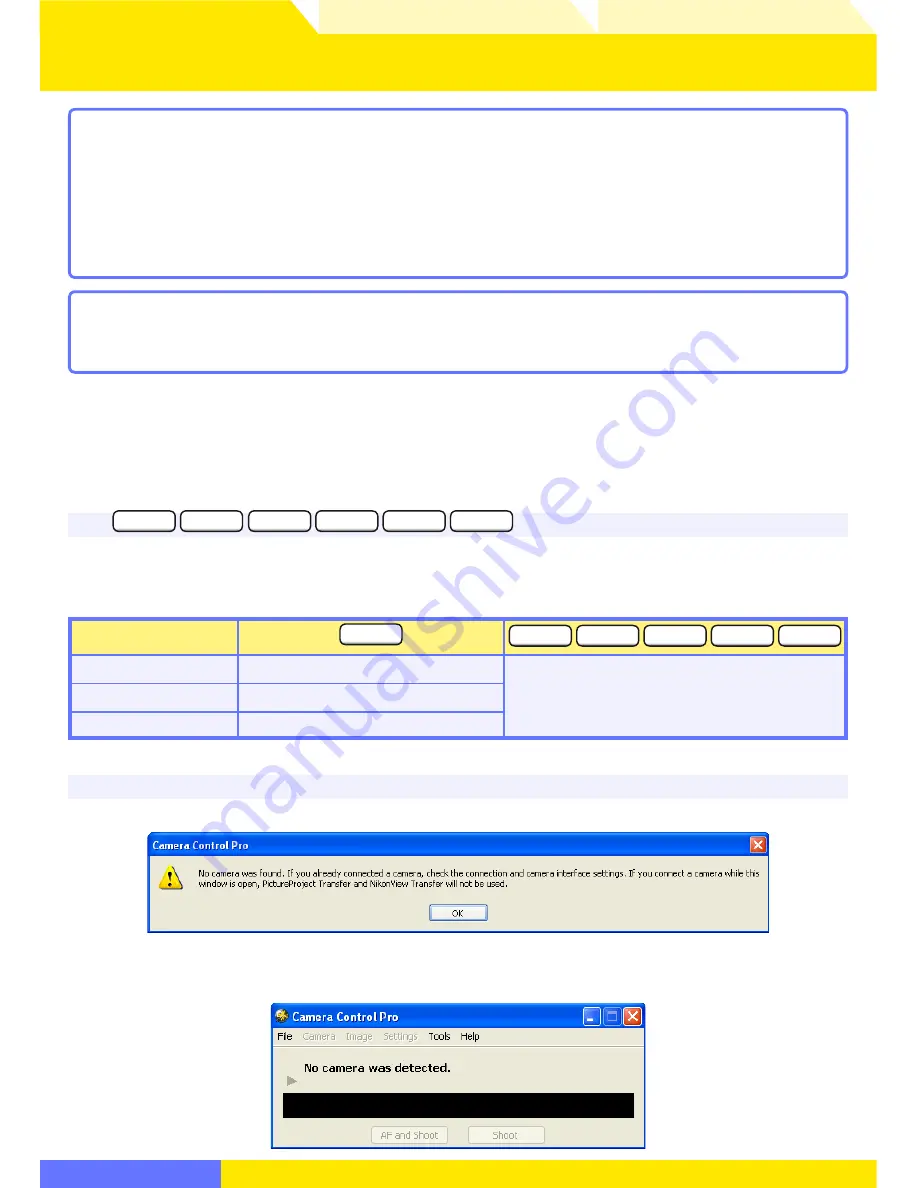
No Camera Connected
If no camera is connected when Camera Control Pro is launched, a warning will be displayed.
Click
OK
to close the warning and display the fol low ing window. Pref er enc es can be ad just ed using
the options in the menu bar. For information on connecting the camera, see the camera manual.
2
Turn the camera on. If PictureProject Transfer or Nikon Transfer starts, click the close
button.


