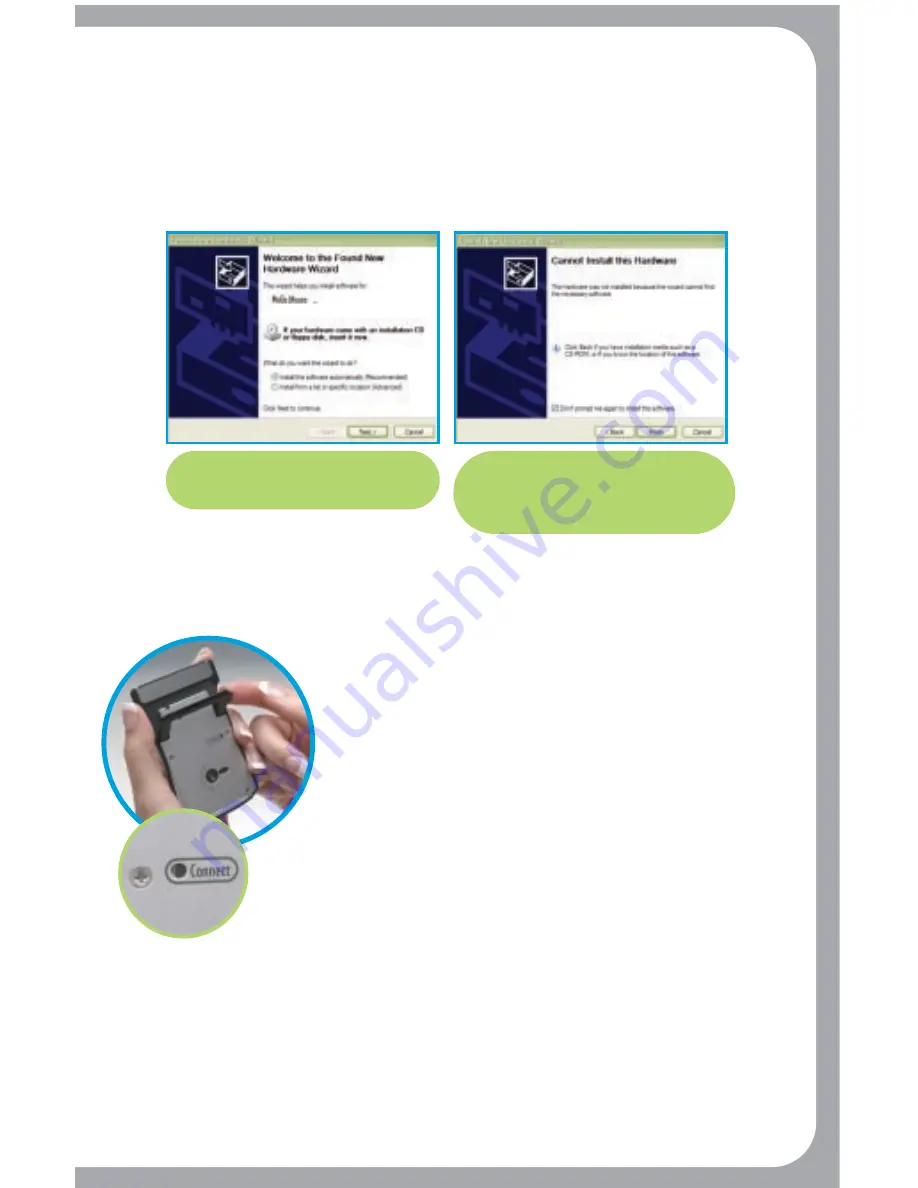
What to do if the “Found new Hardware Wizard” appears
When inserting the MoGo Mouse
BT
in your computer’s PCMCIA slot for the
first time, the window below may appear. Though no software is required
for the MoGo Mouse
BT
to charge properly, Microsoft Windows will try to load
a driver for the MoGo Mouse
BT
. To stop Microsoft Windows from displaying
this window follow the steps below. Once completed no other action is
required for setting up your laptop for charging.
You may see a message appear warning you that the driver was not
installed and your device my not work properly. You can ignore this
as the MoGo Mouse
BT
does not need a driver to operate properly.
Pairing your MoGo Mouse
BT
with your laptop
Bluetooth devices require that you initially “pair” your
MoGo Mouse
BT
with your laptop. Follow the steps
below to prepare your MoGo Mouse
BT
for pairing.
Once paired to your laptop the MoGo Mouse
BT
only
needs to be turned on for operation with your laptop.
1. Turn on the MoGo Mouse
BT
by opening kickstand on
side of unit with finger.
You may notice a one time RED blink
from Optical Sensor on the bottom of the mouse.
2. Press the “connect” button down until the status light starts
flashing blue, every 2 seconds.
Your MoGo Mouse
BT
is now ready
to pair to your laptop. It will stay in this state for 3 minutes.
3. Initiate your laptop Bluetooth to complete pairing your mouse.
In case
you are requested to enter a Pass Code or PIN number, simply enter
“0000”. MoGo Mouse
BT
does not require such a code to operate. Refer to
the owner’s manual for specific instructions on pairing your laptop Bluetooth.
Check the box to install
automatically and click “Next”.
Check the box at the bottom
(Don’t Prompt me again to install
the software) and click finish.


